Cart 0
Cart 0

3D GUIDES

Minimalist Mount Custom Guide

Download the Guide pdf here: Minimalist Mount-Measuring Guide.pdf

*Custom orders do require an additional fee. This is for our time in design and testing your model and also covers a replacement, should the fit not be good the first time around.
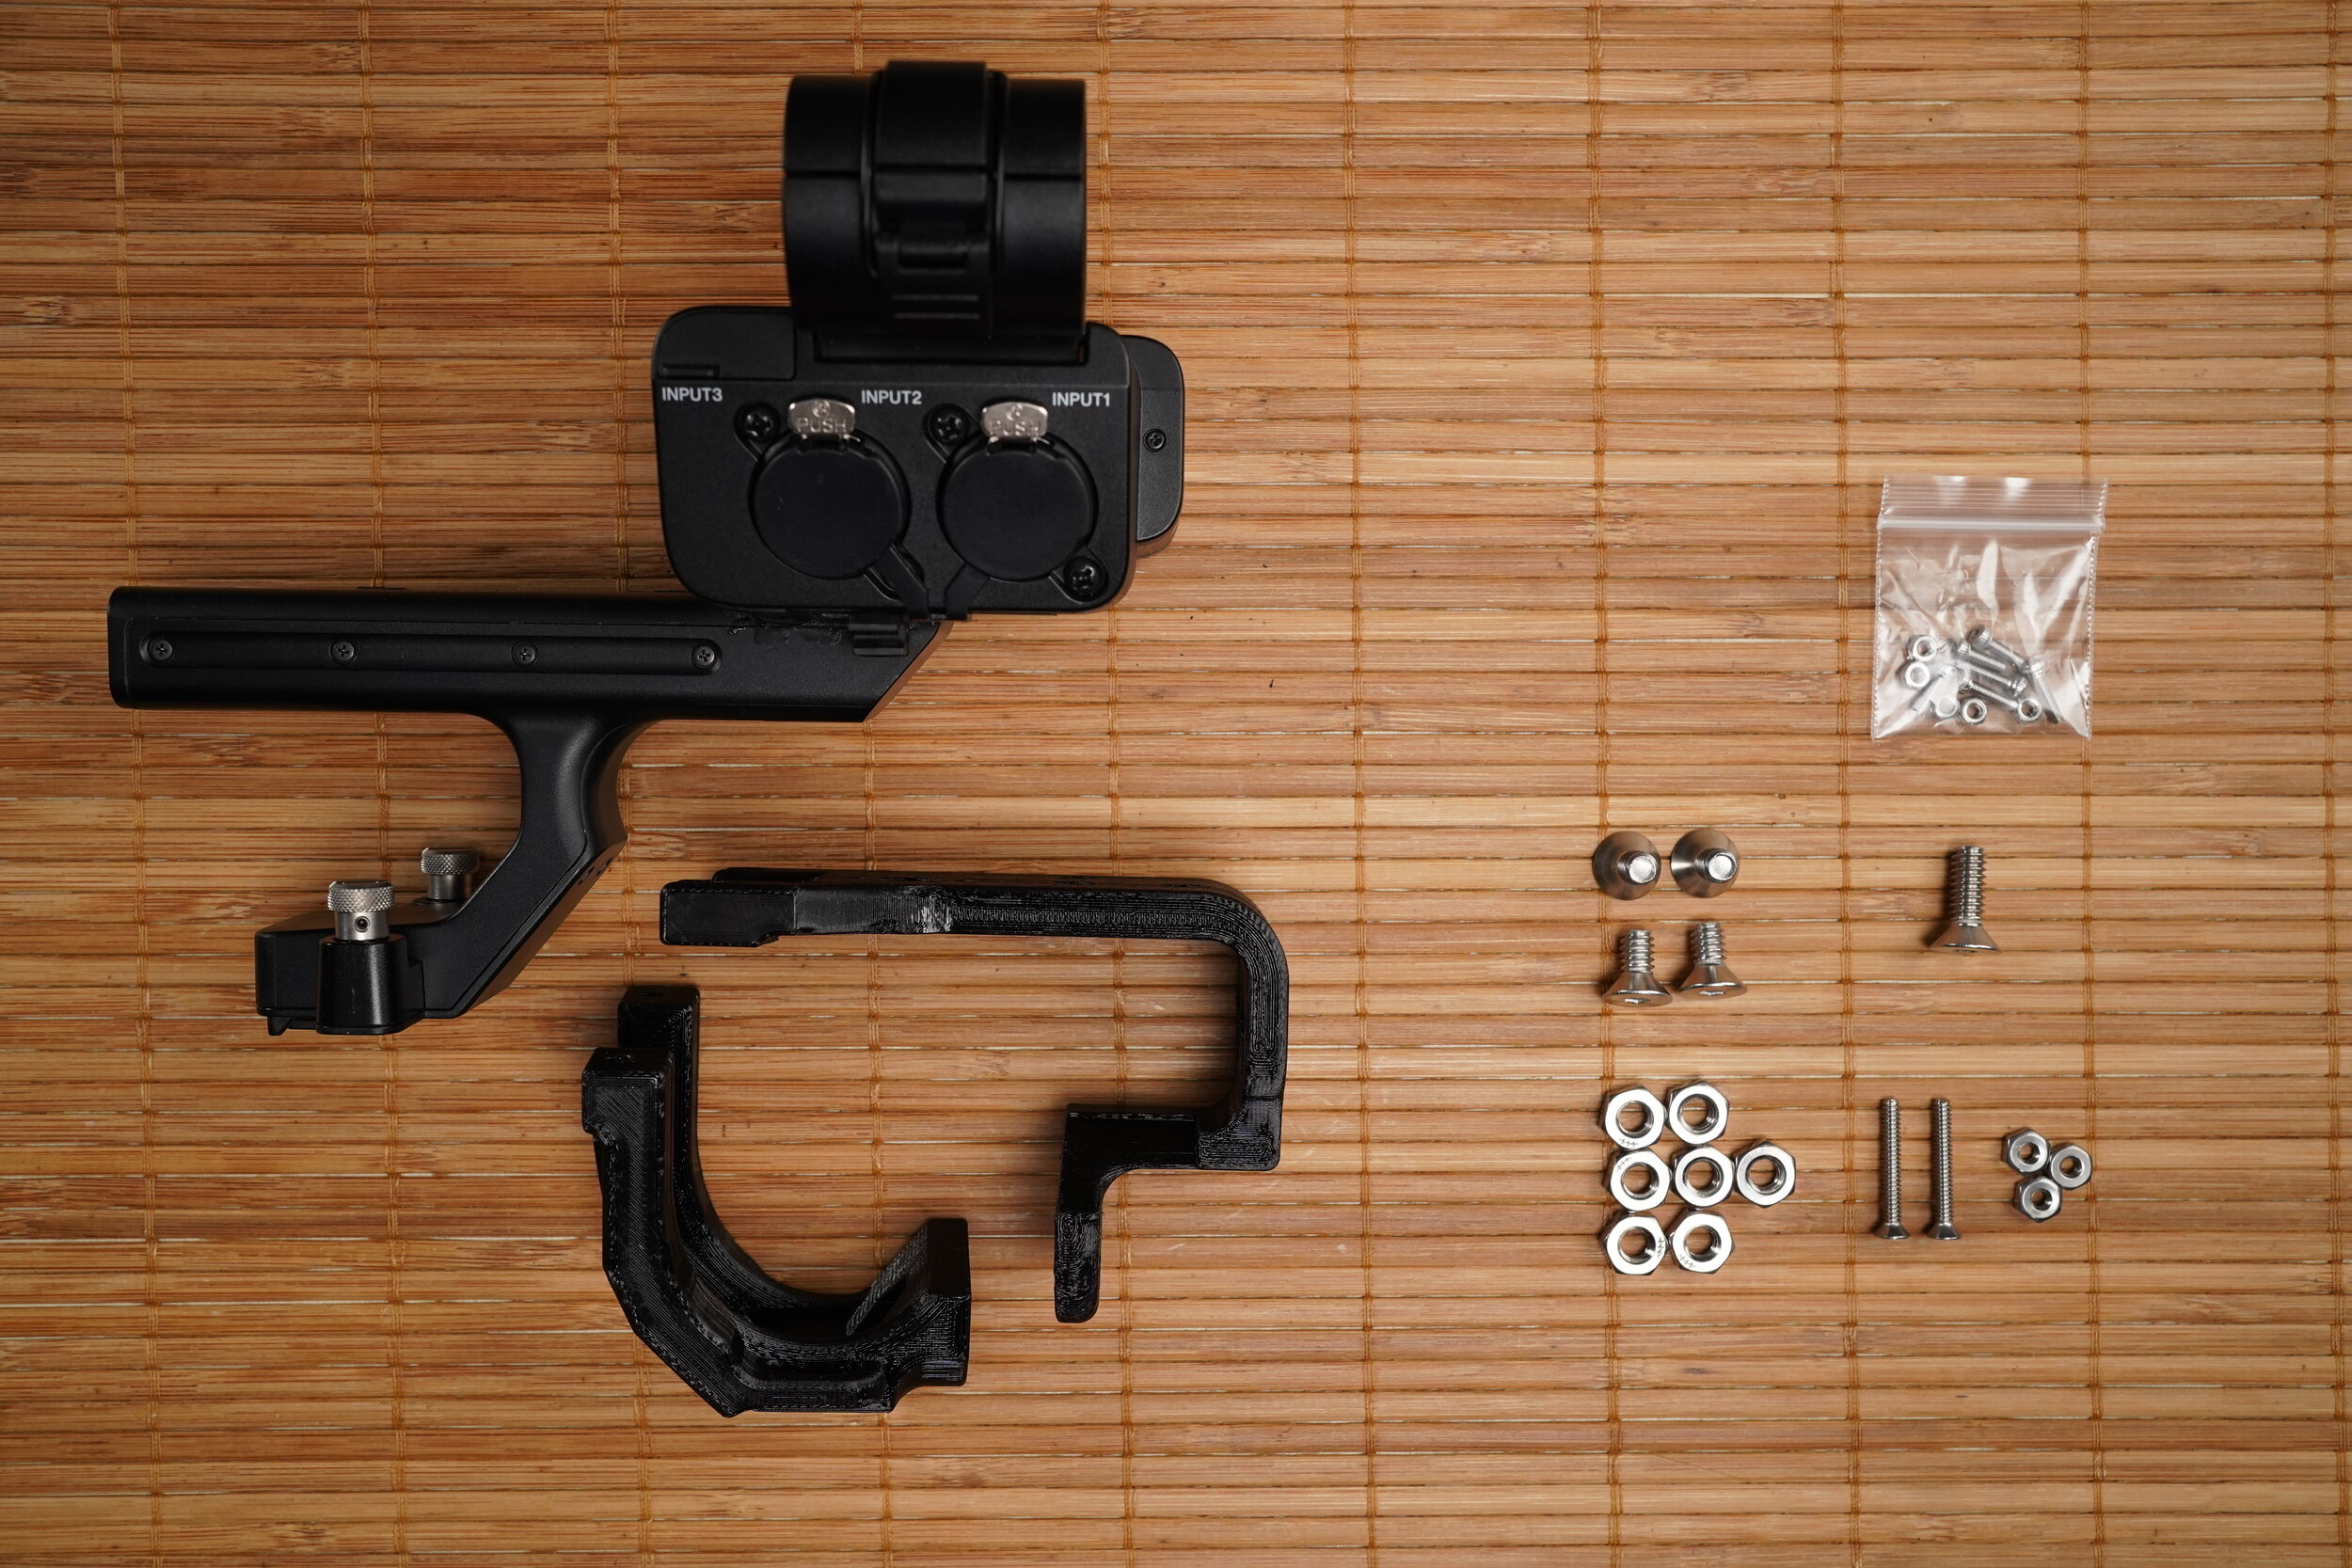
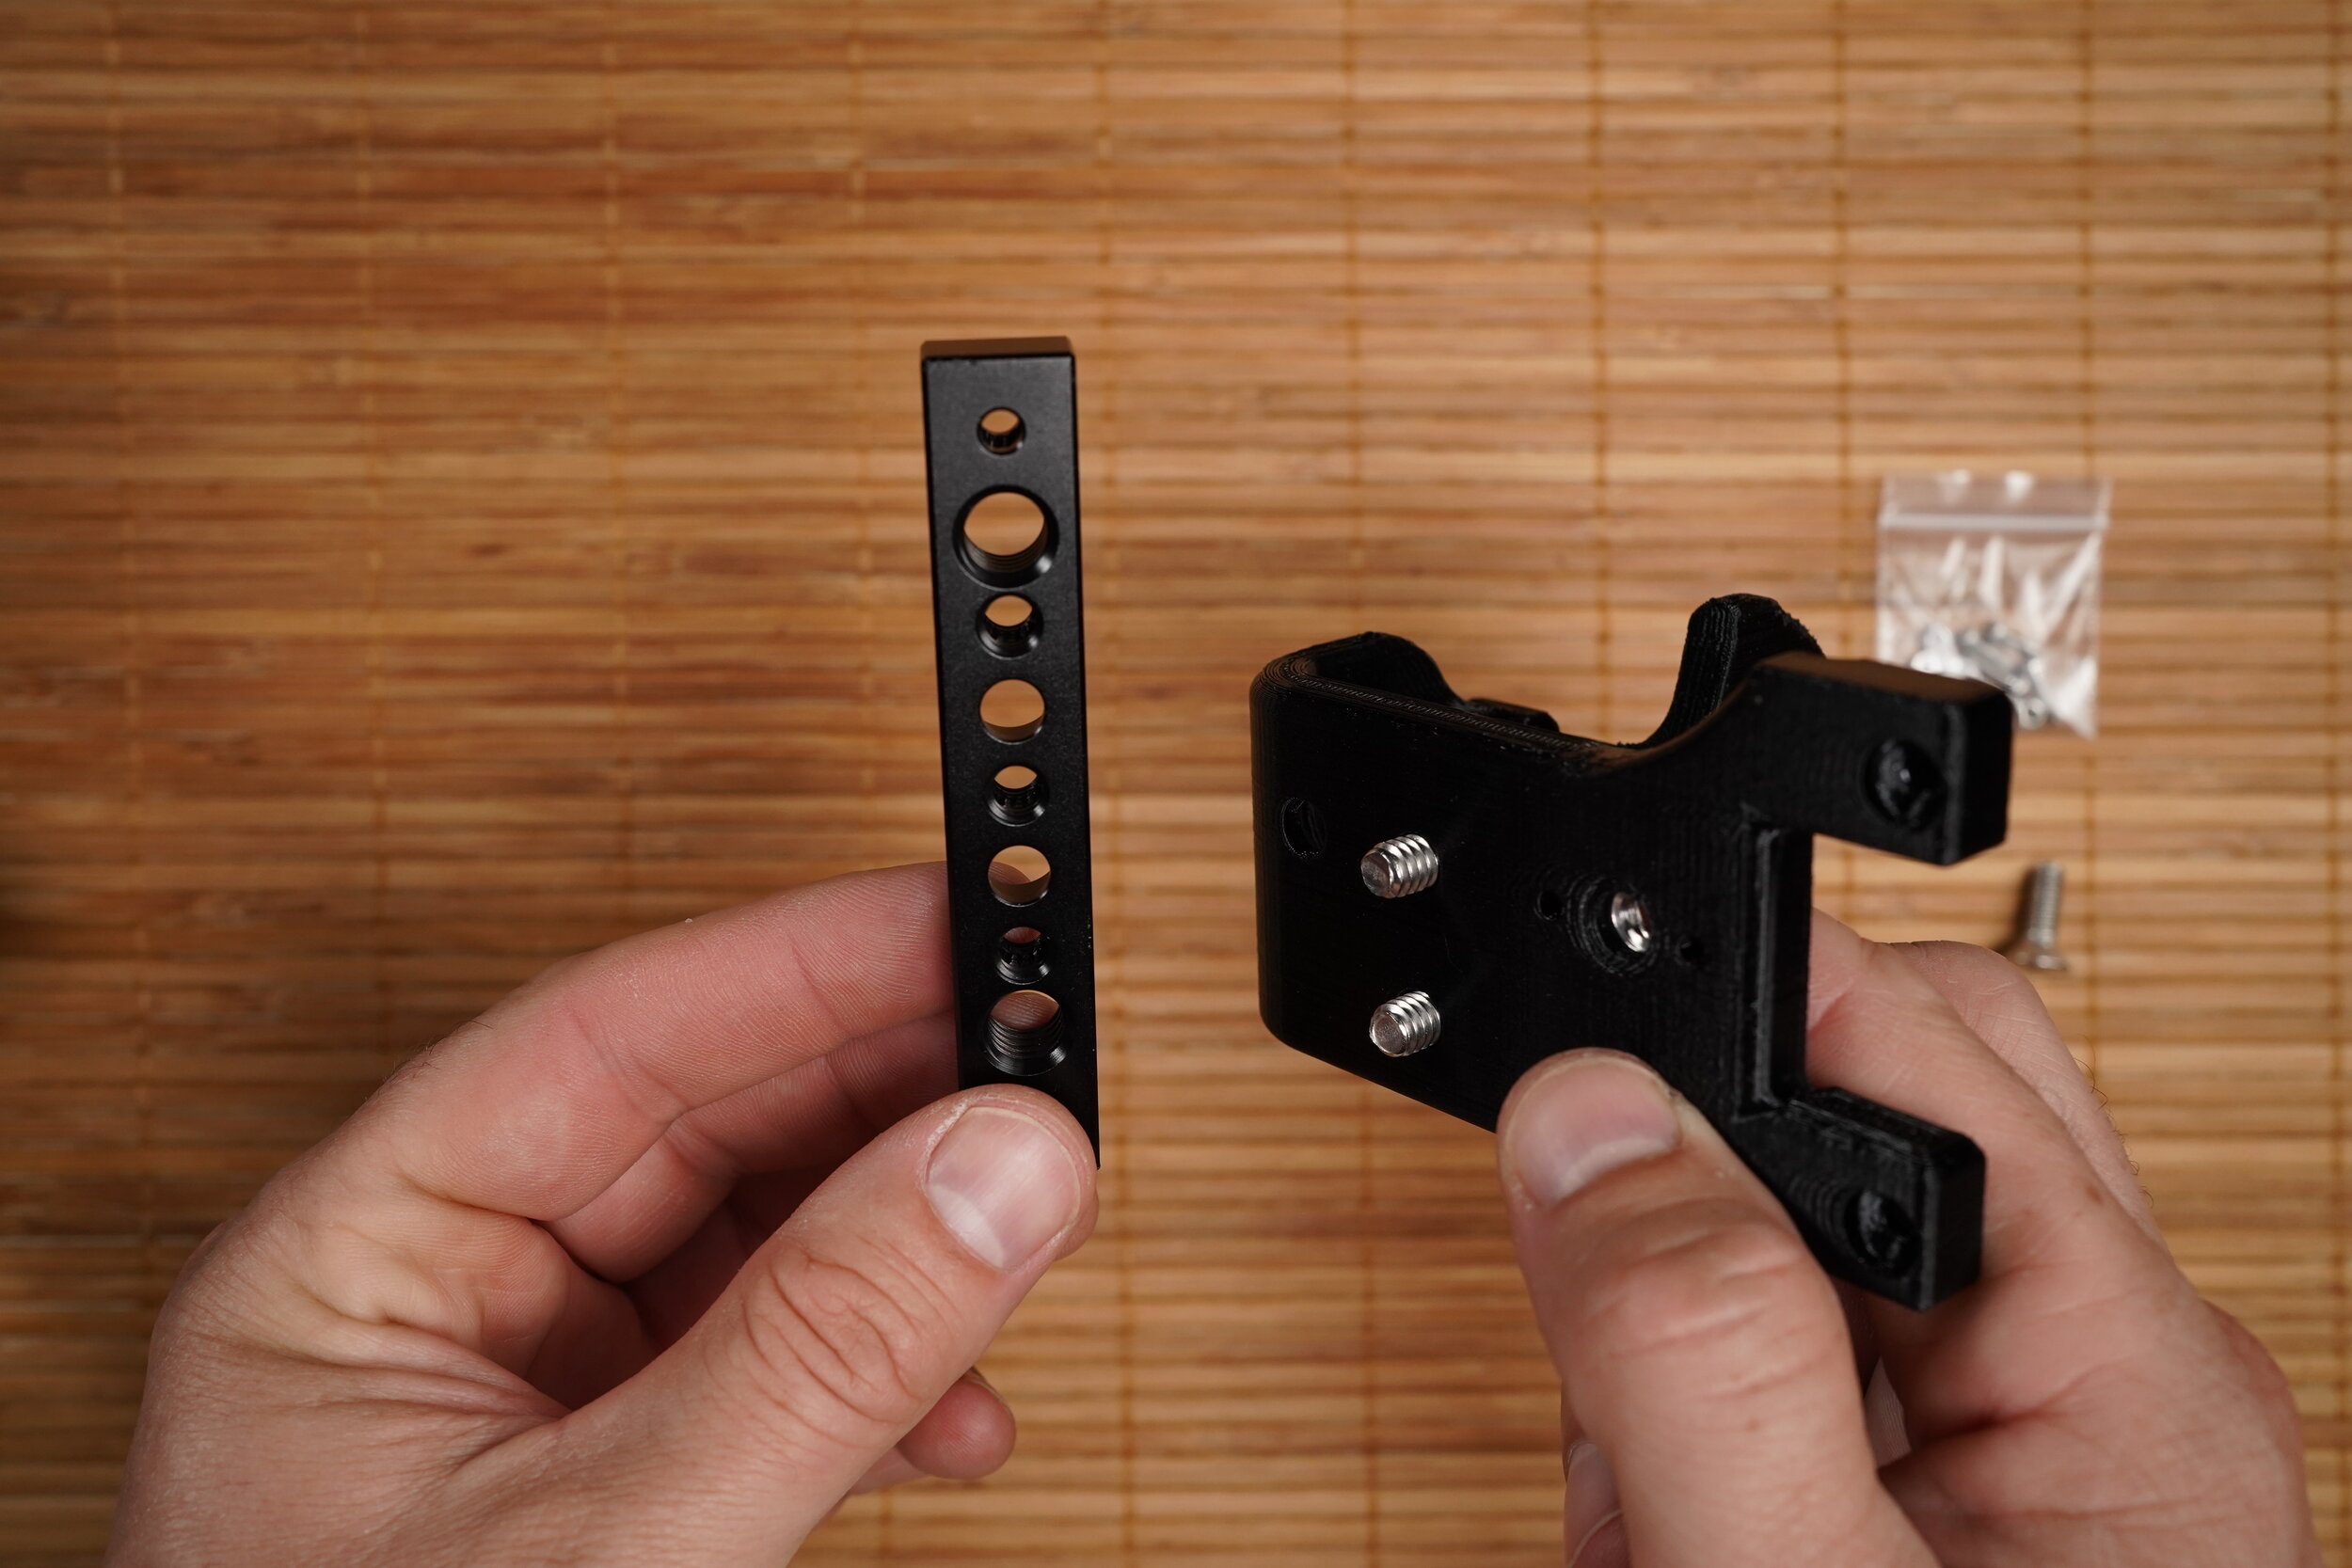
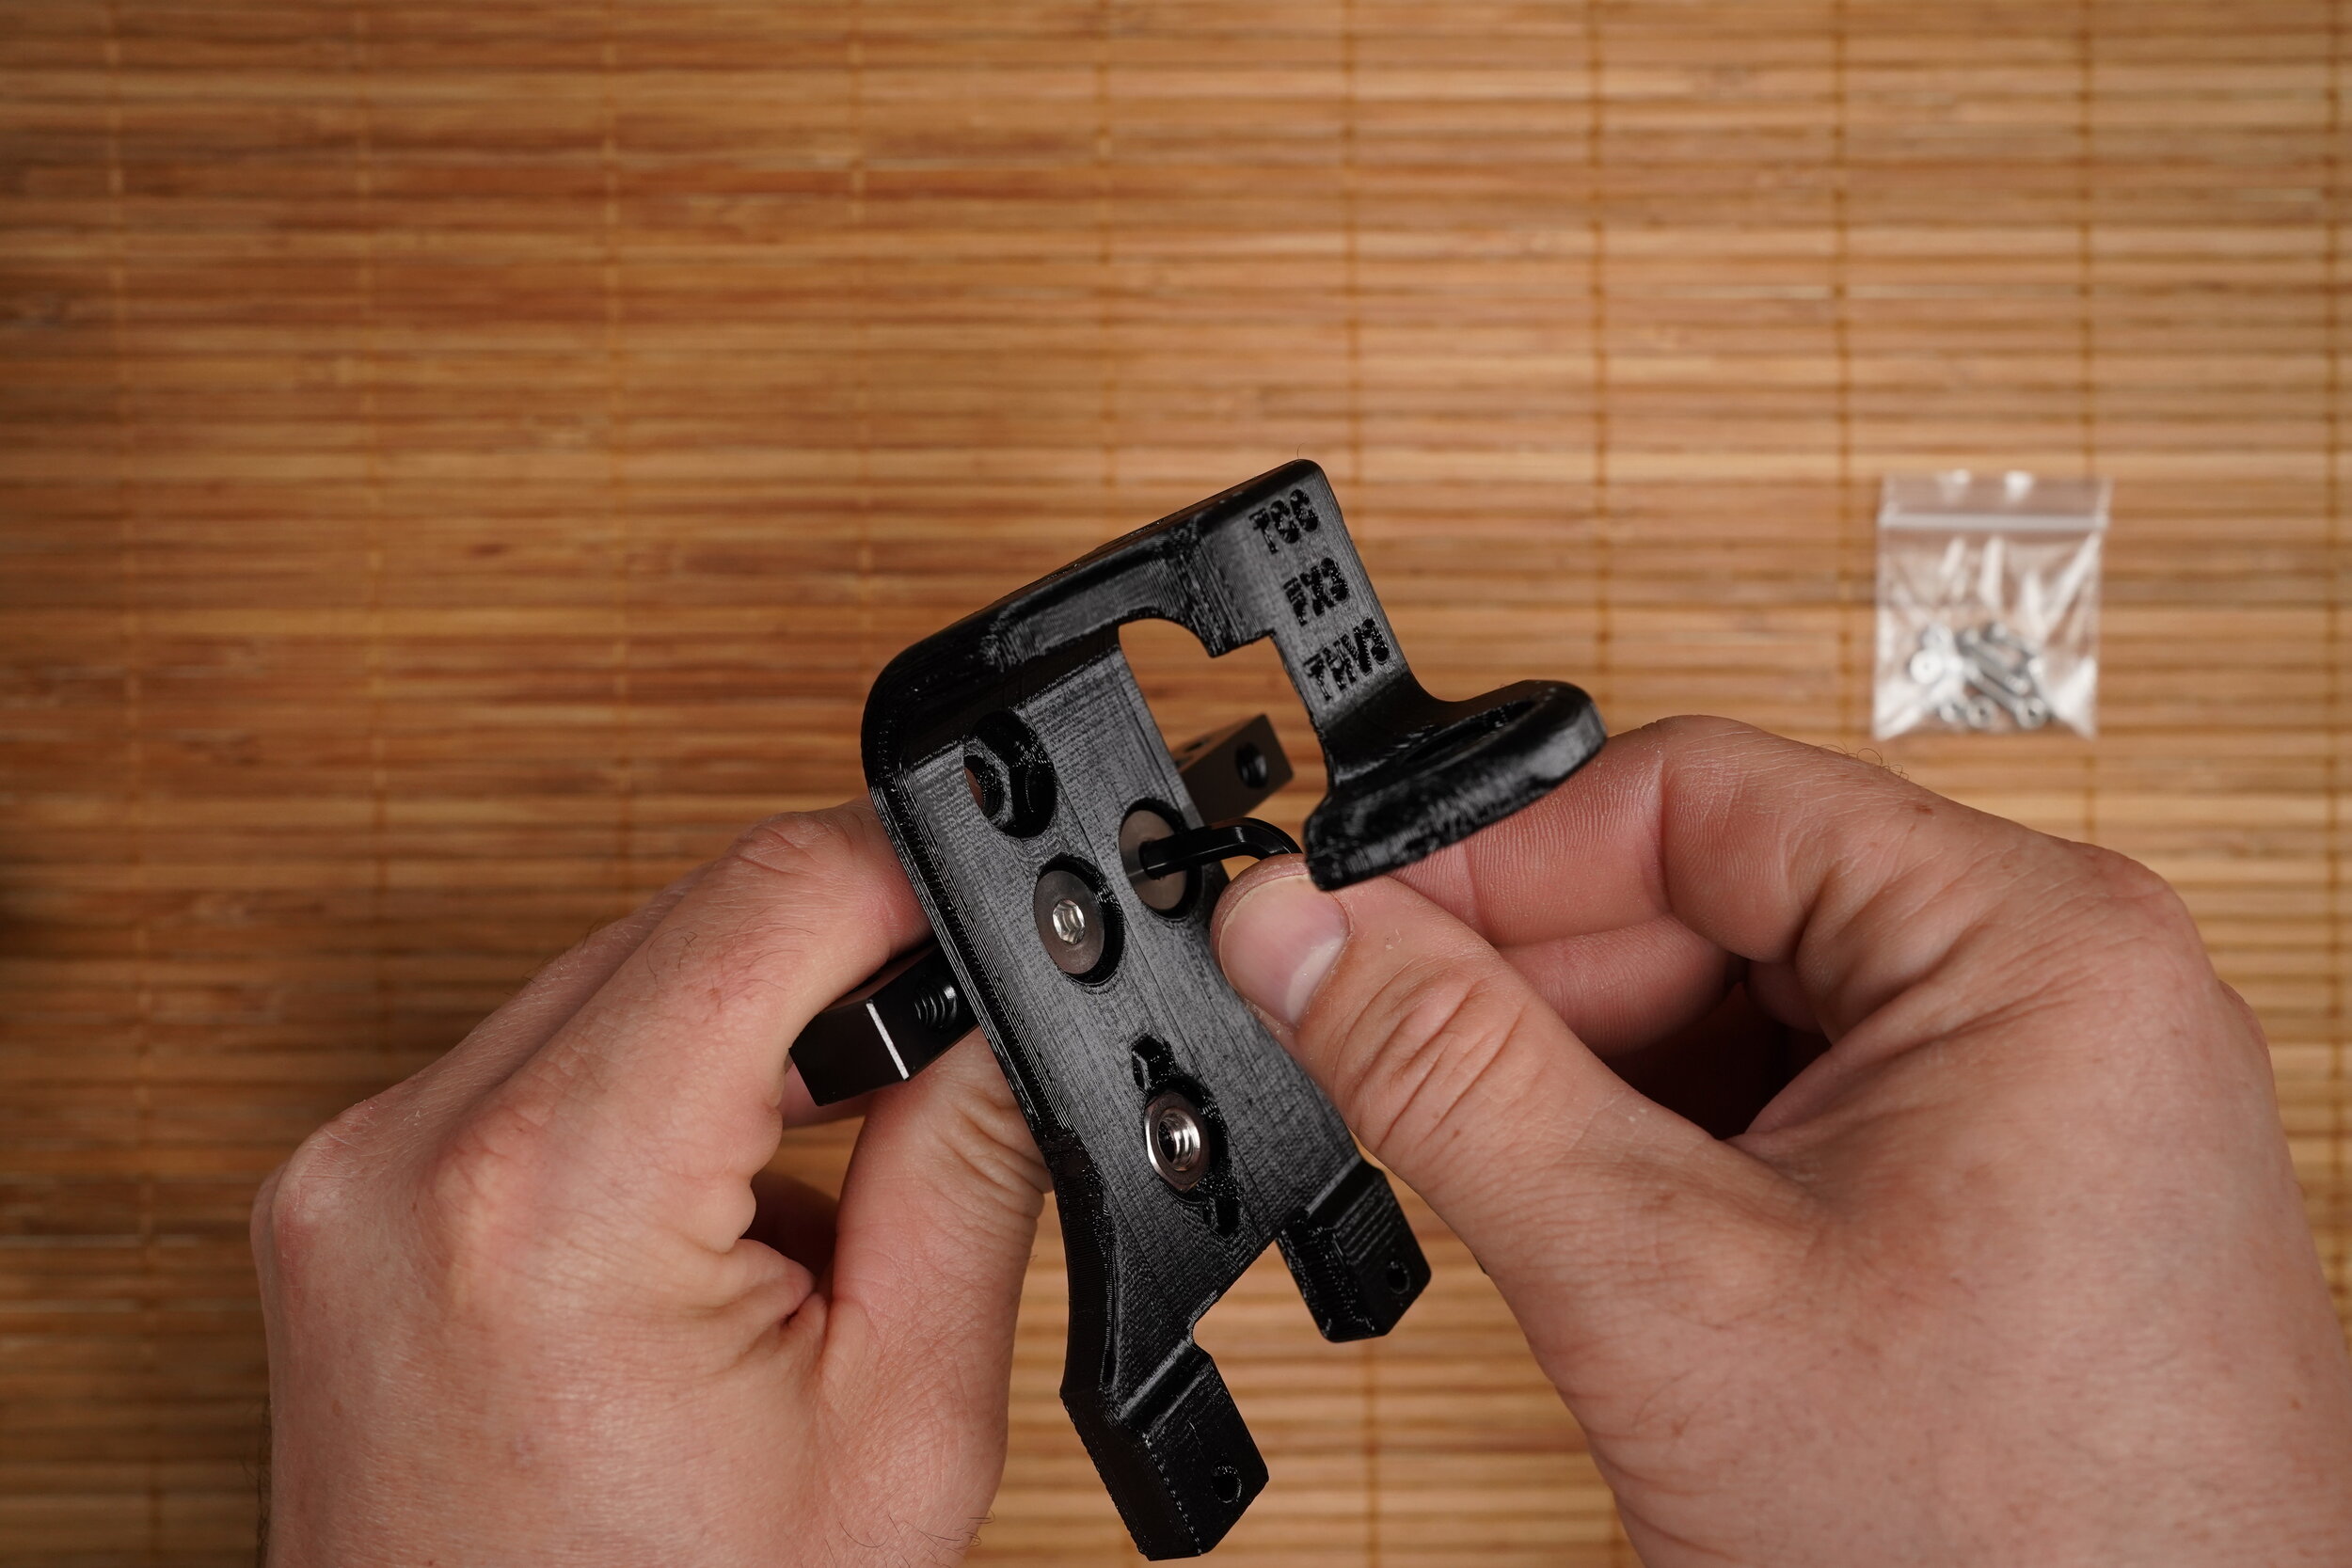
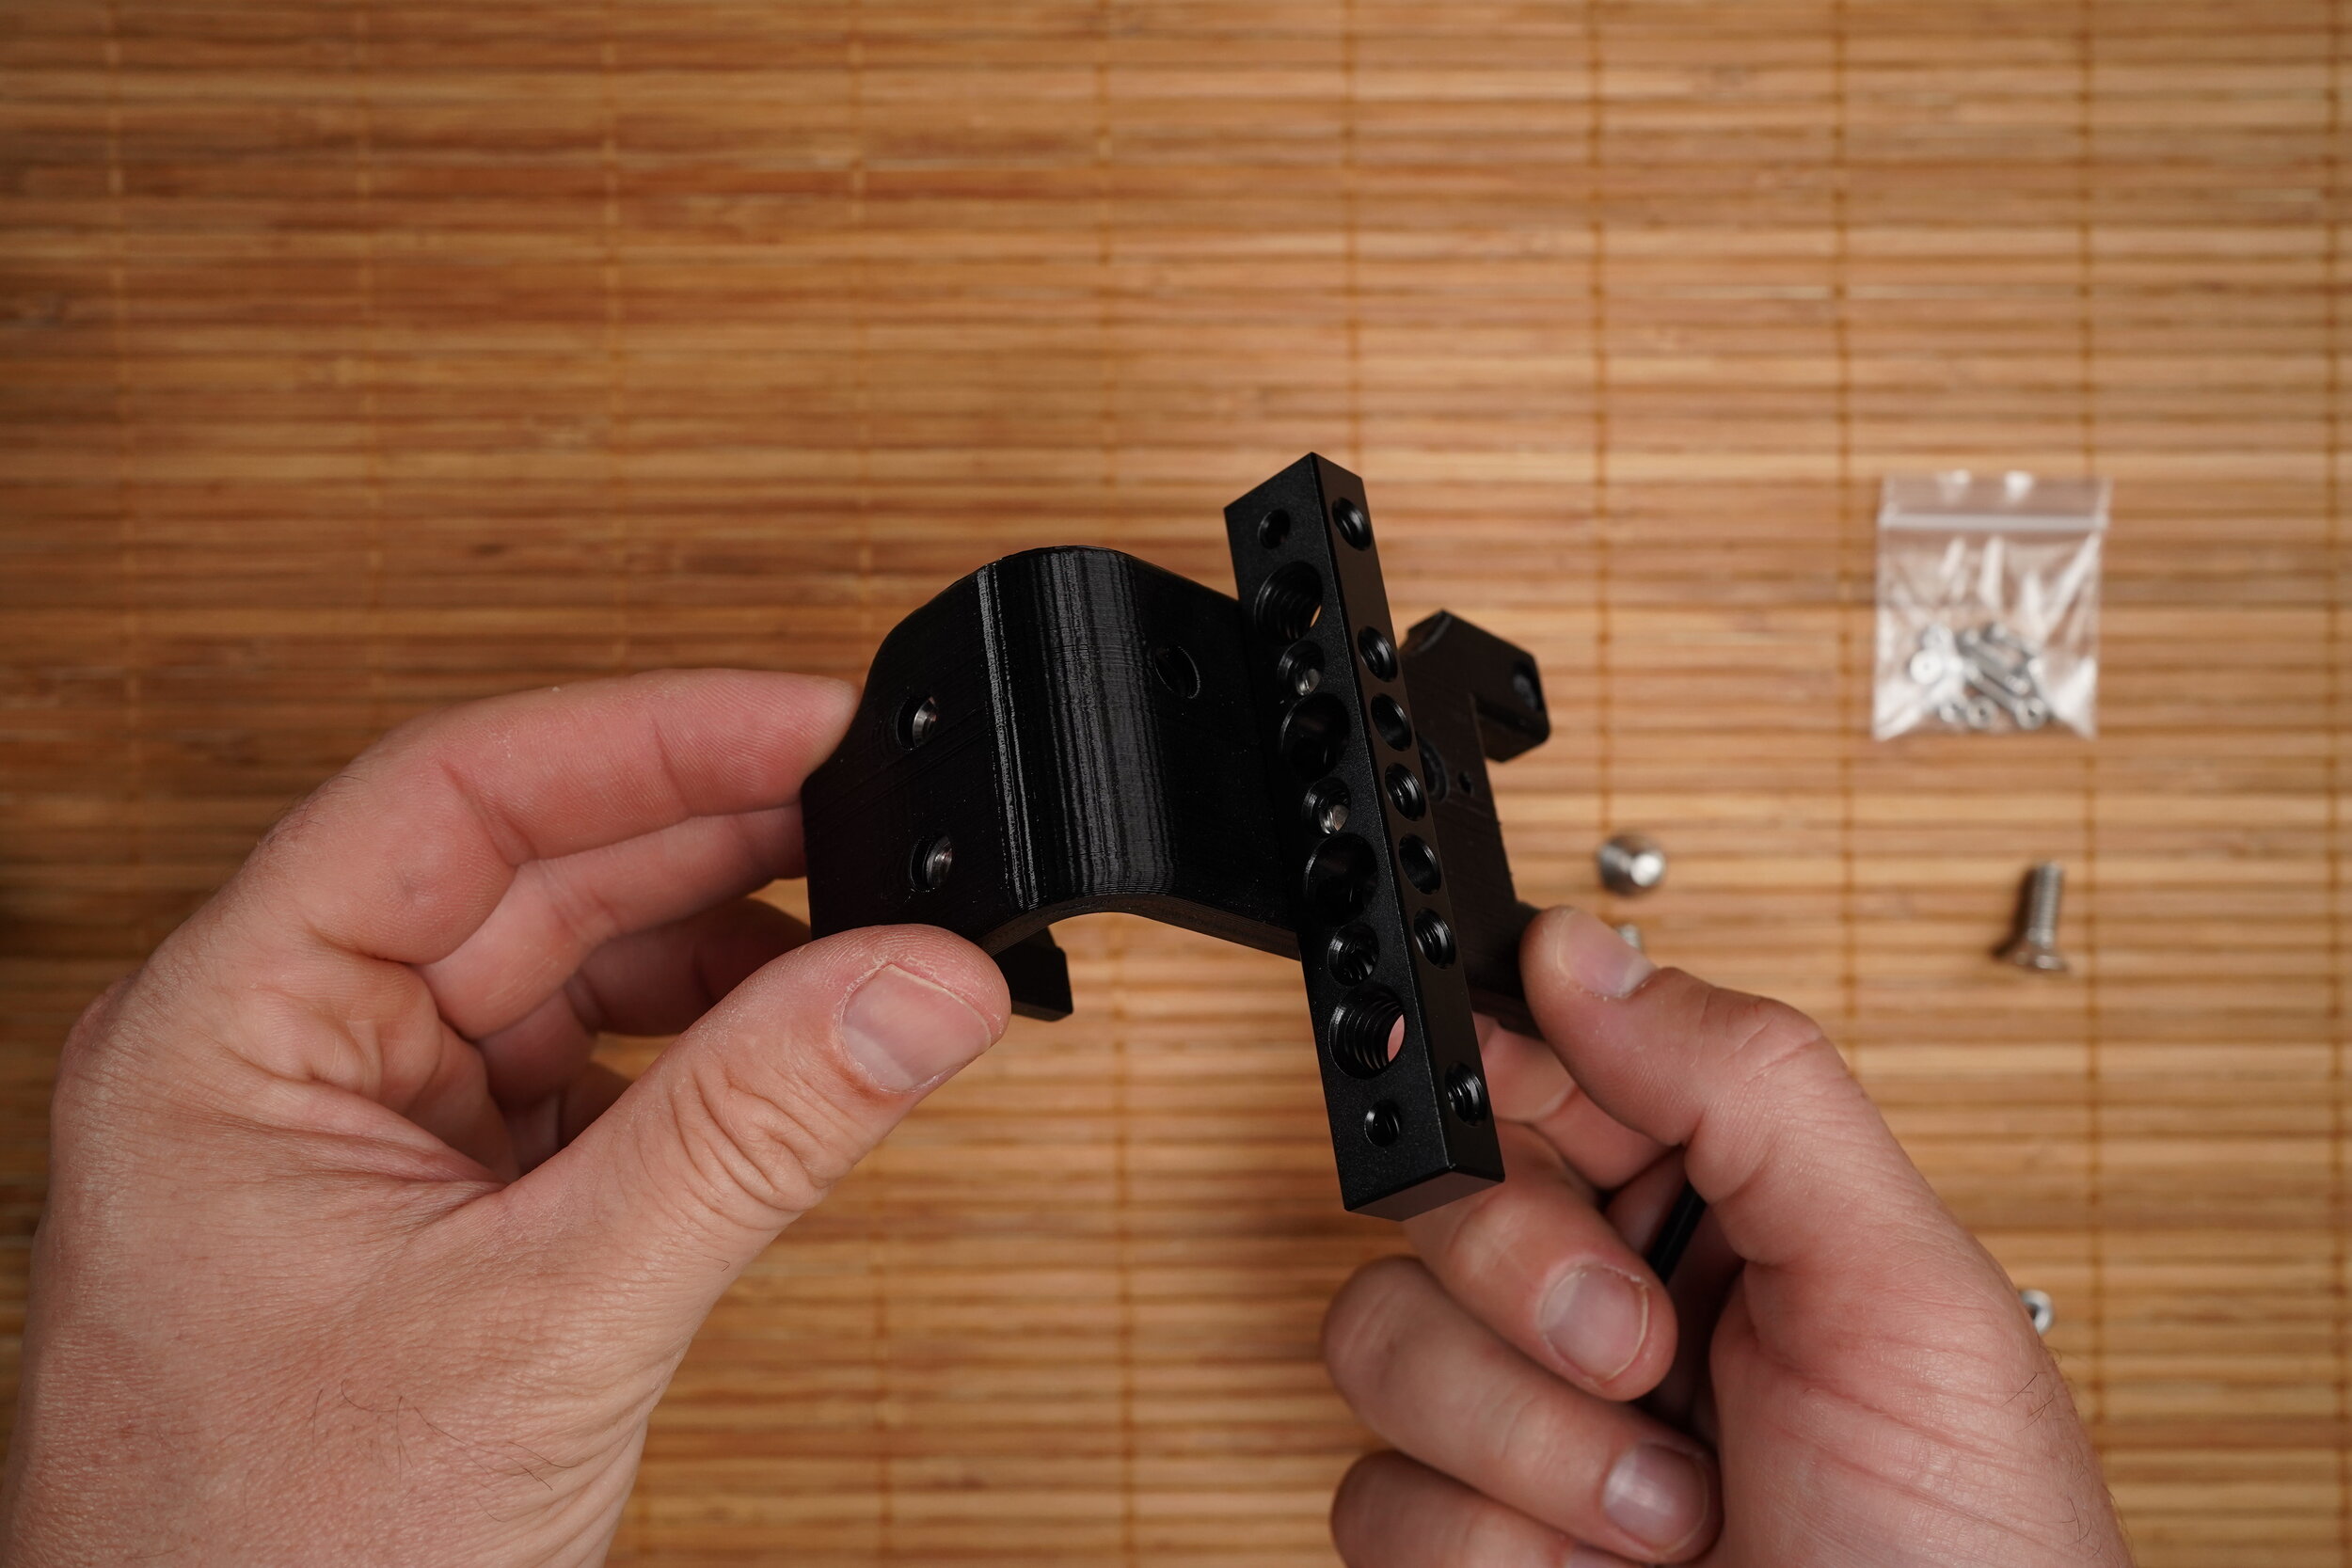
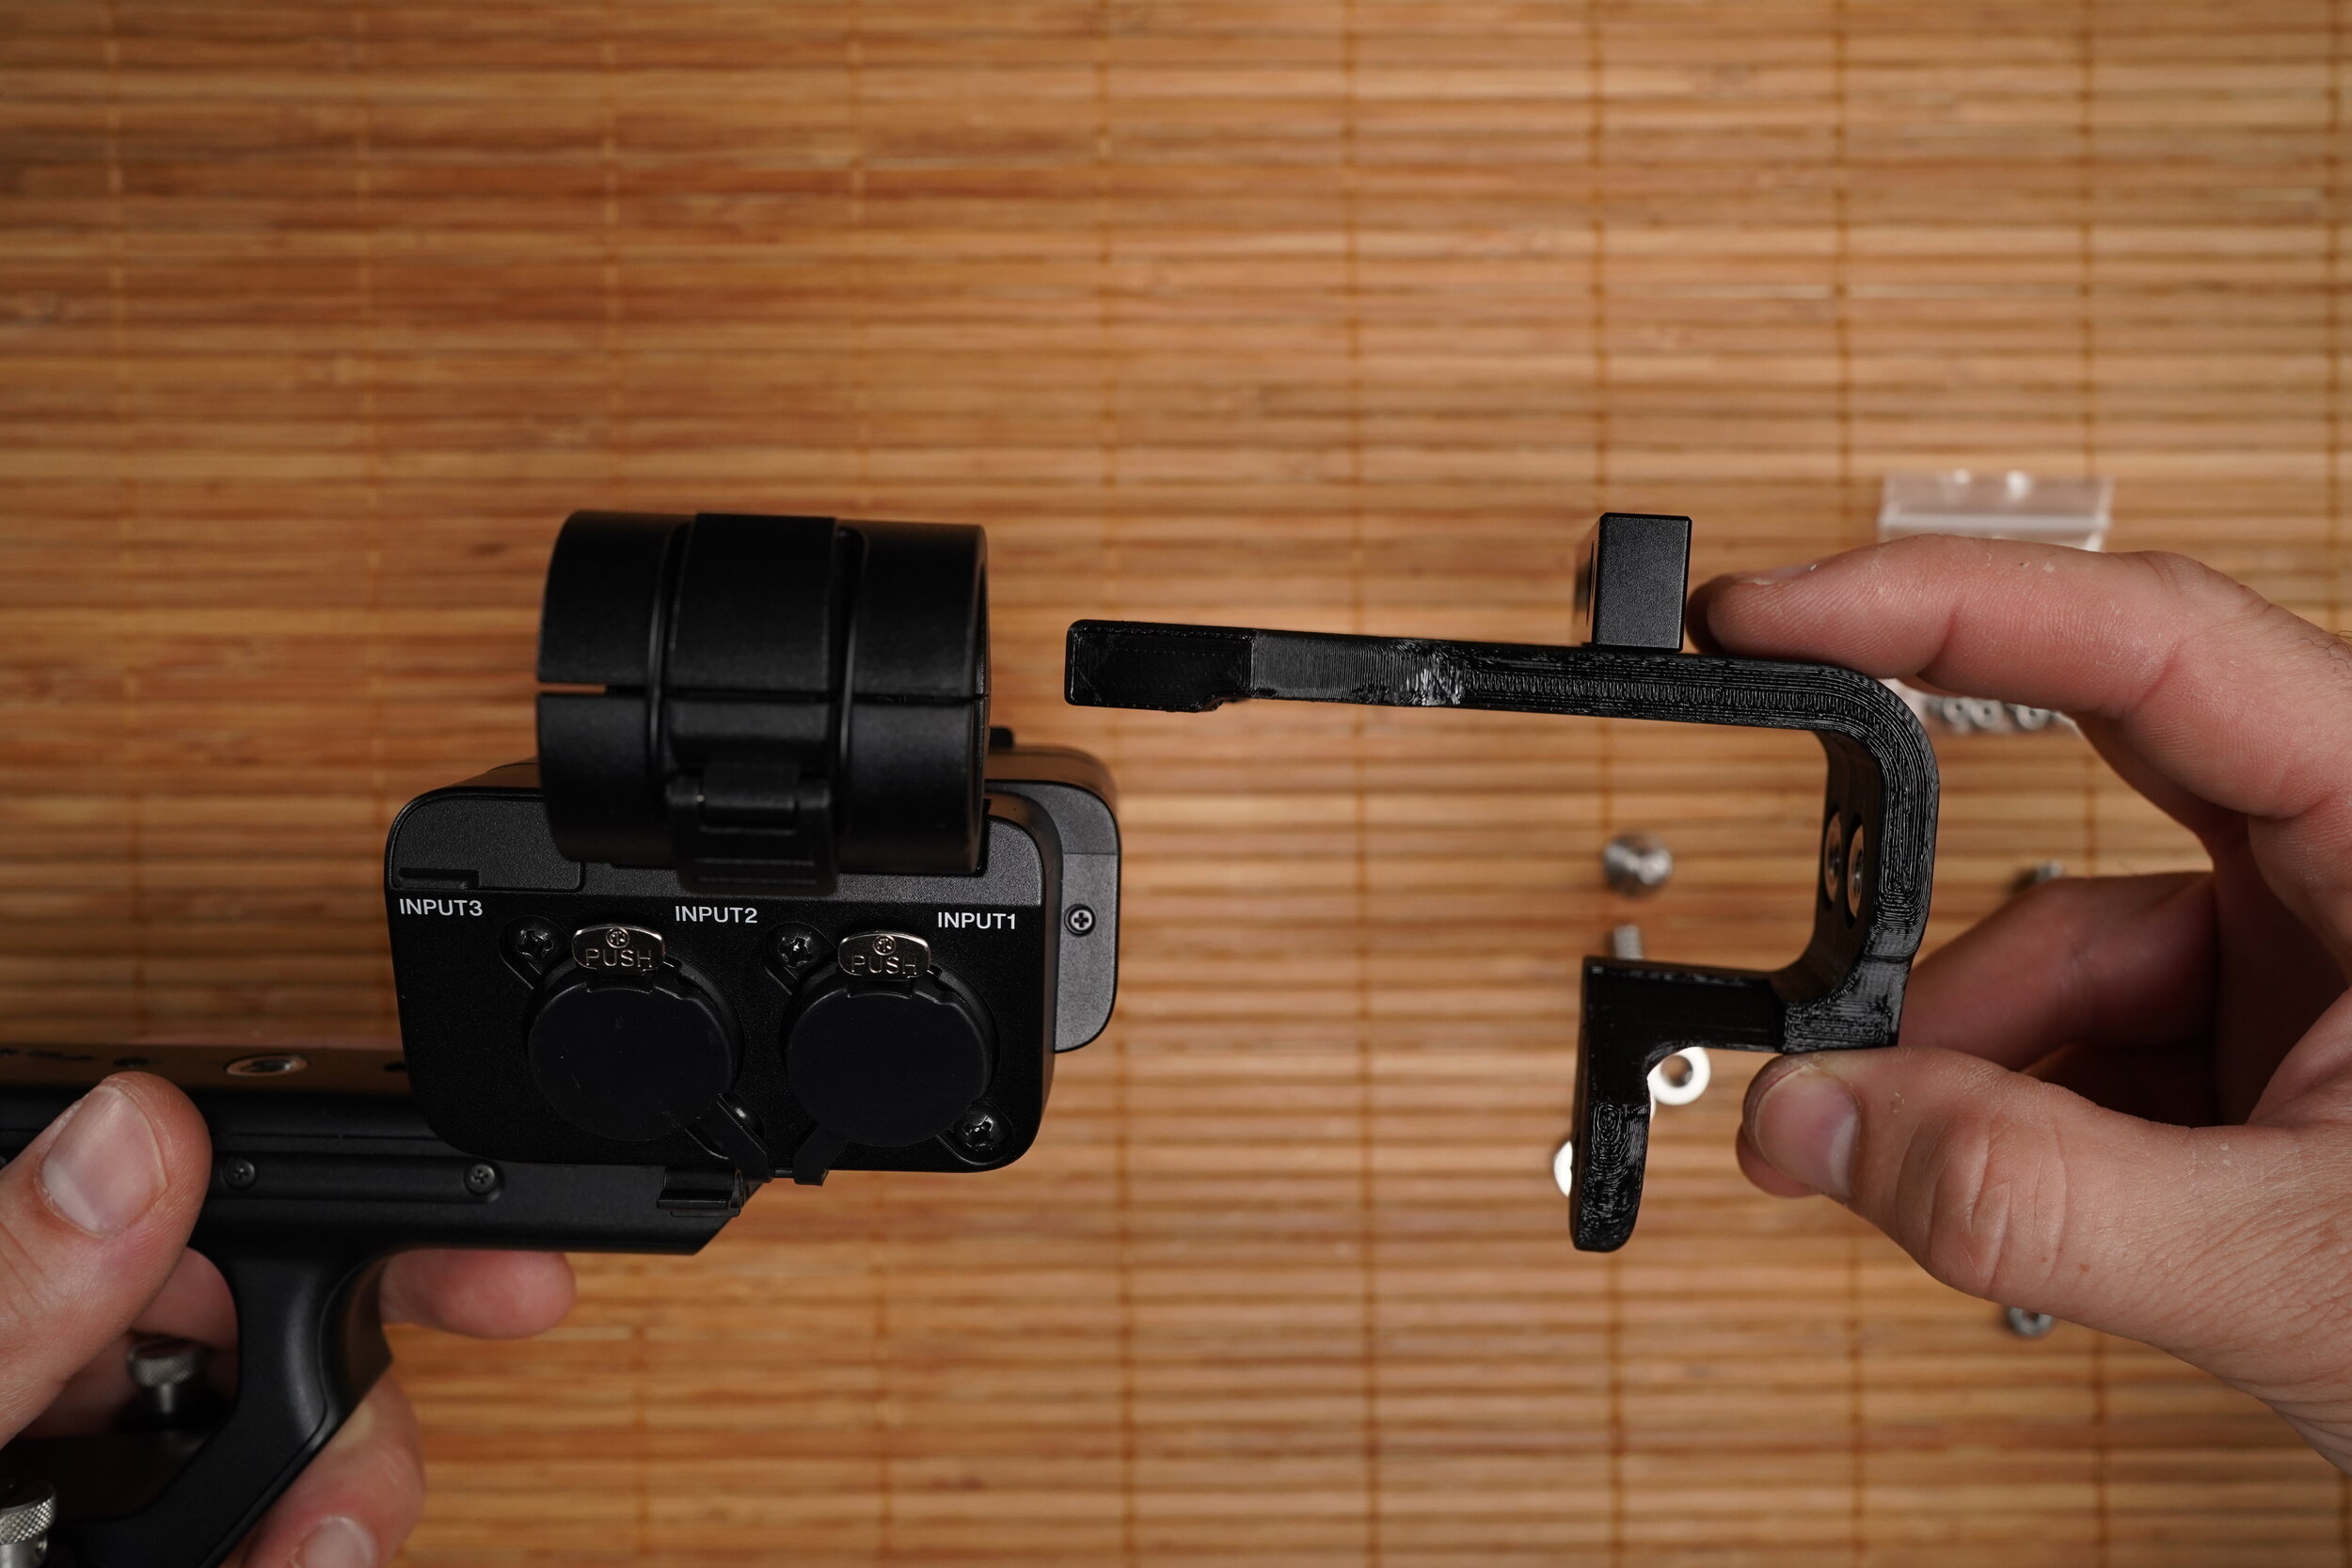
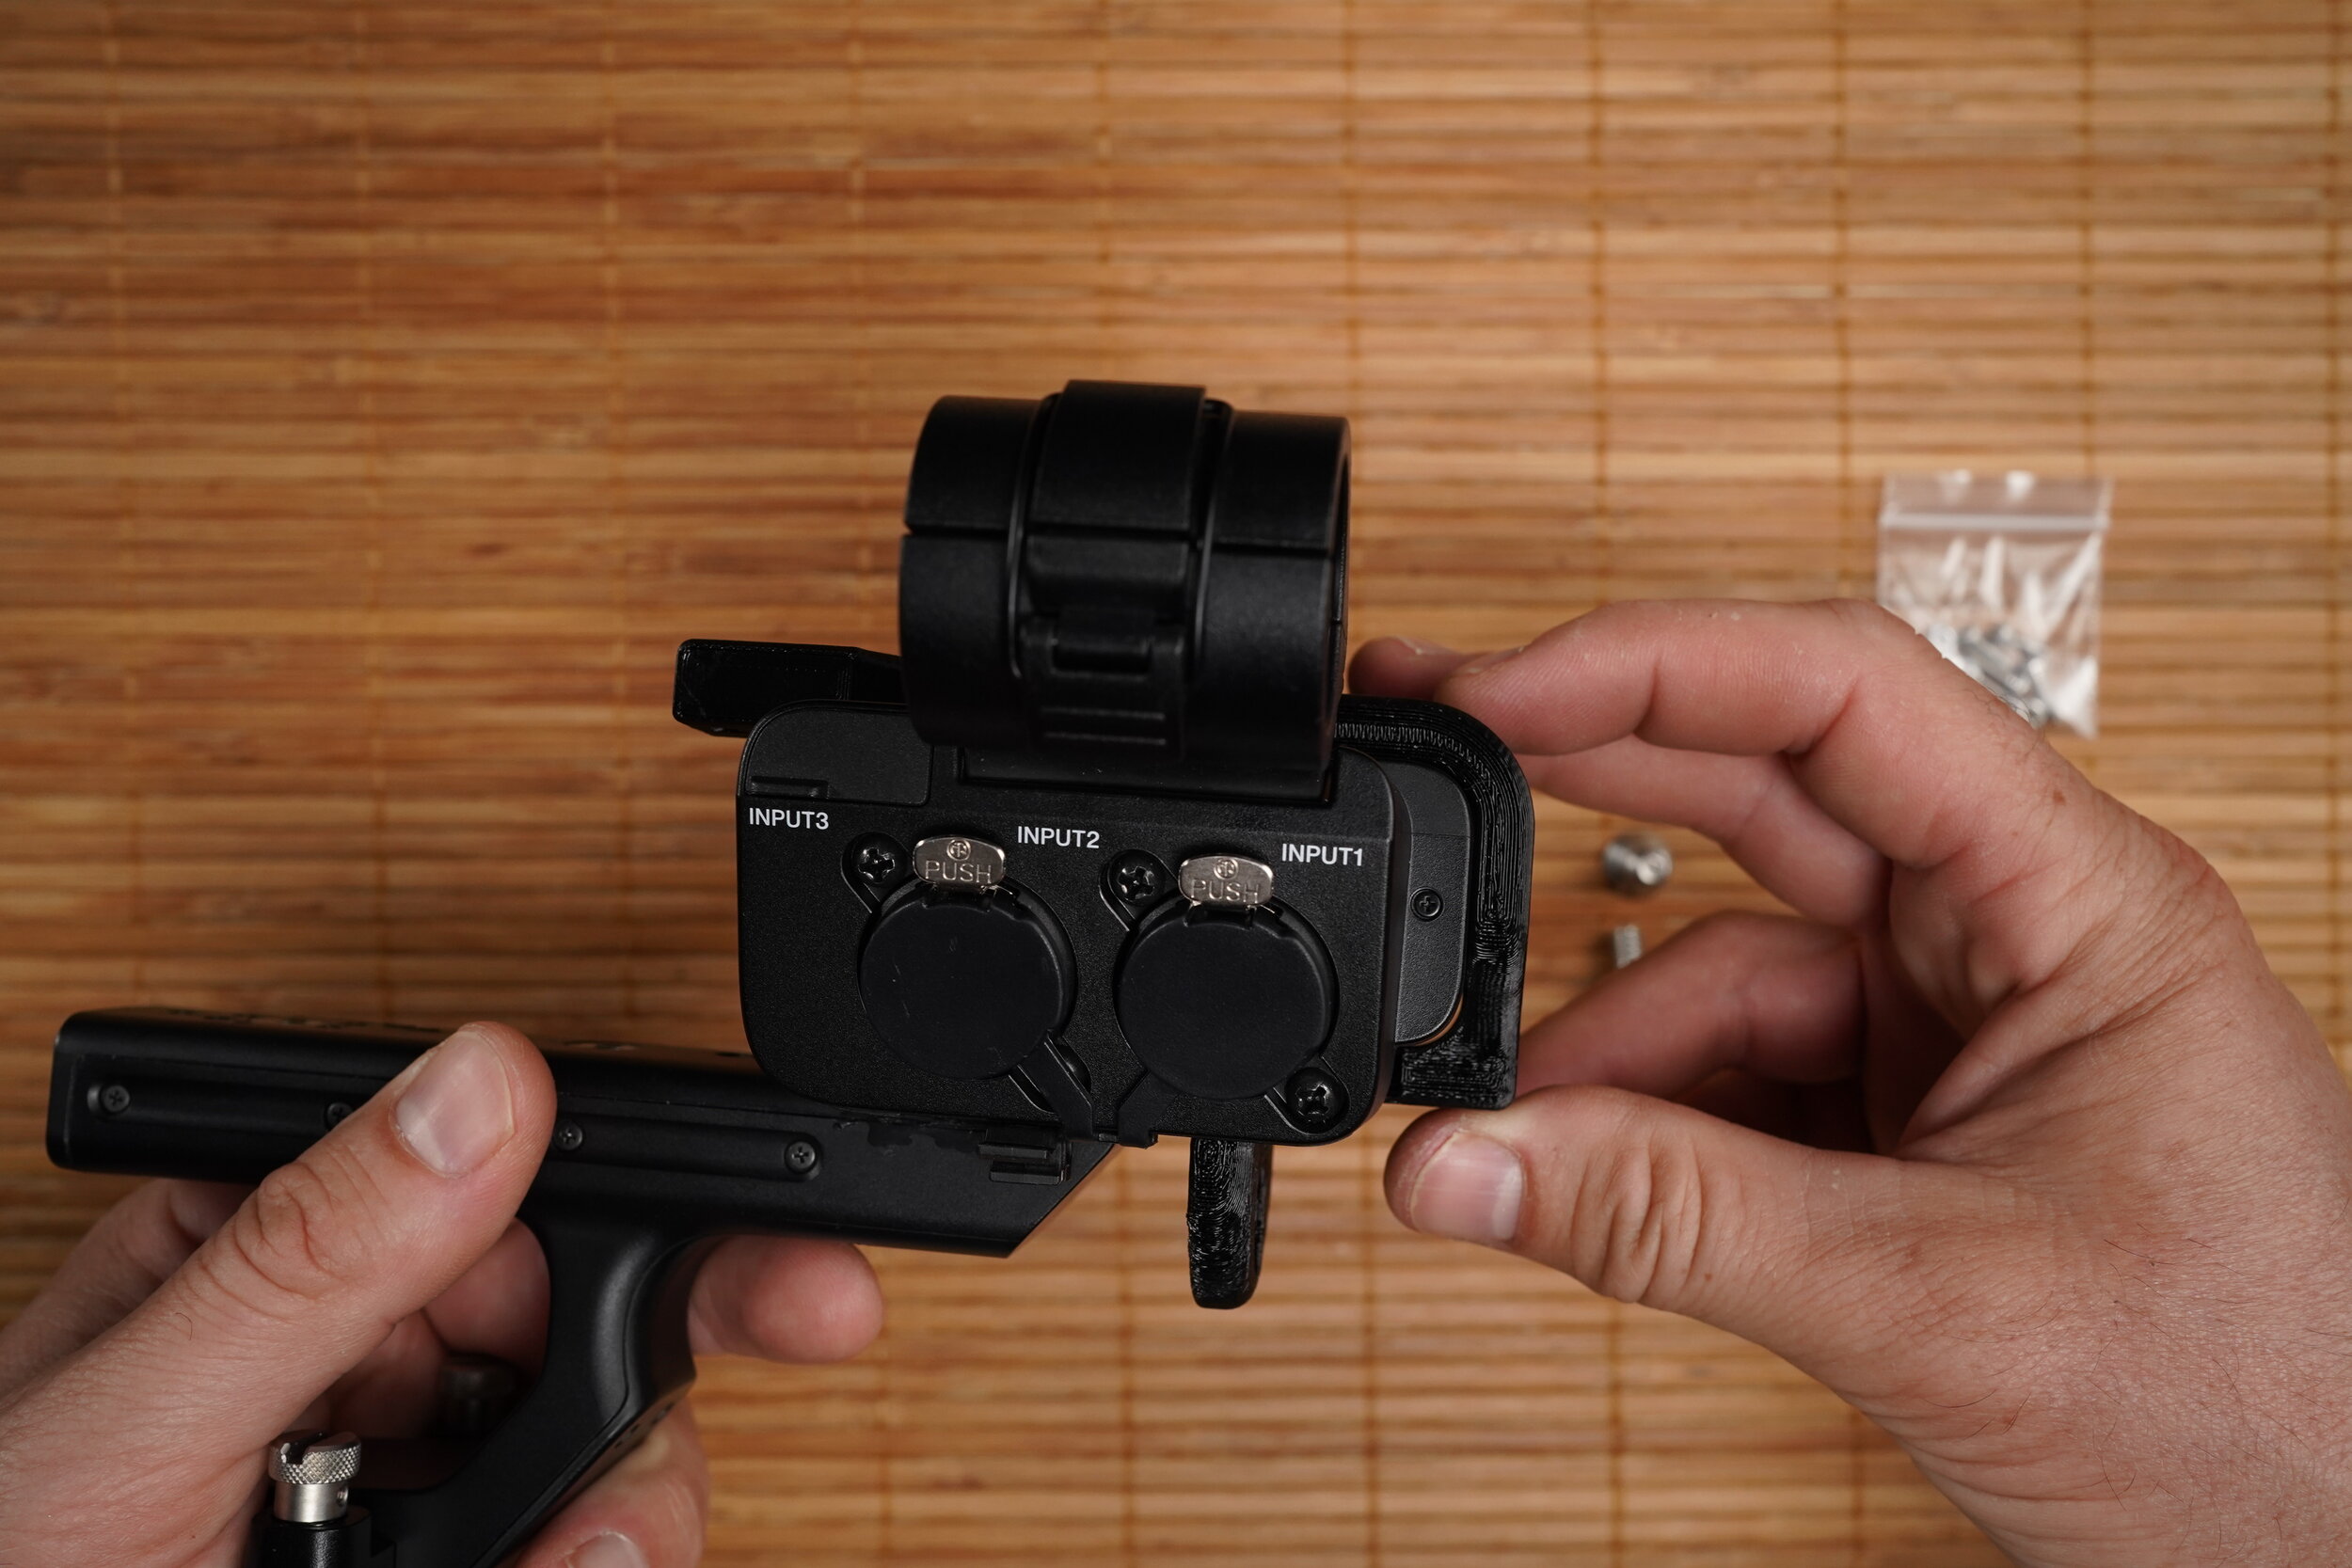
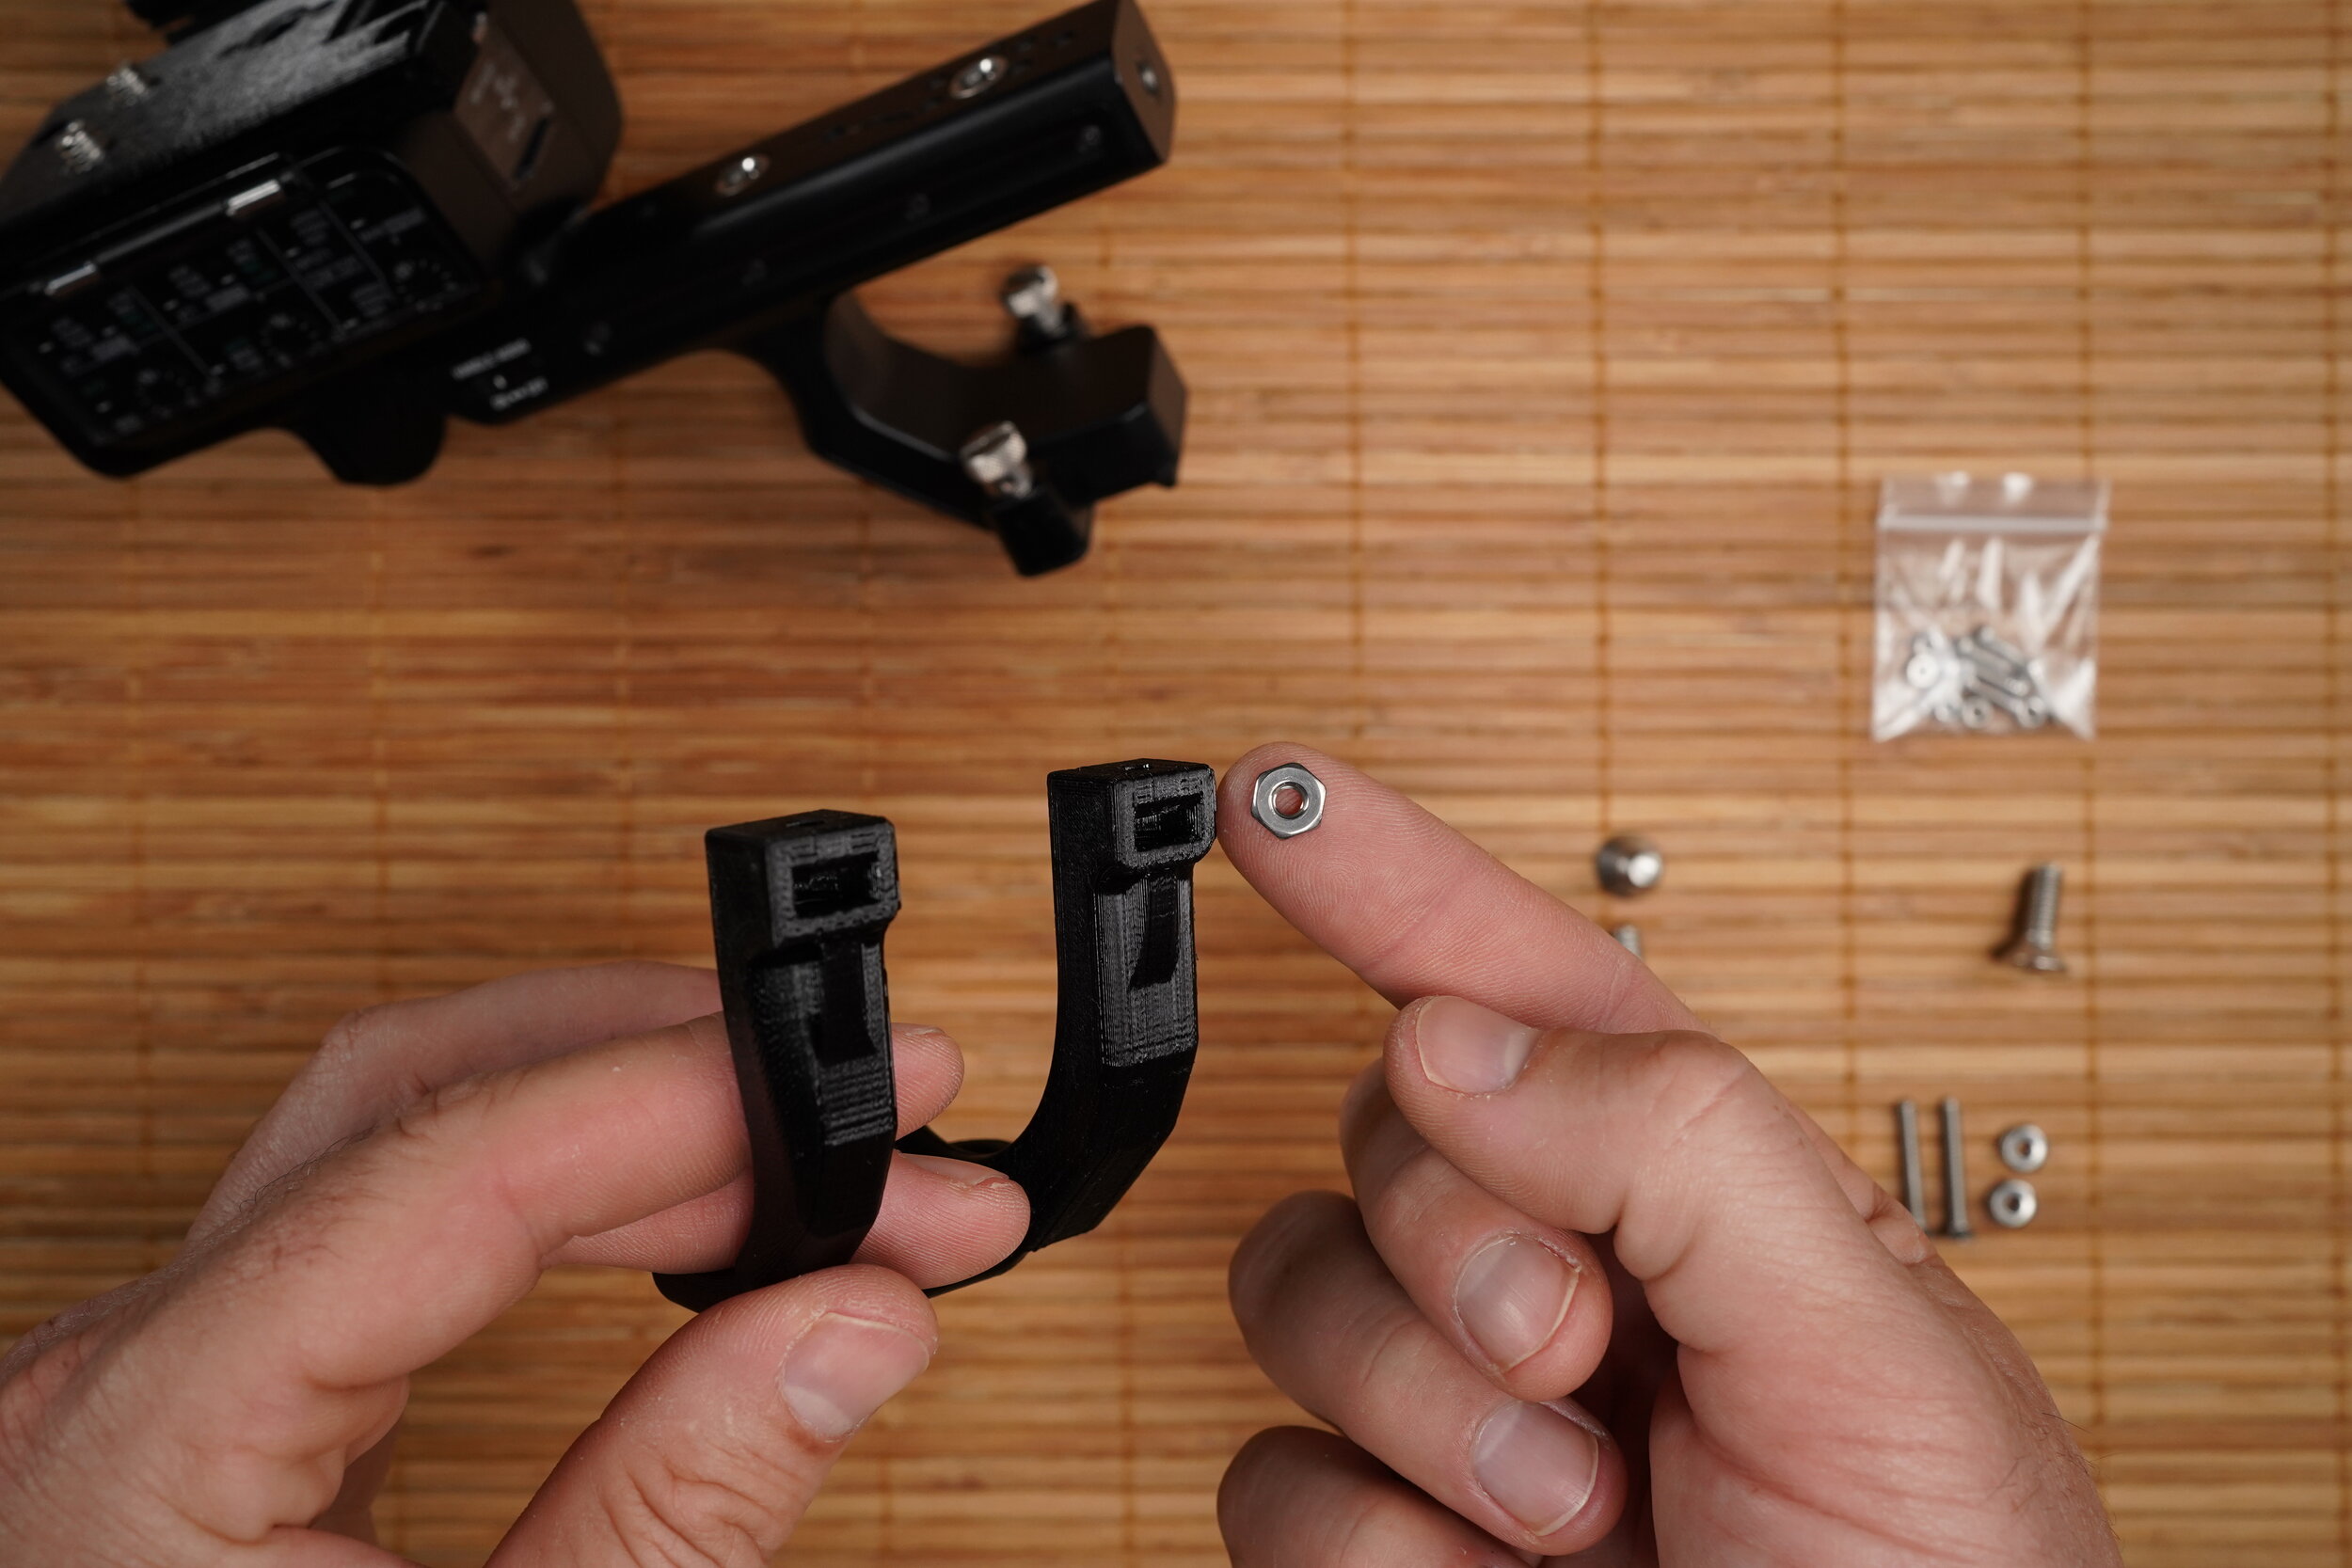
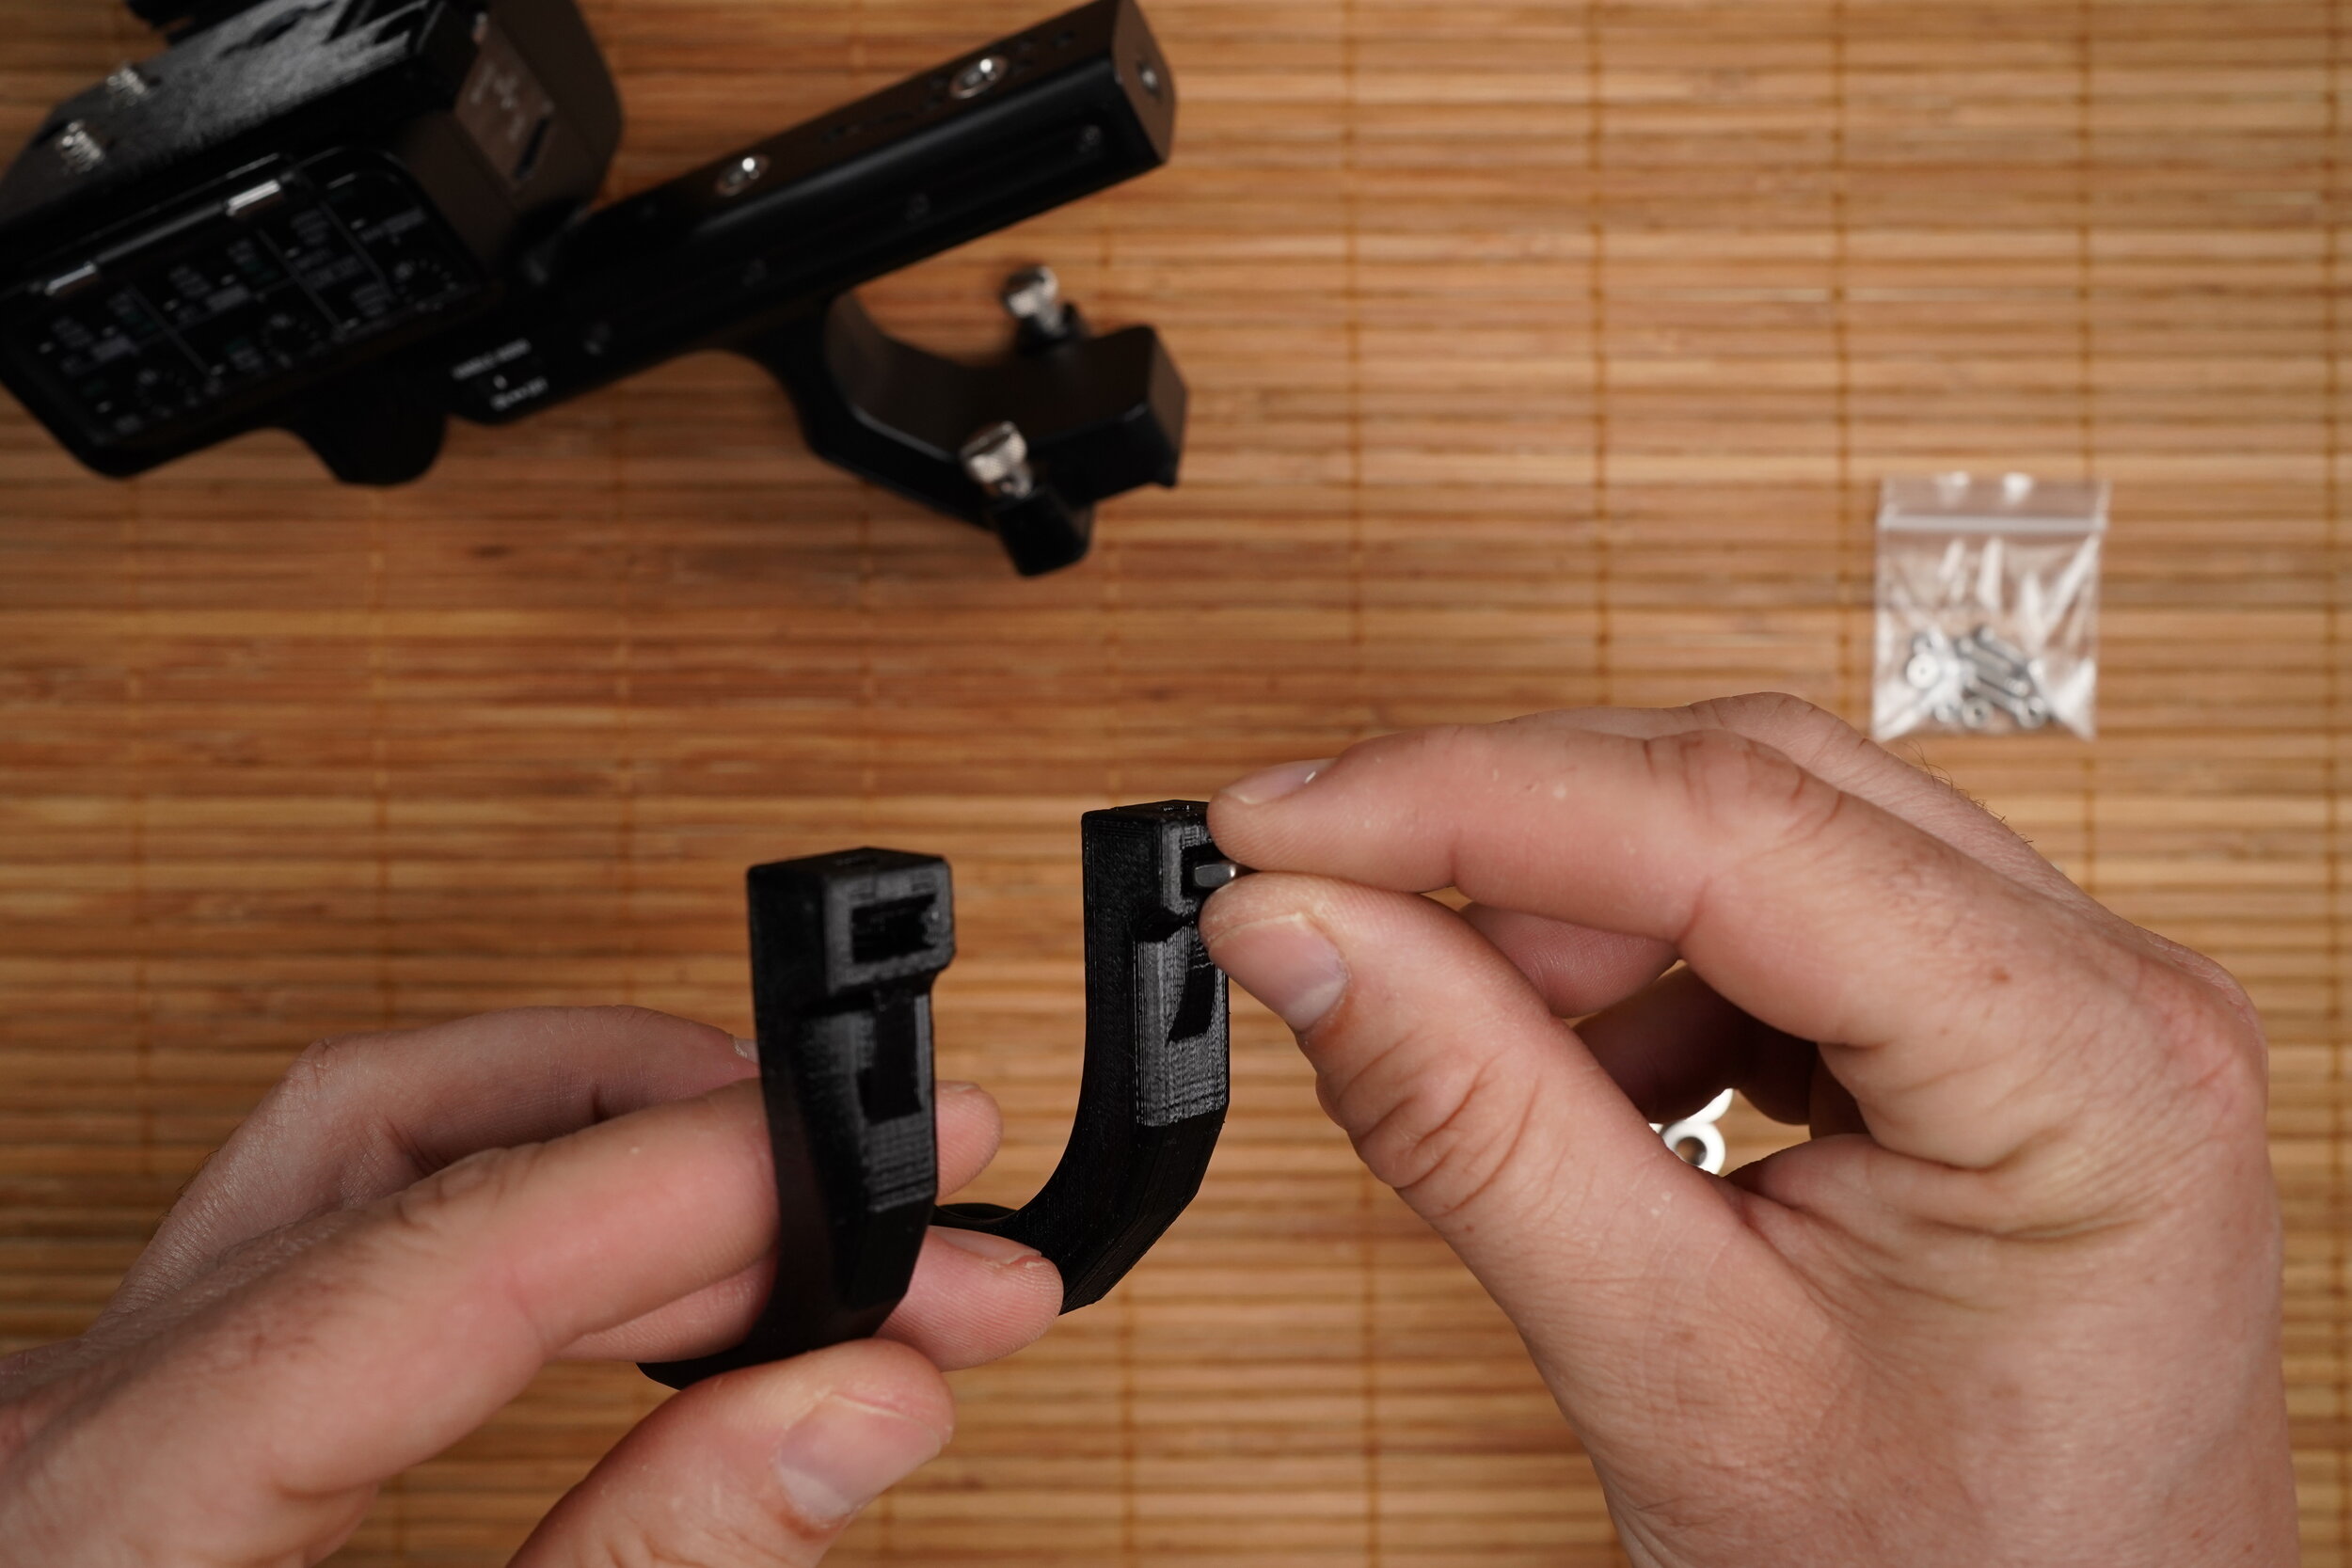
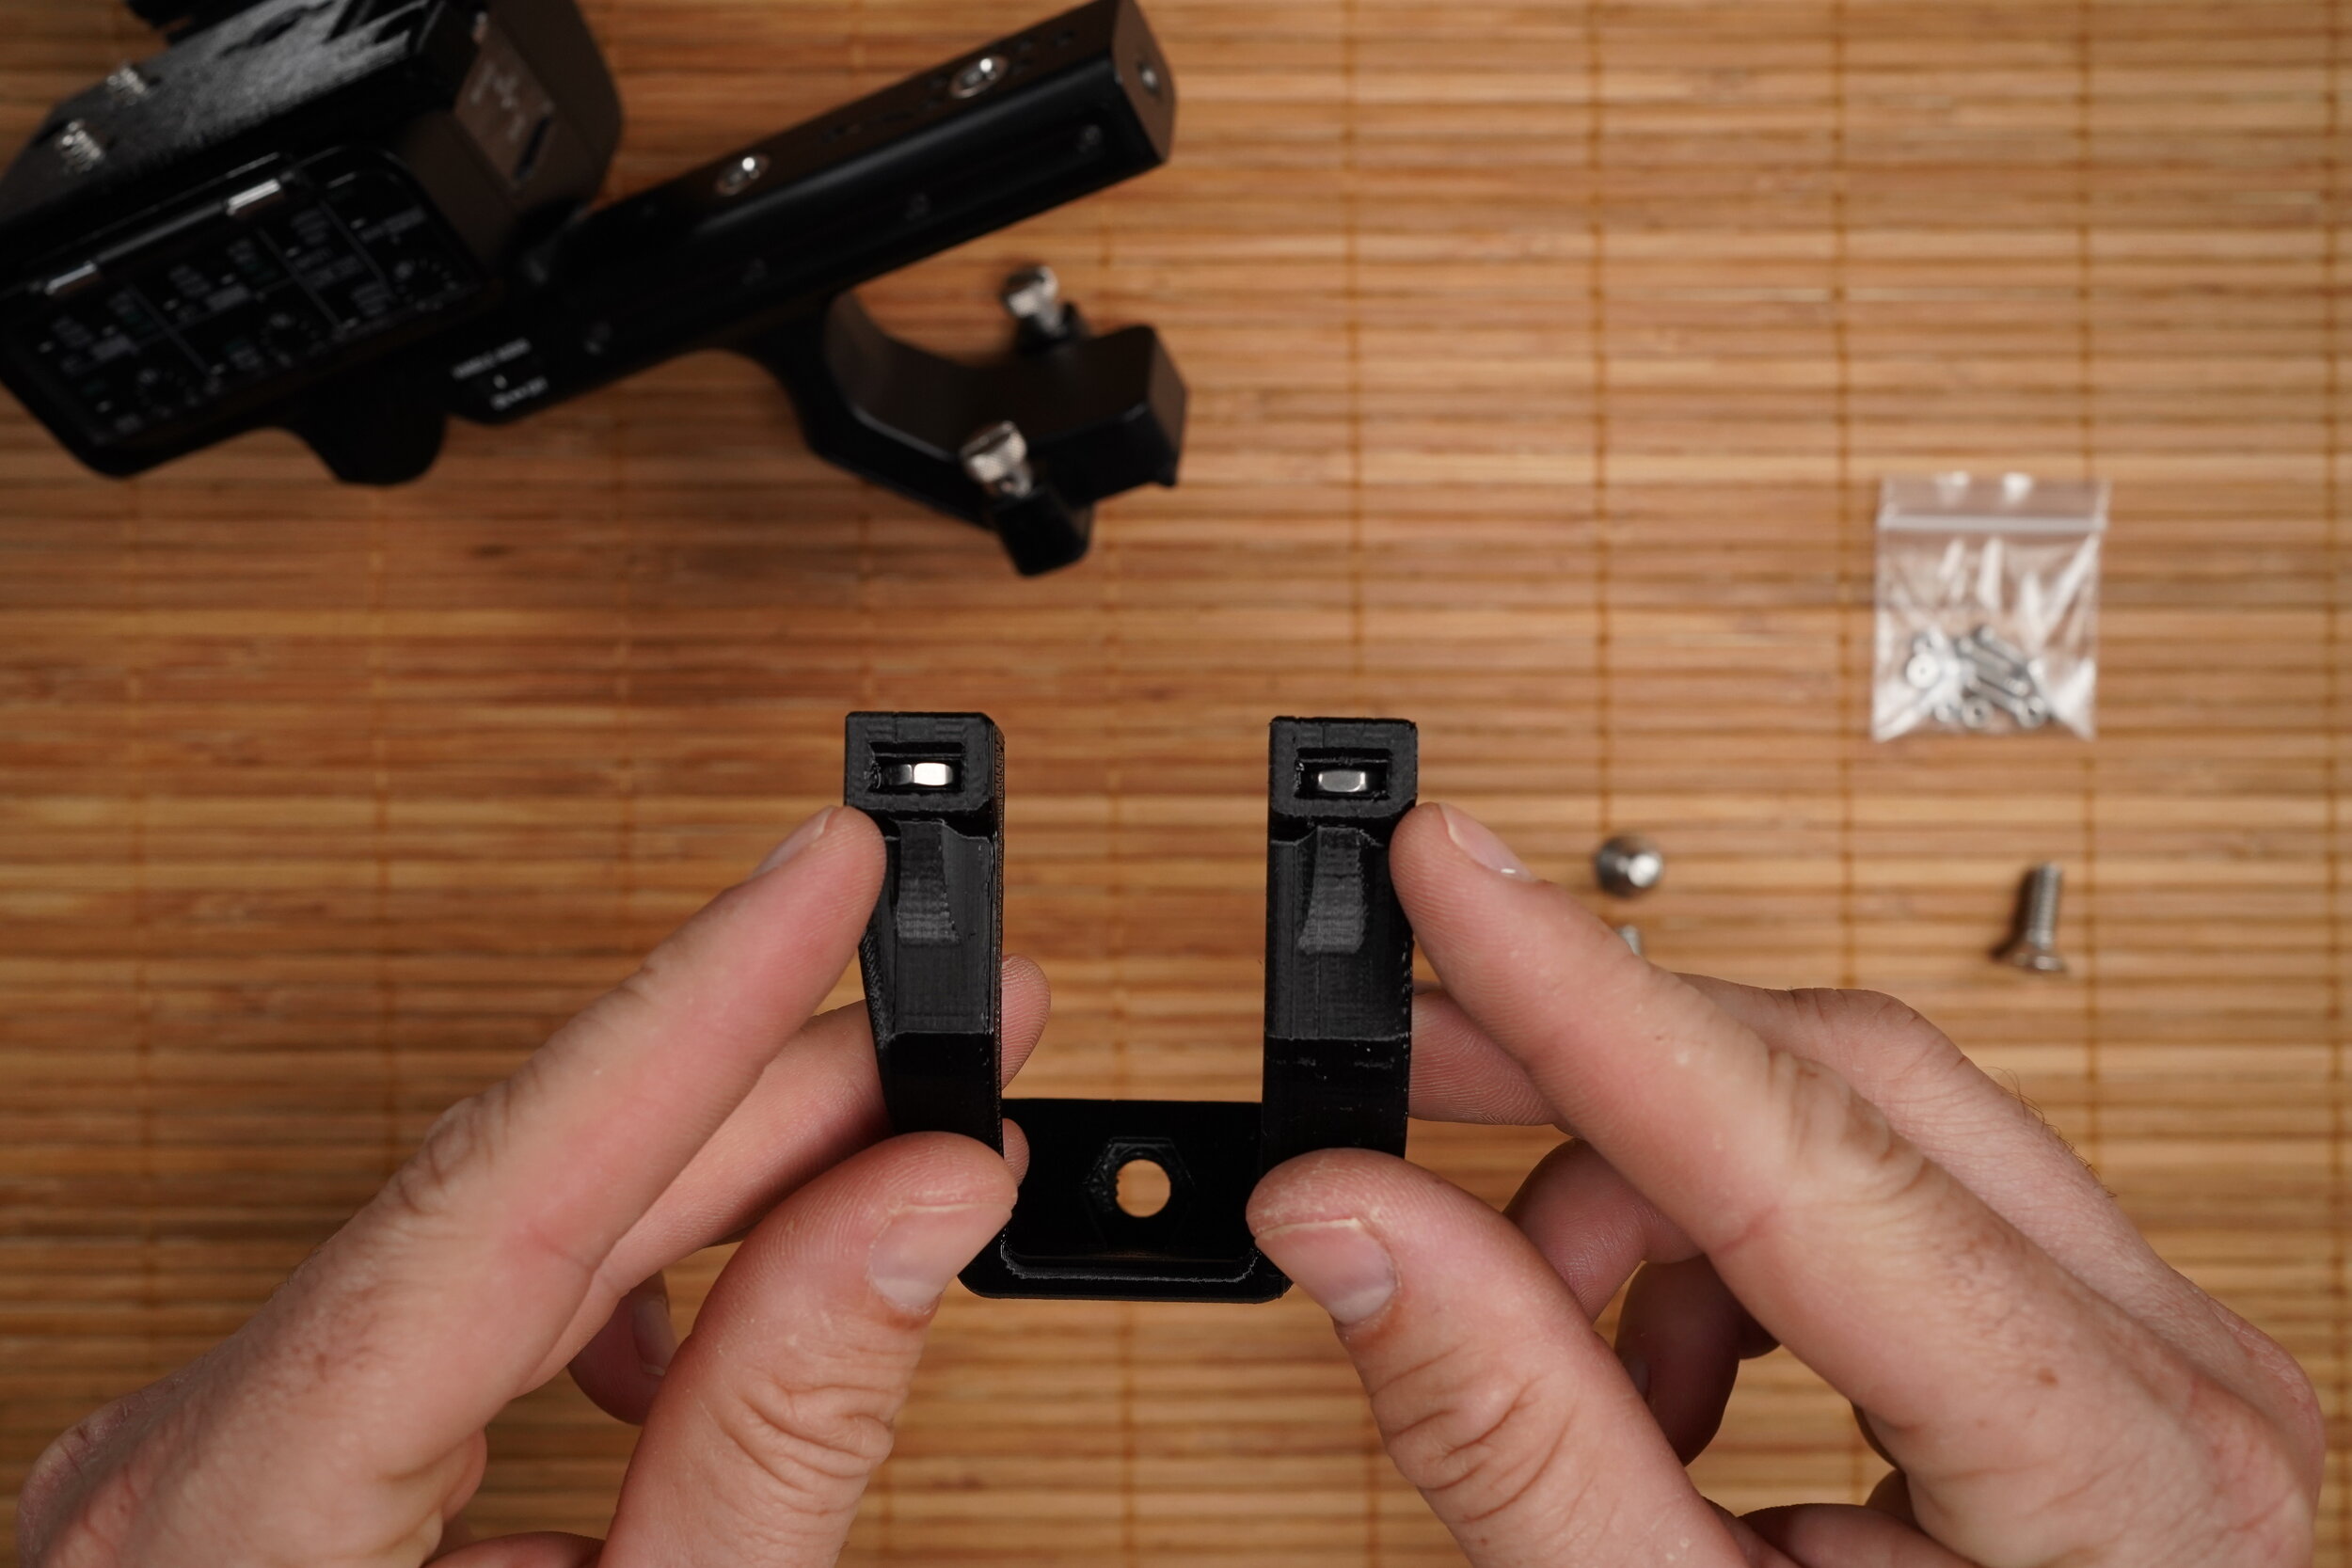
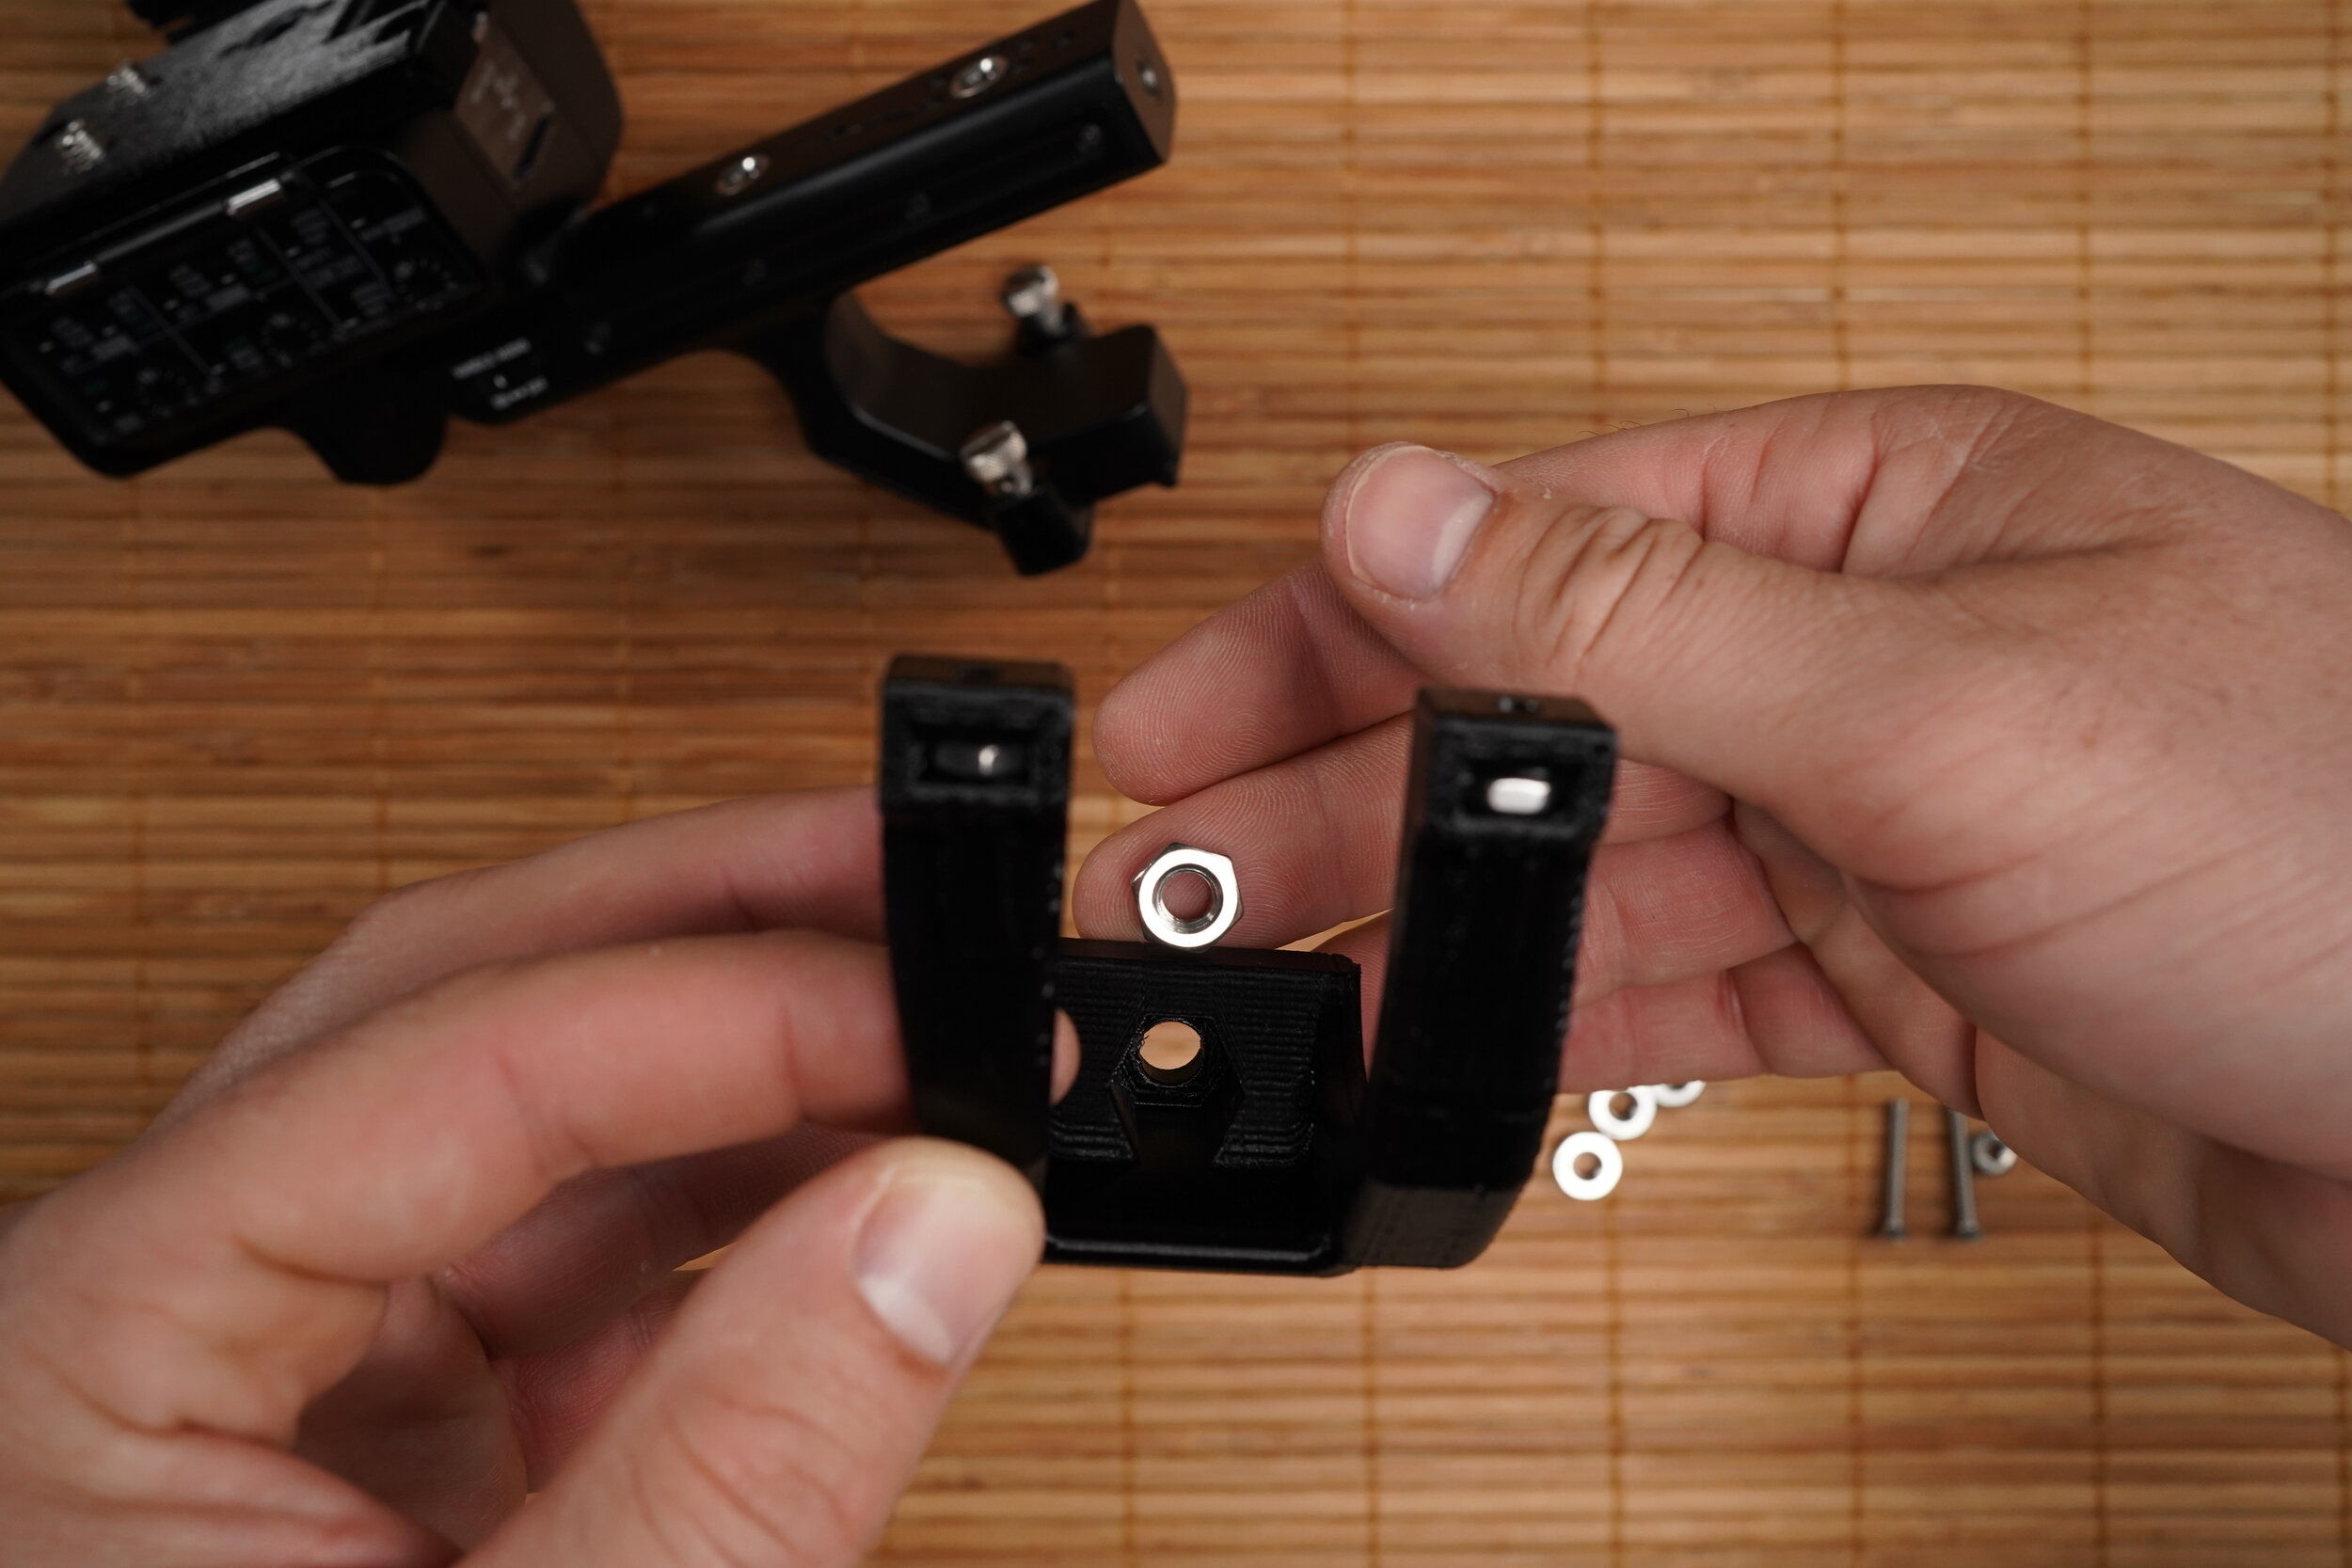
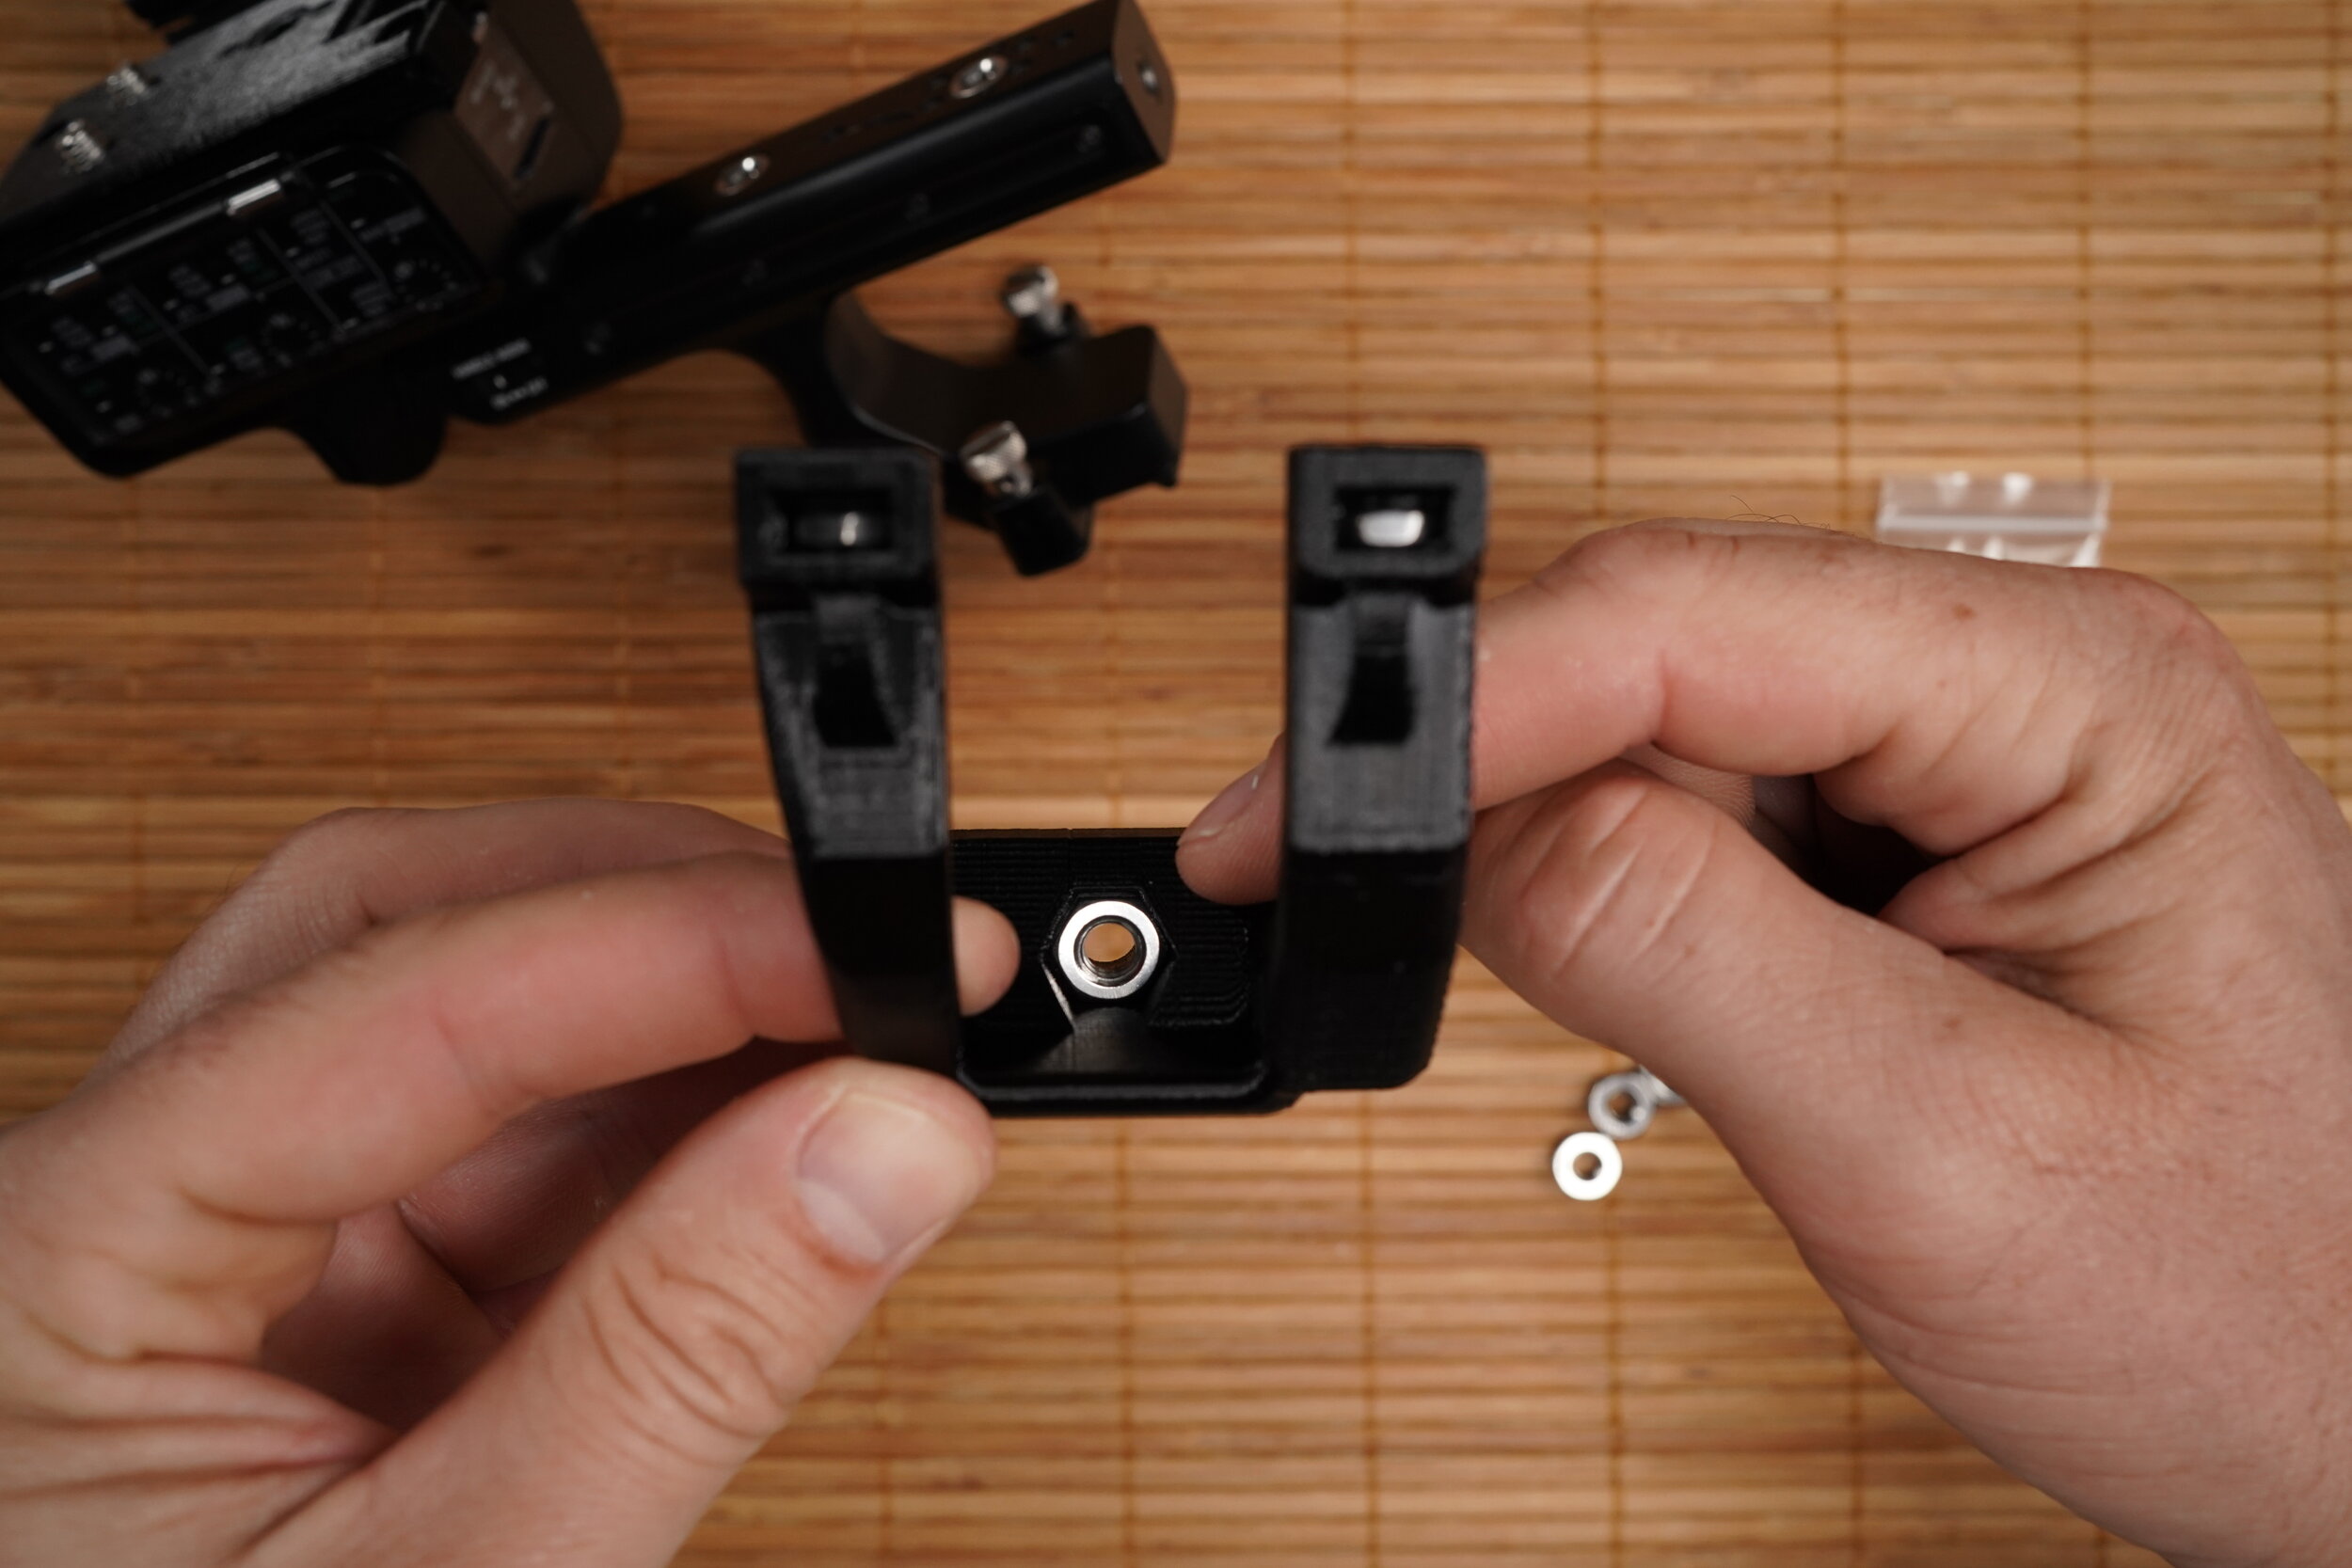
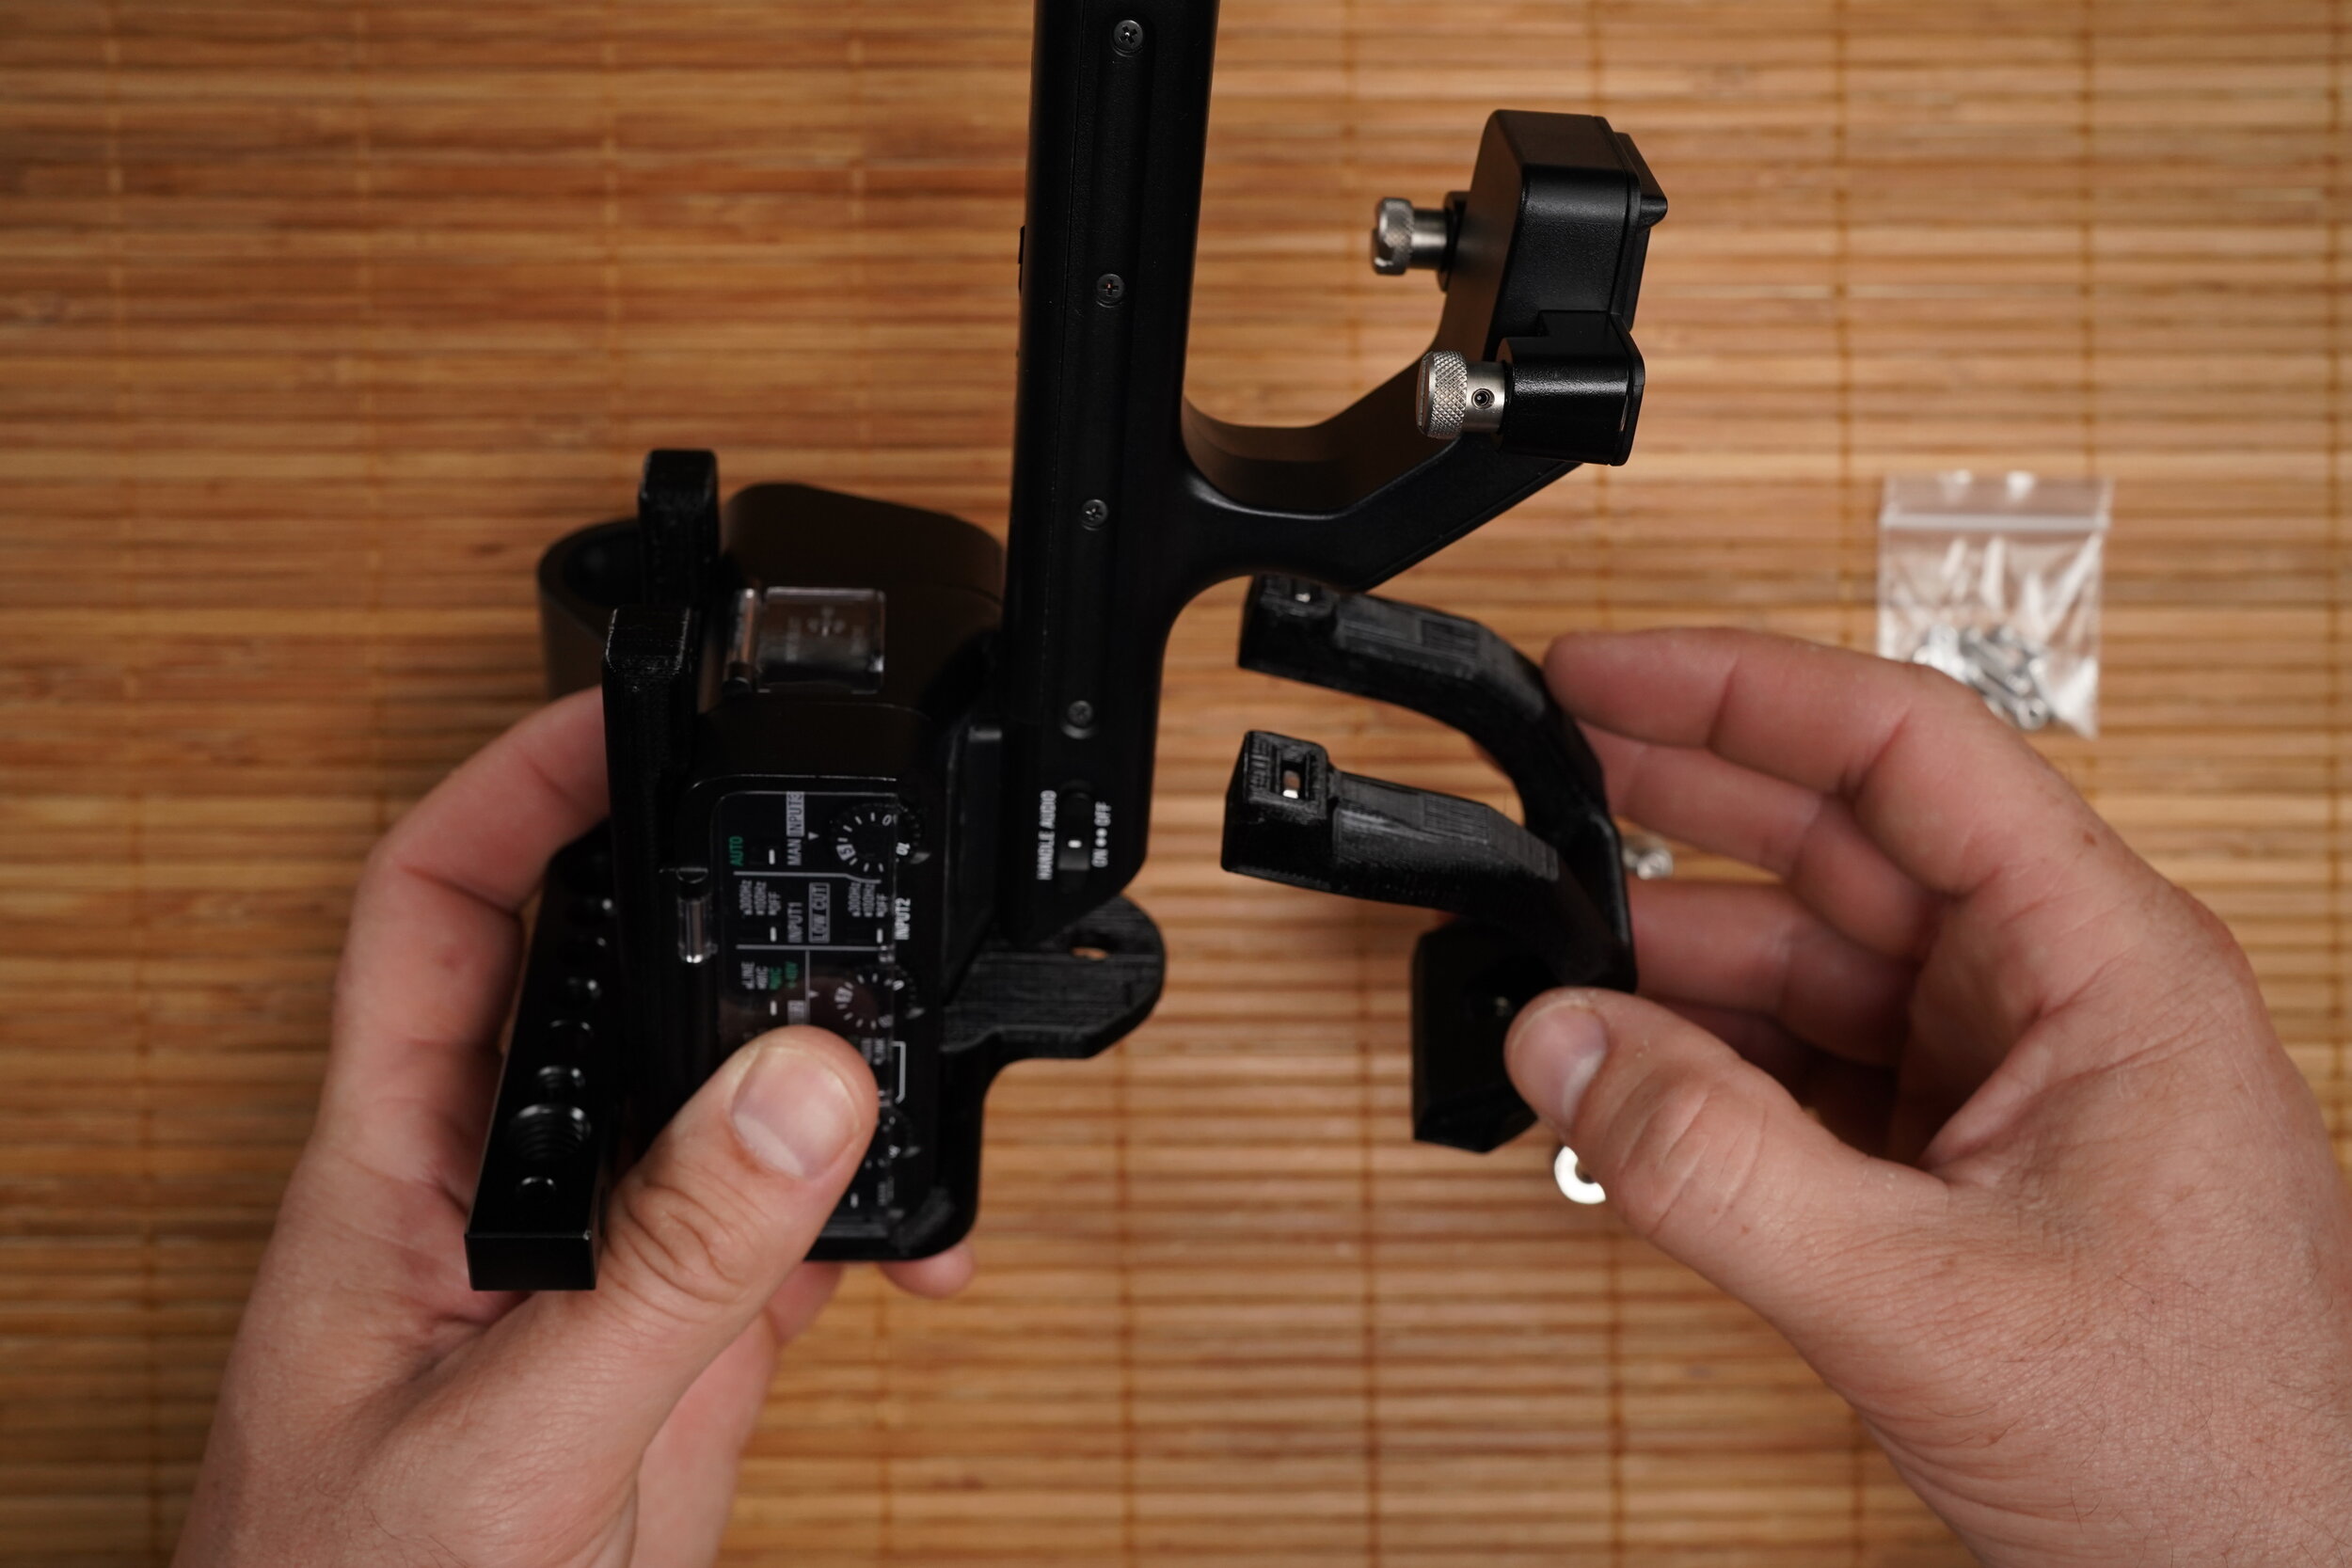
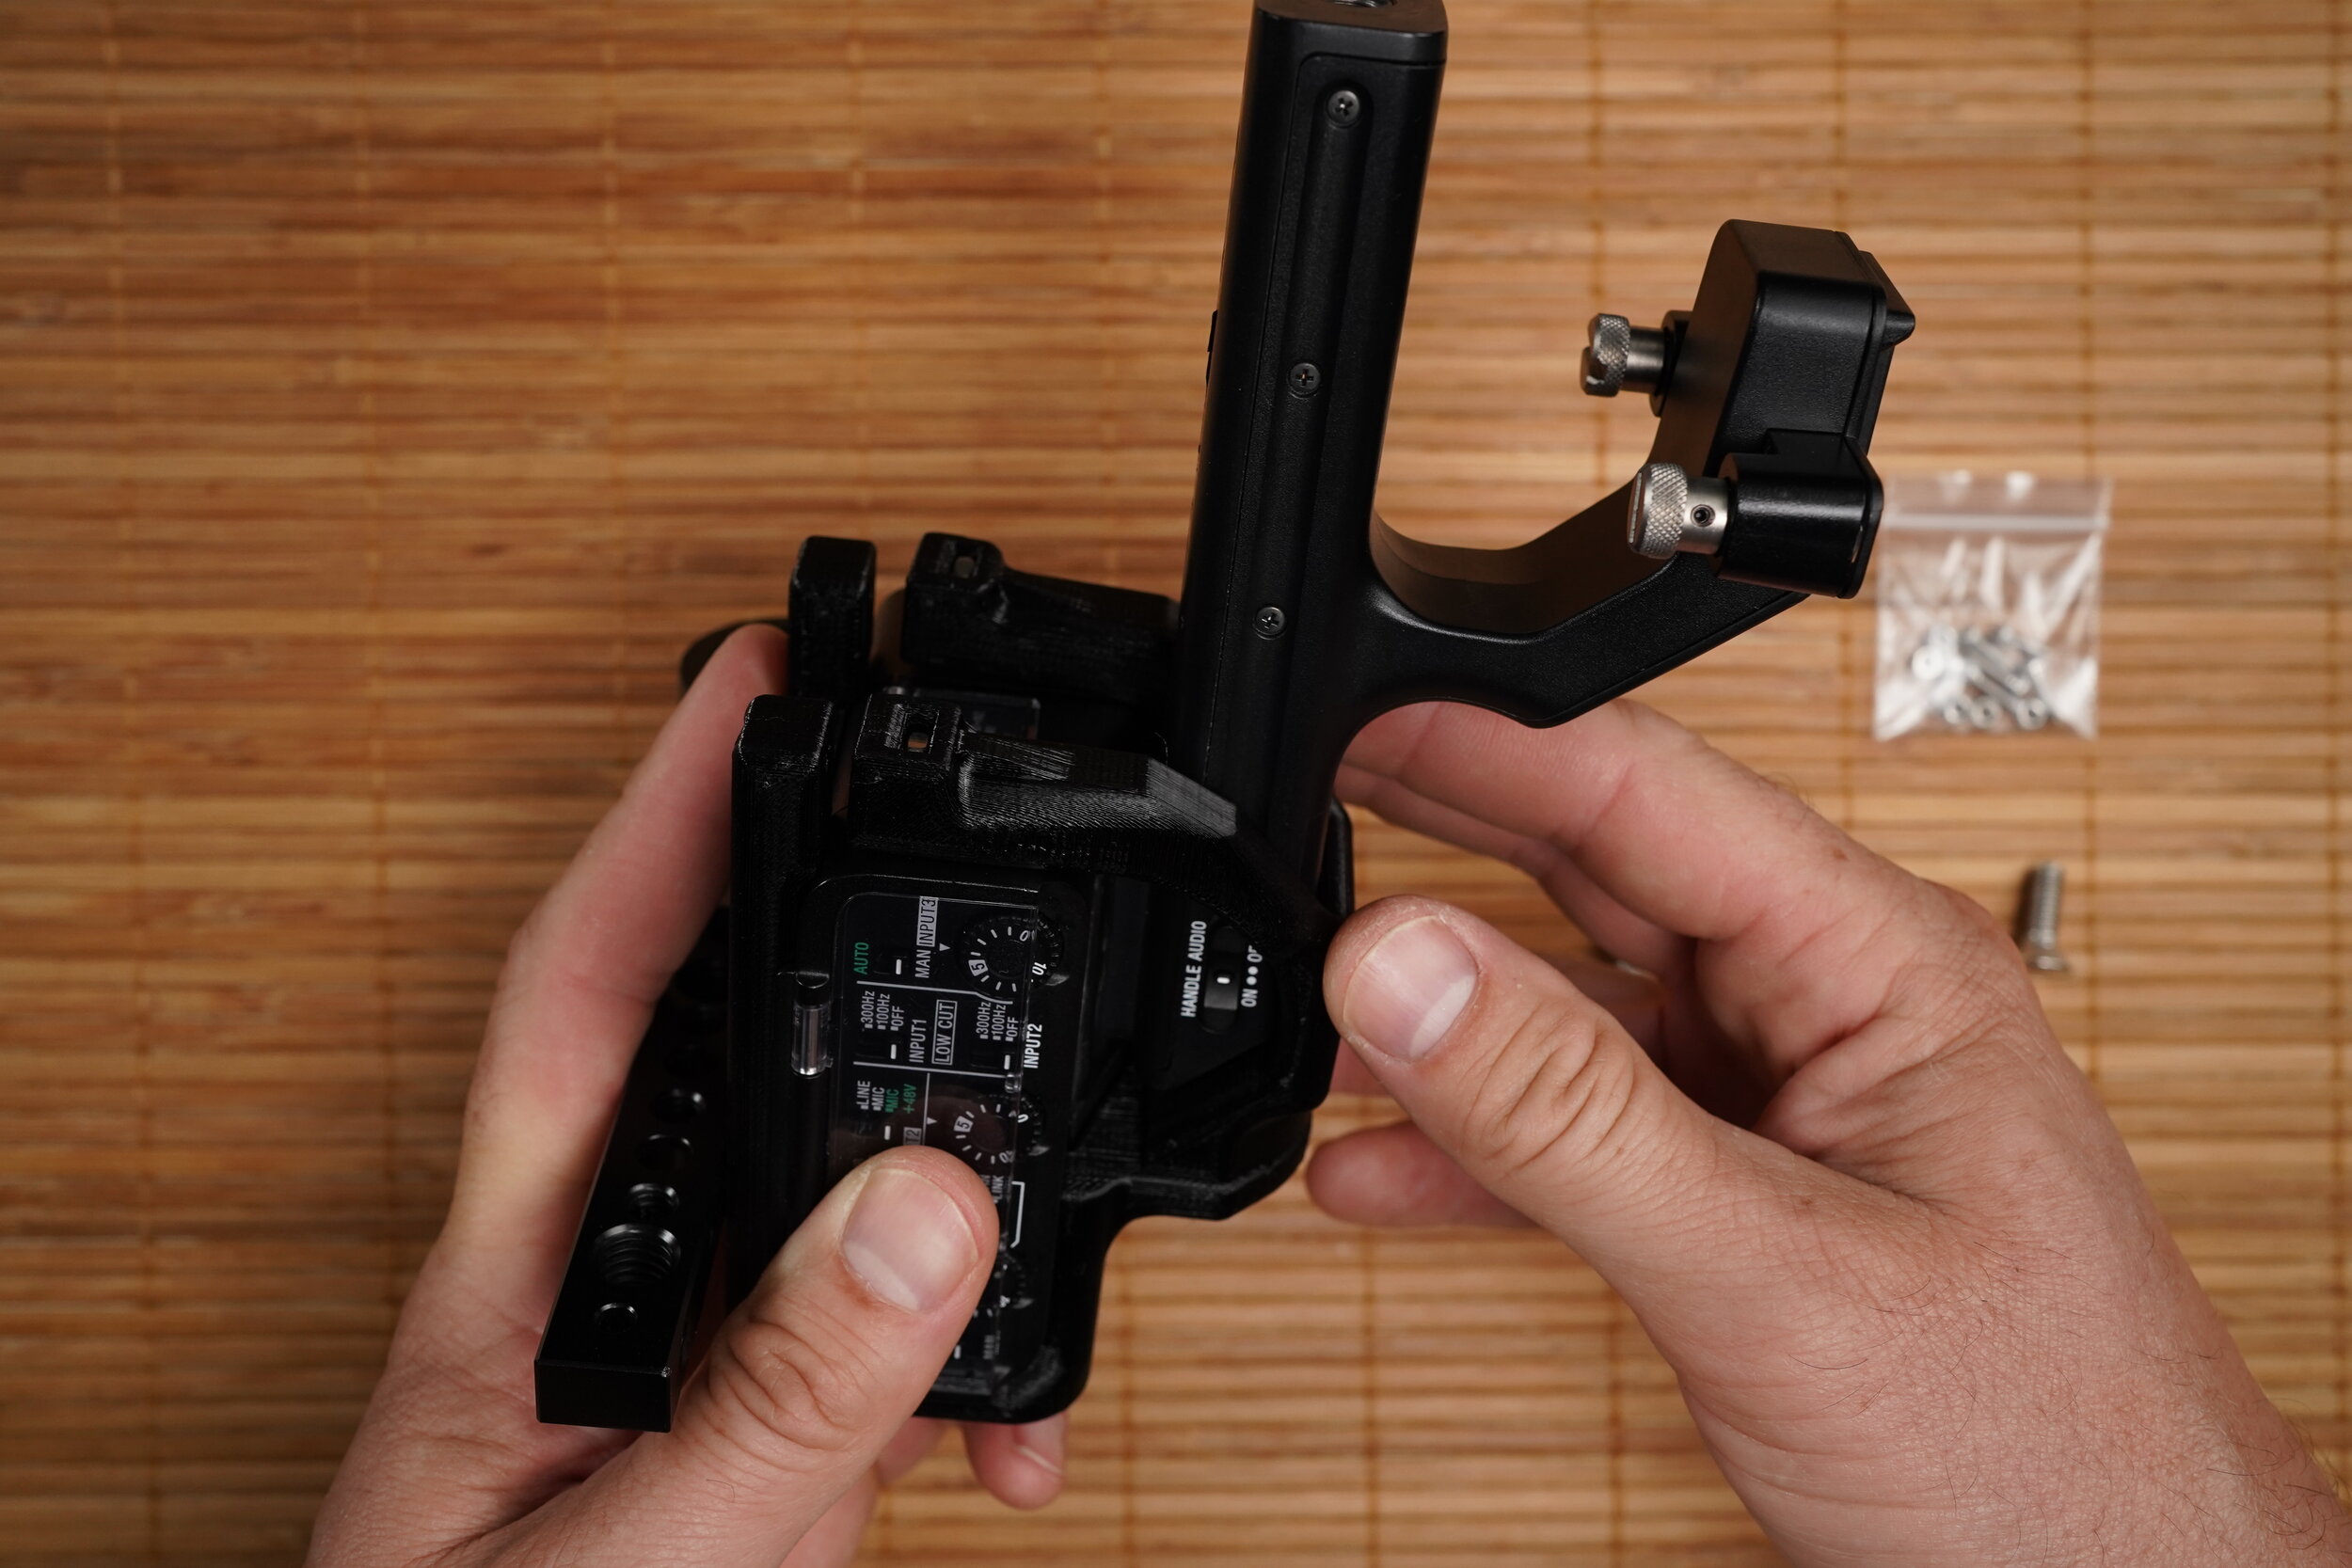
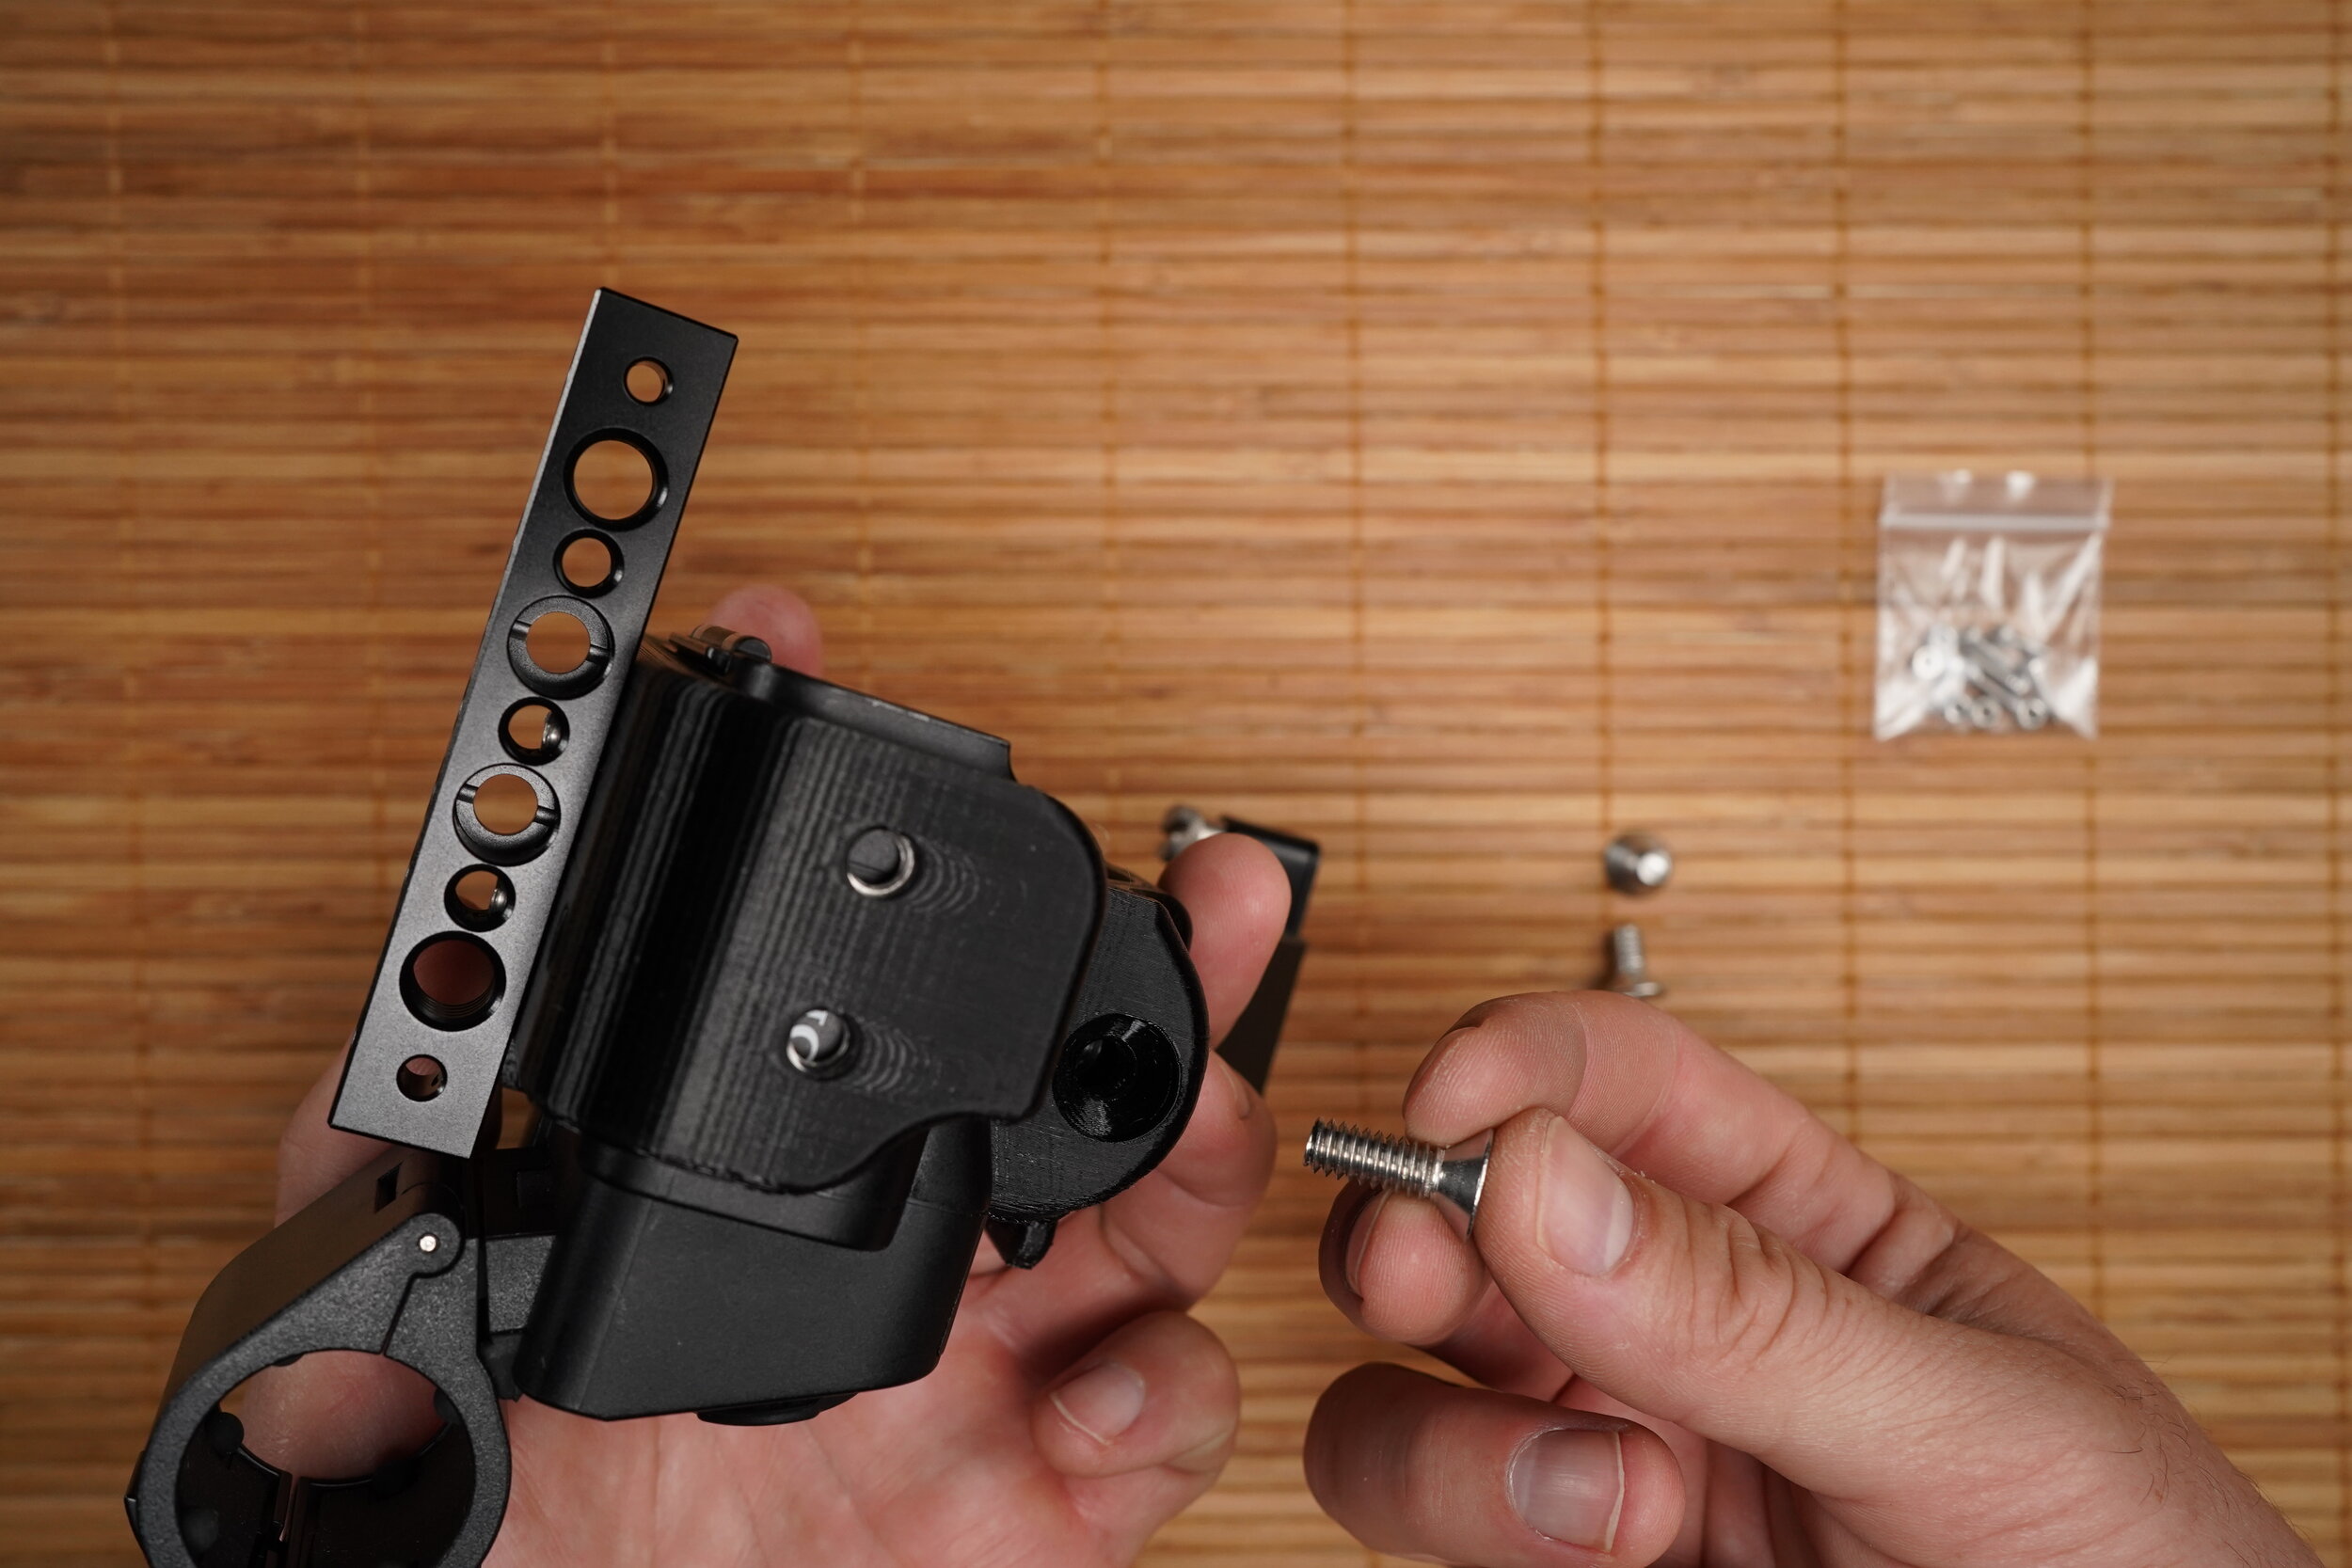
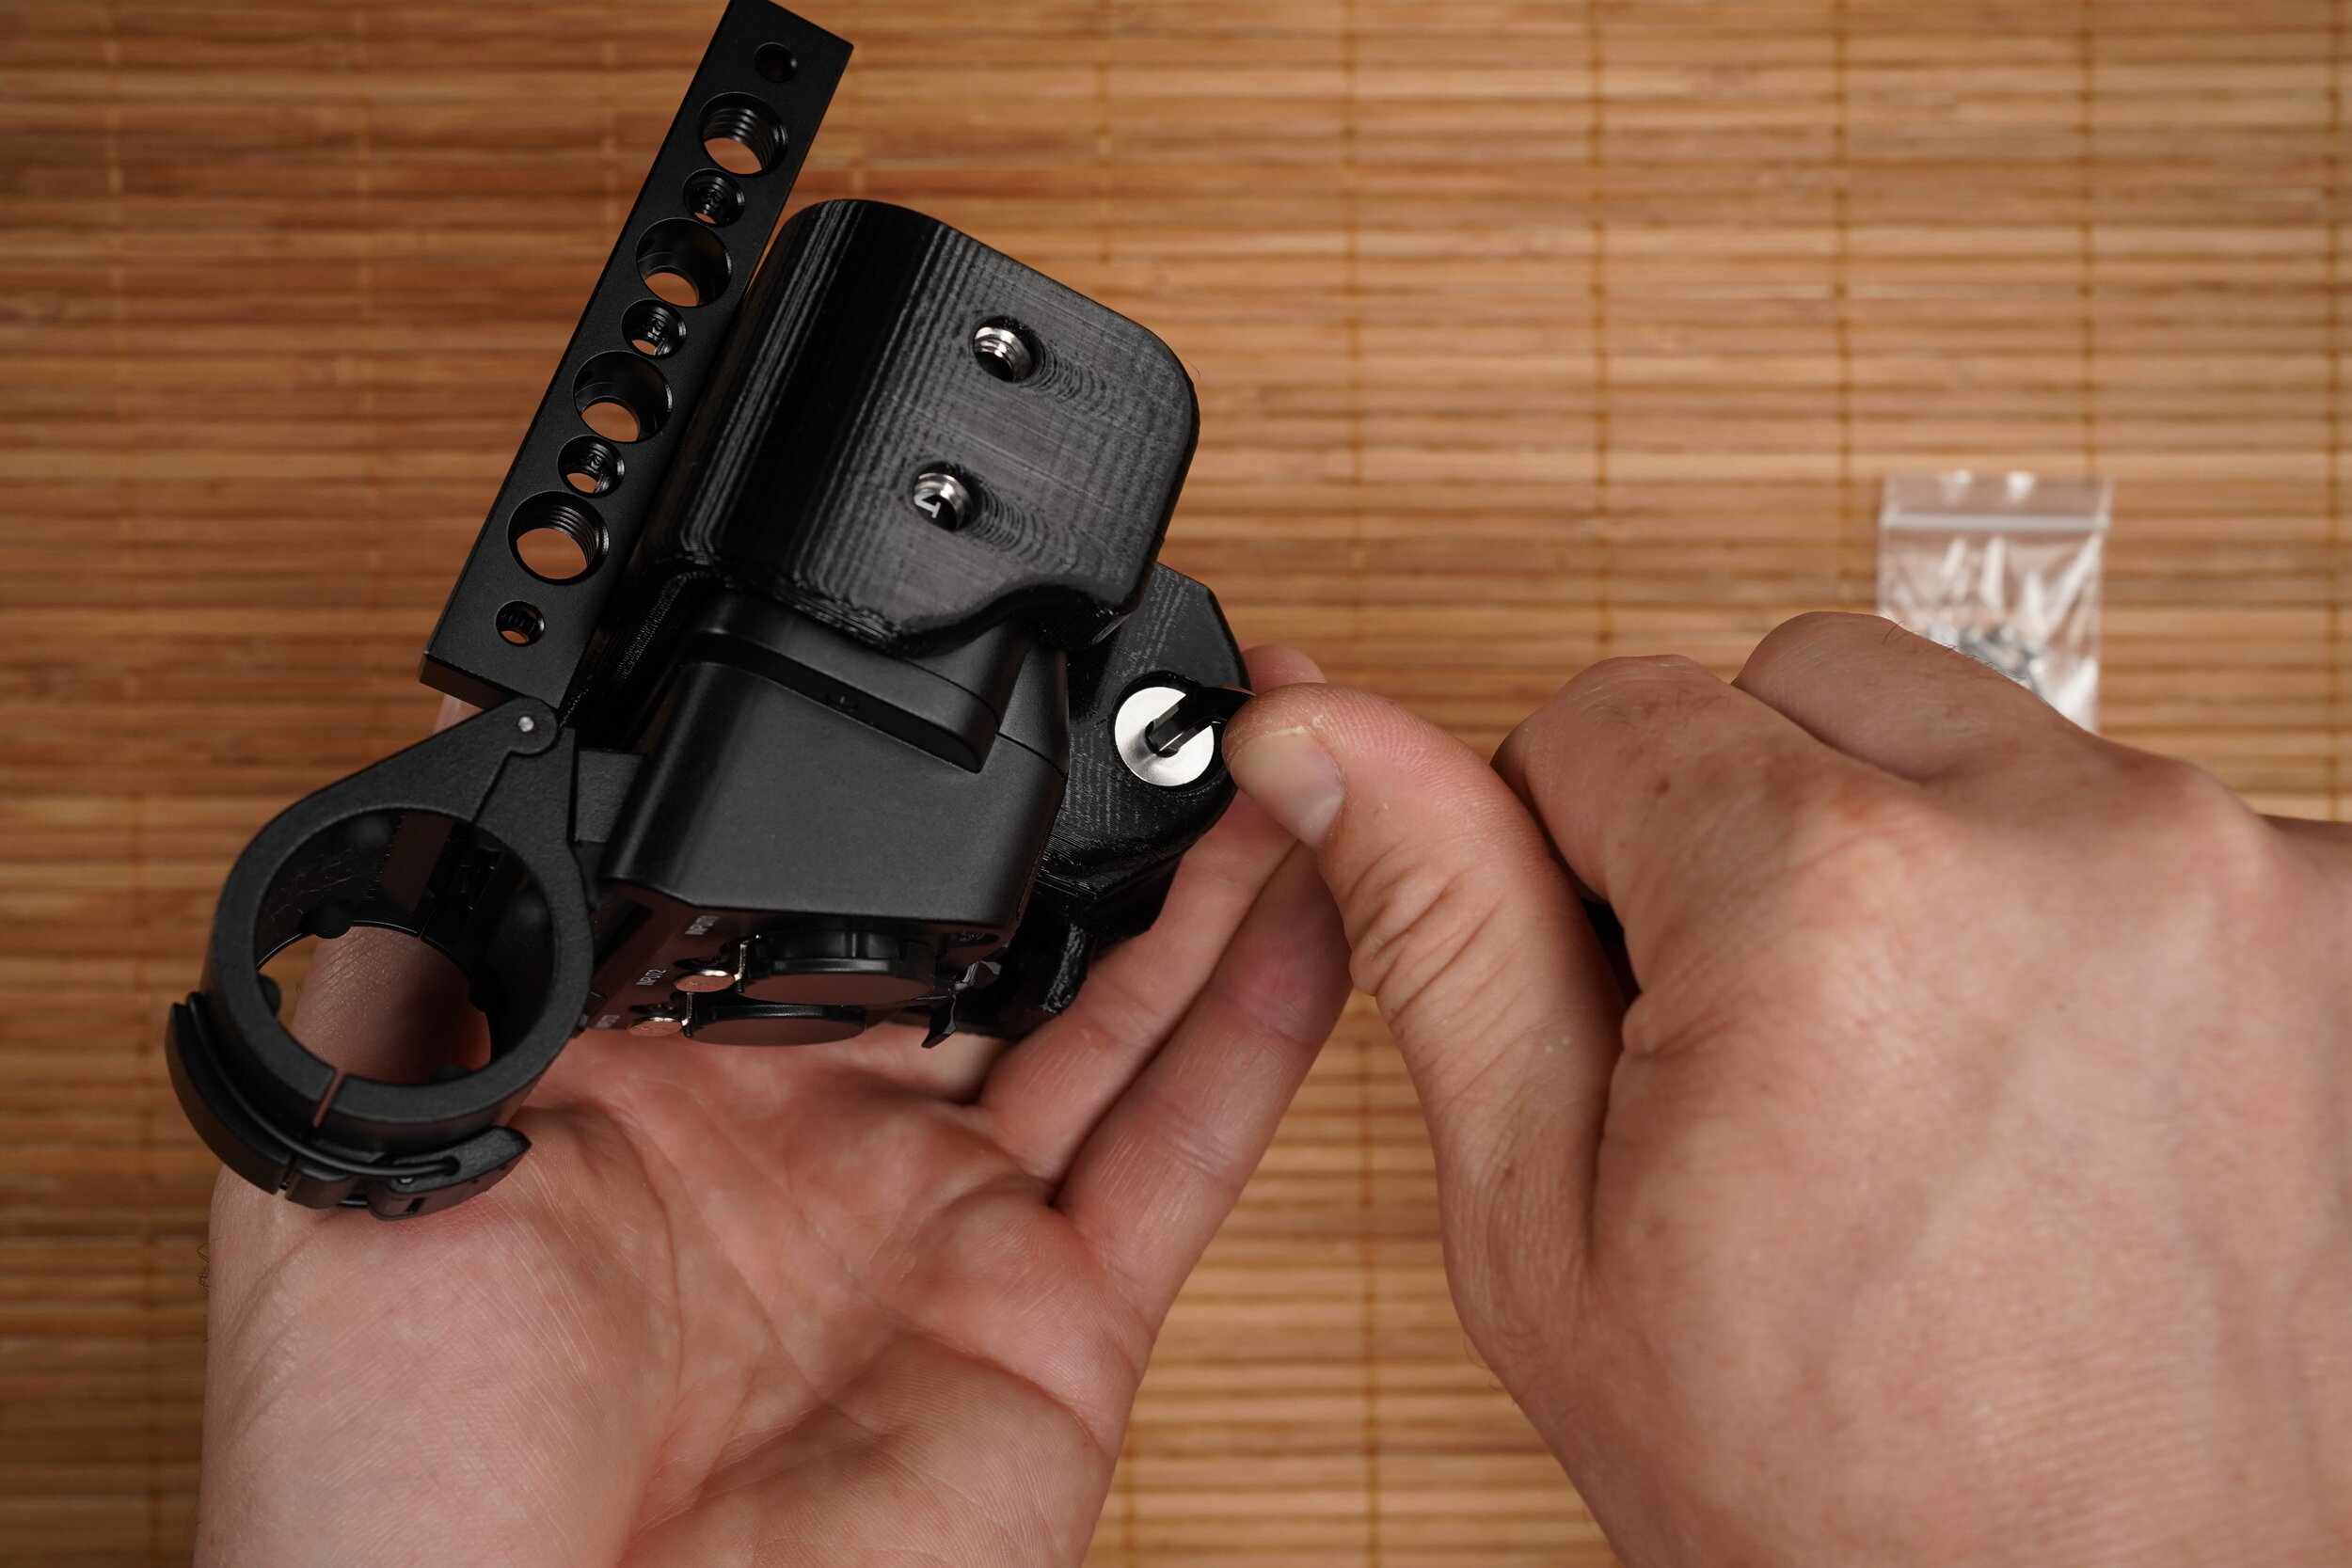
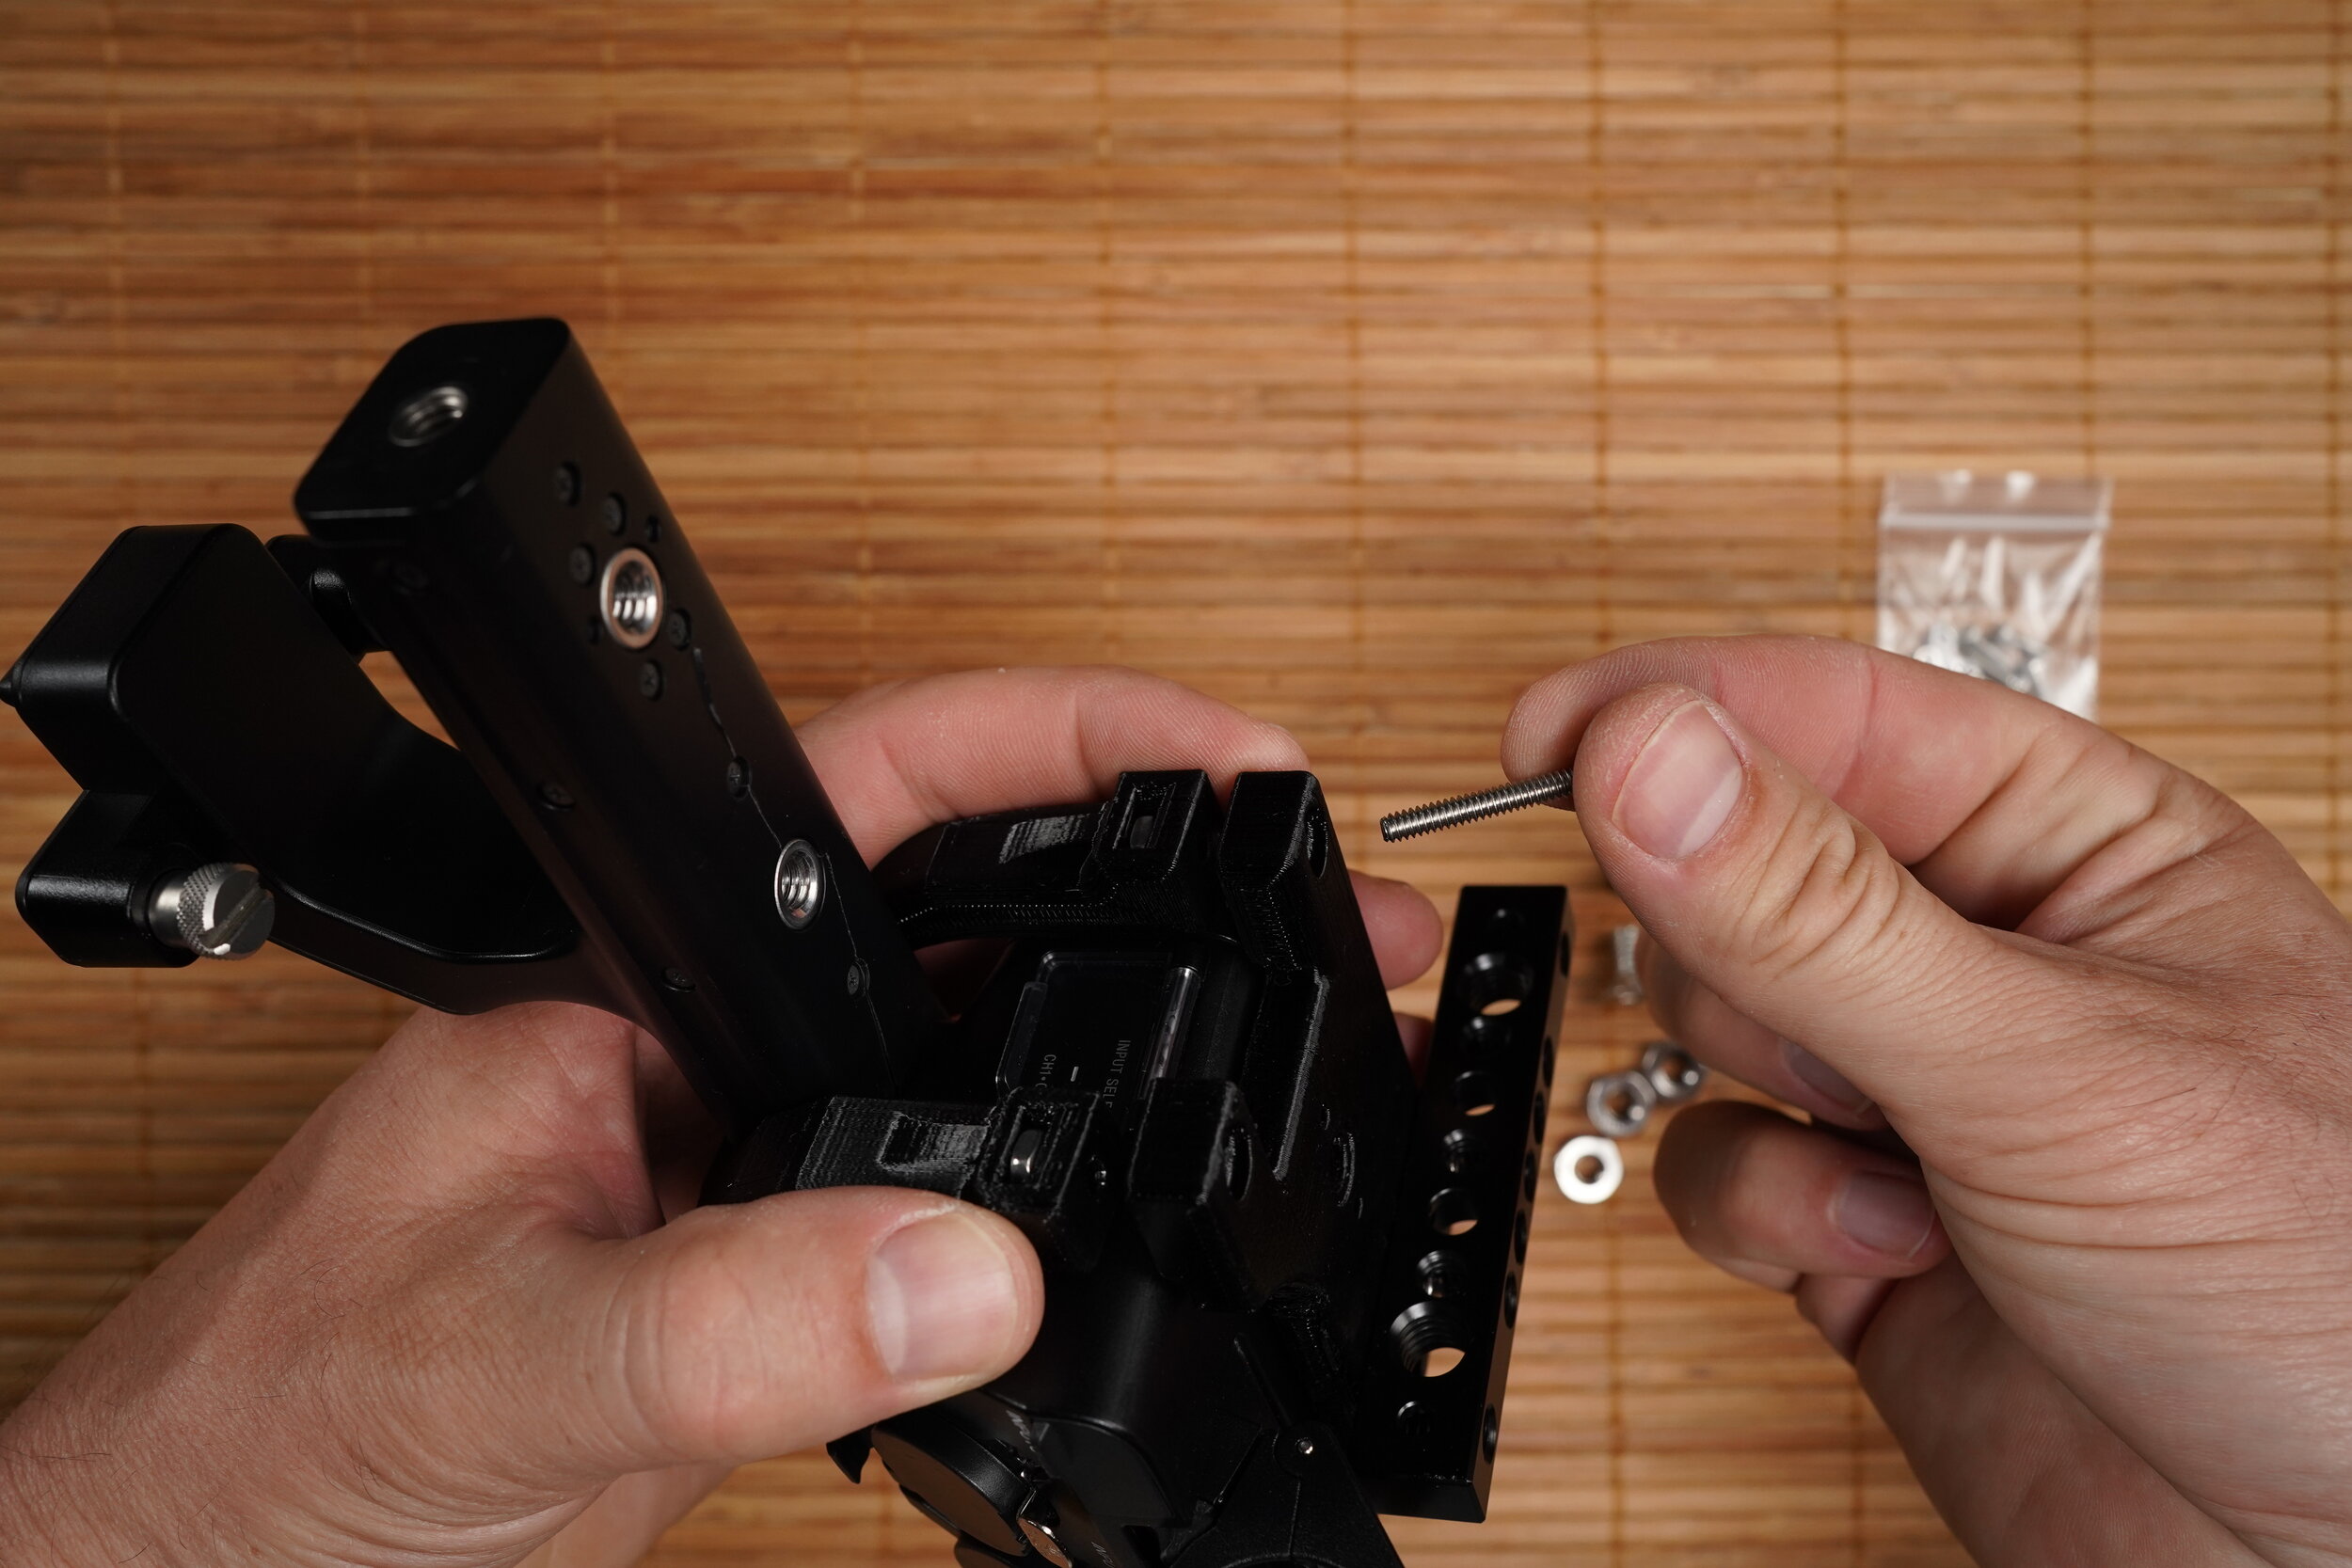
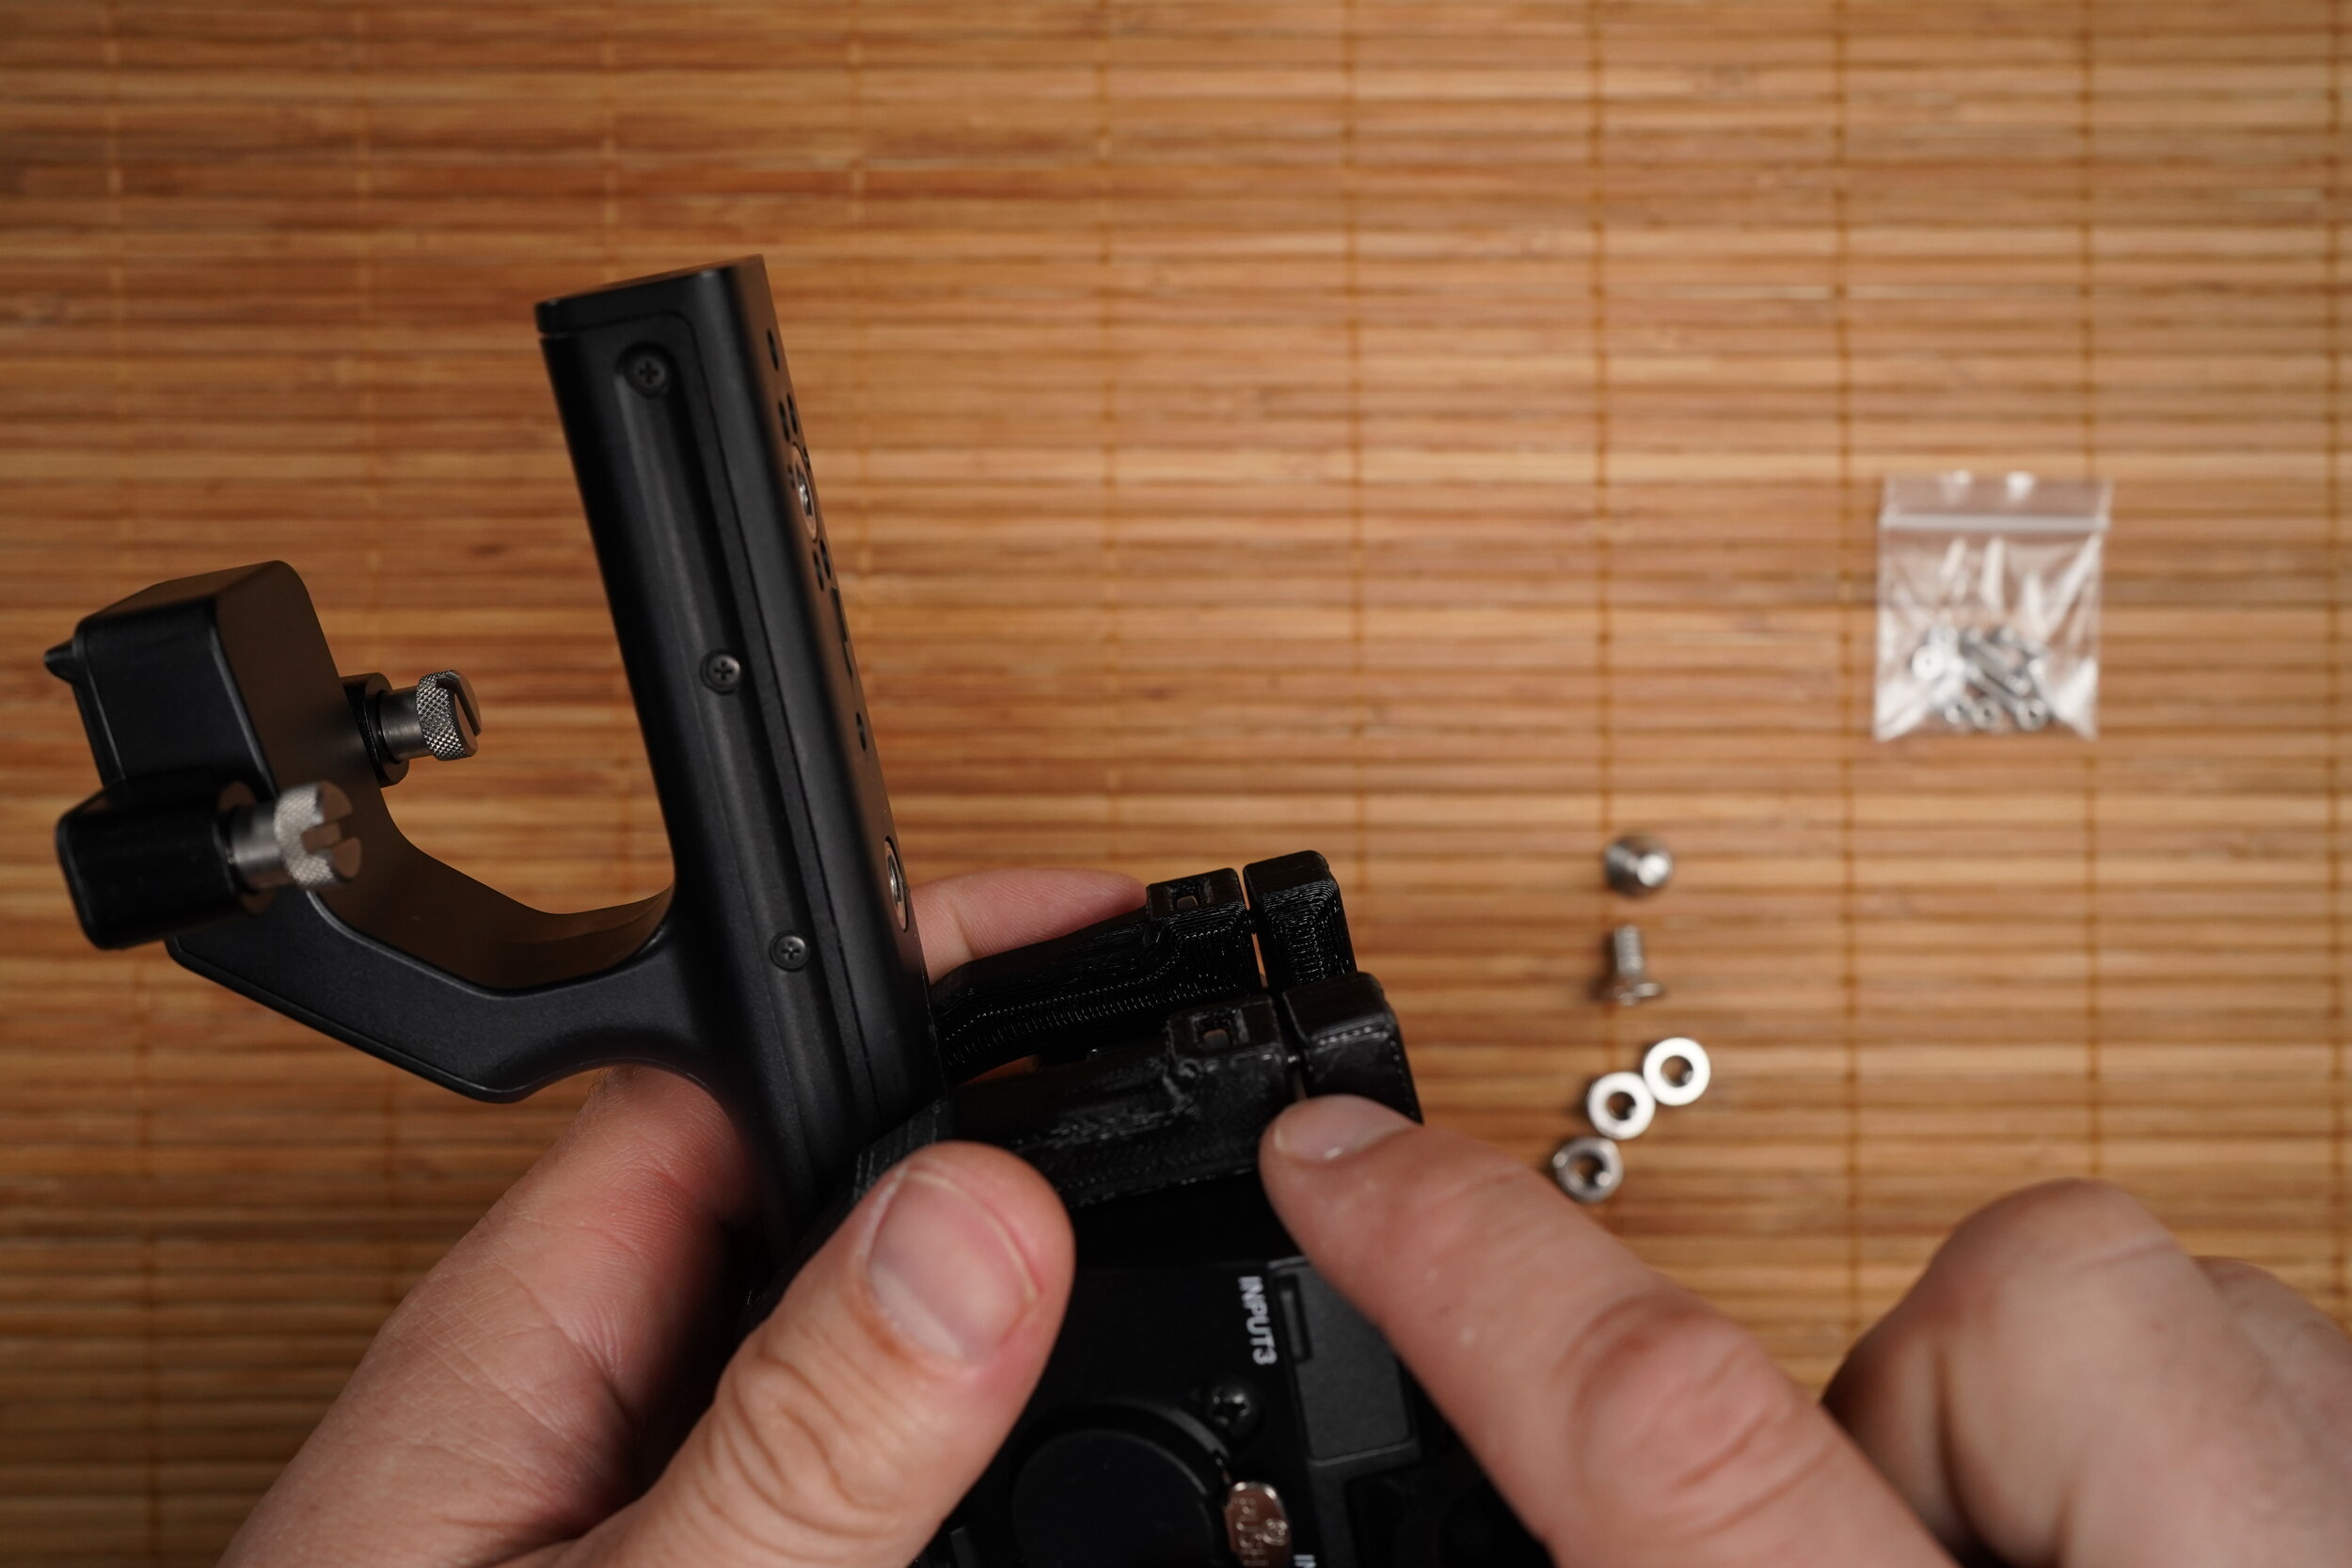
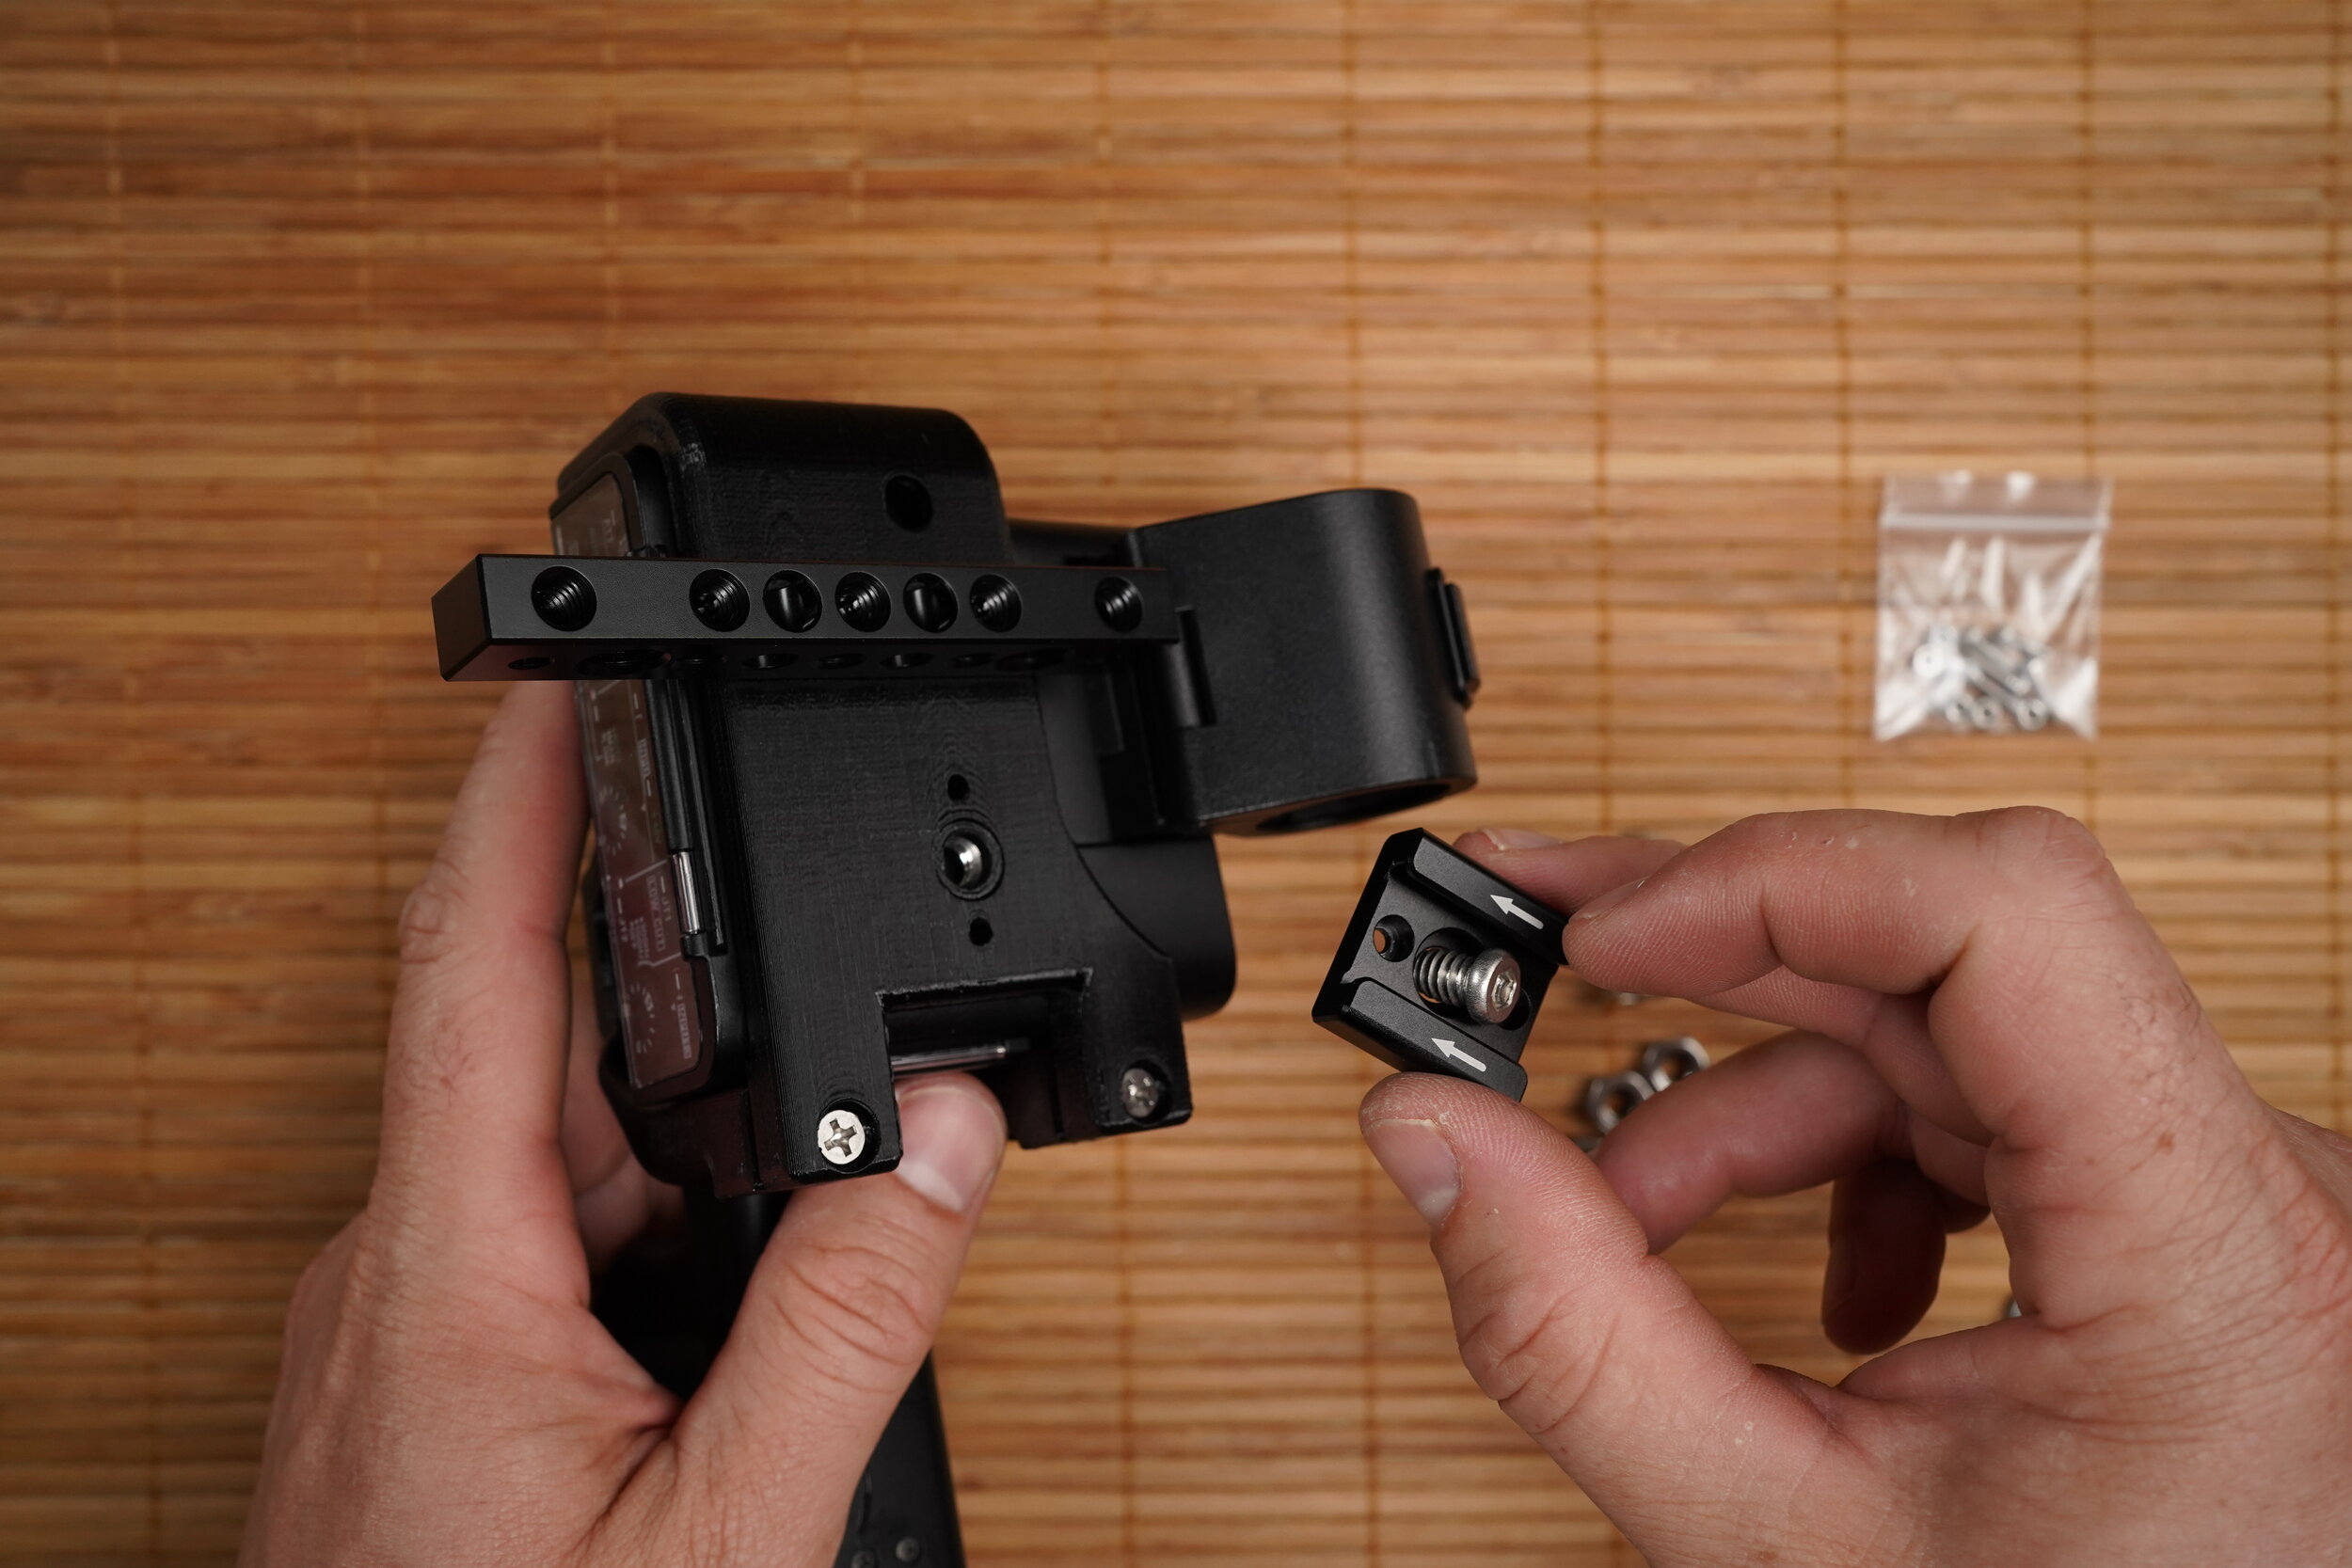
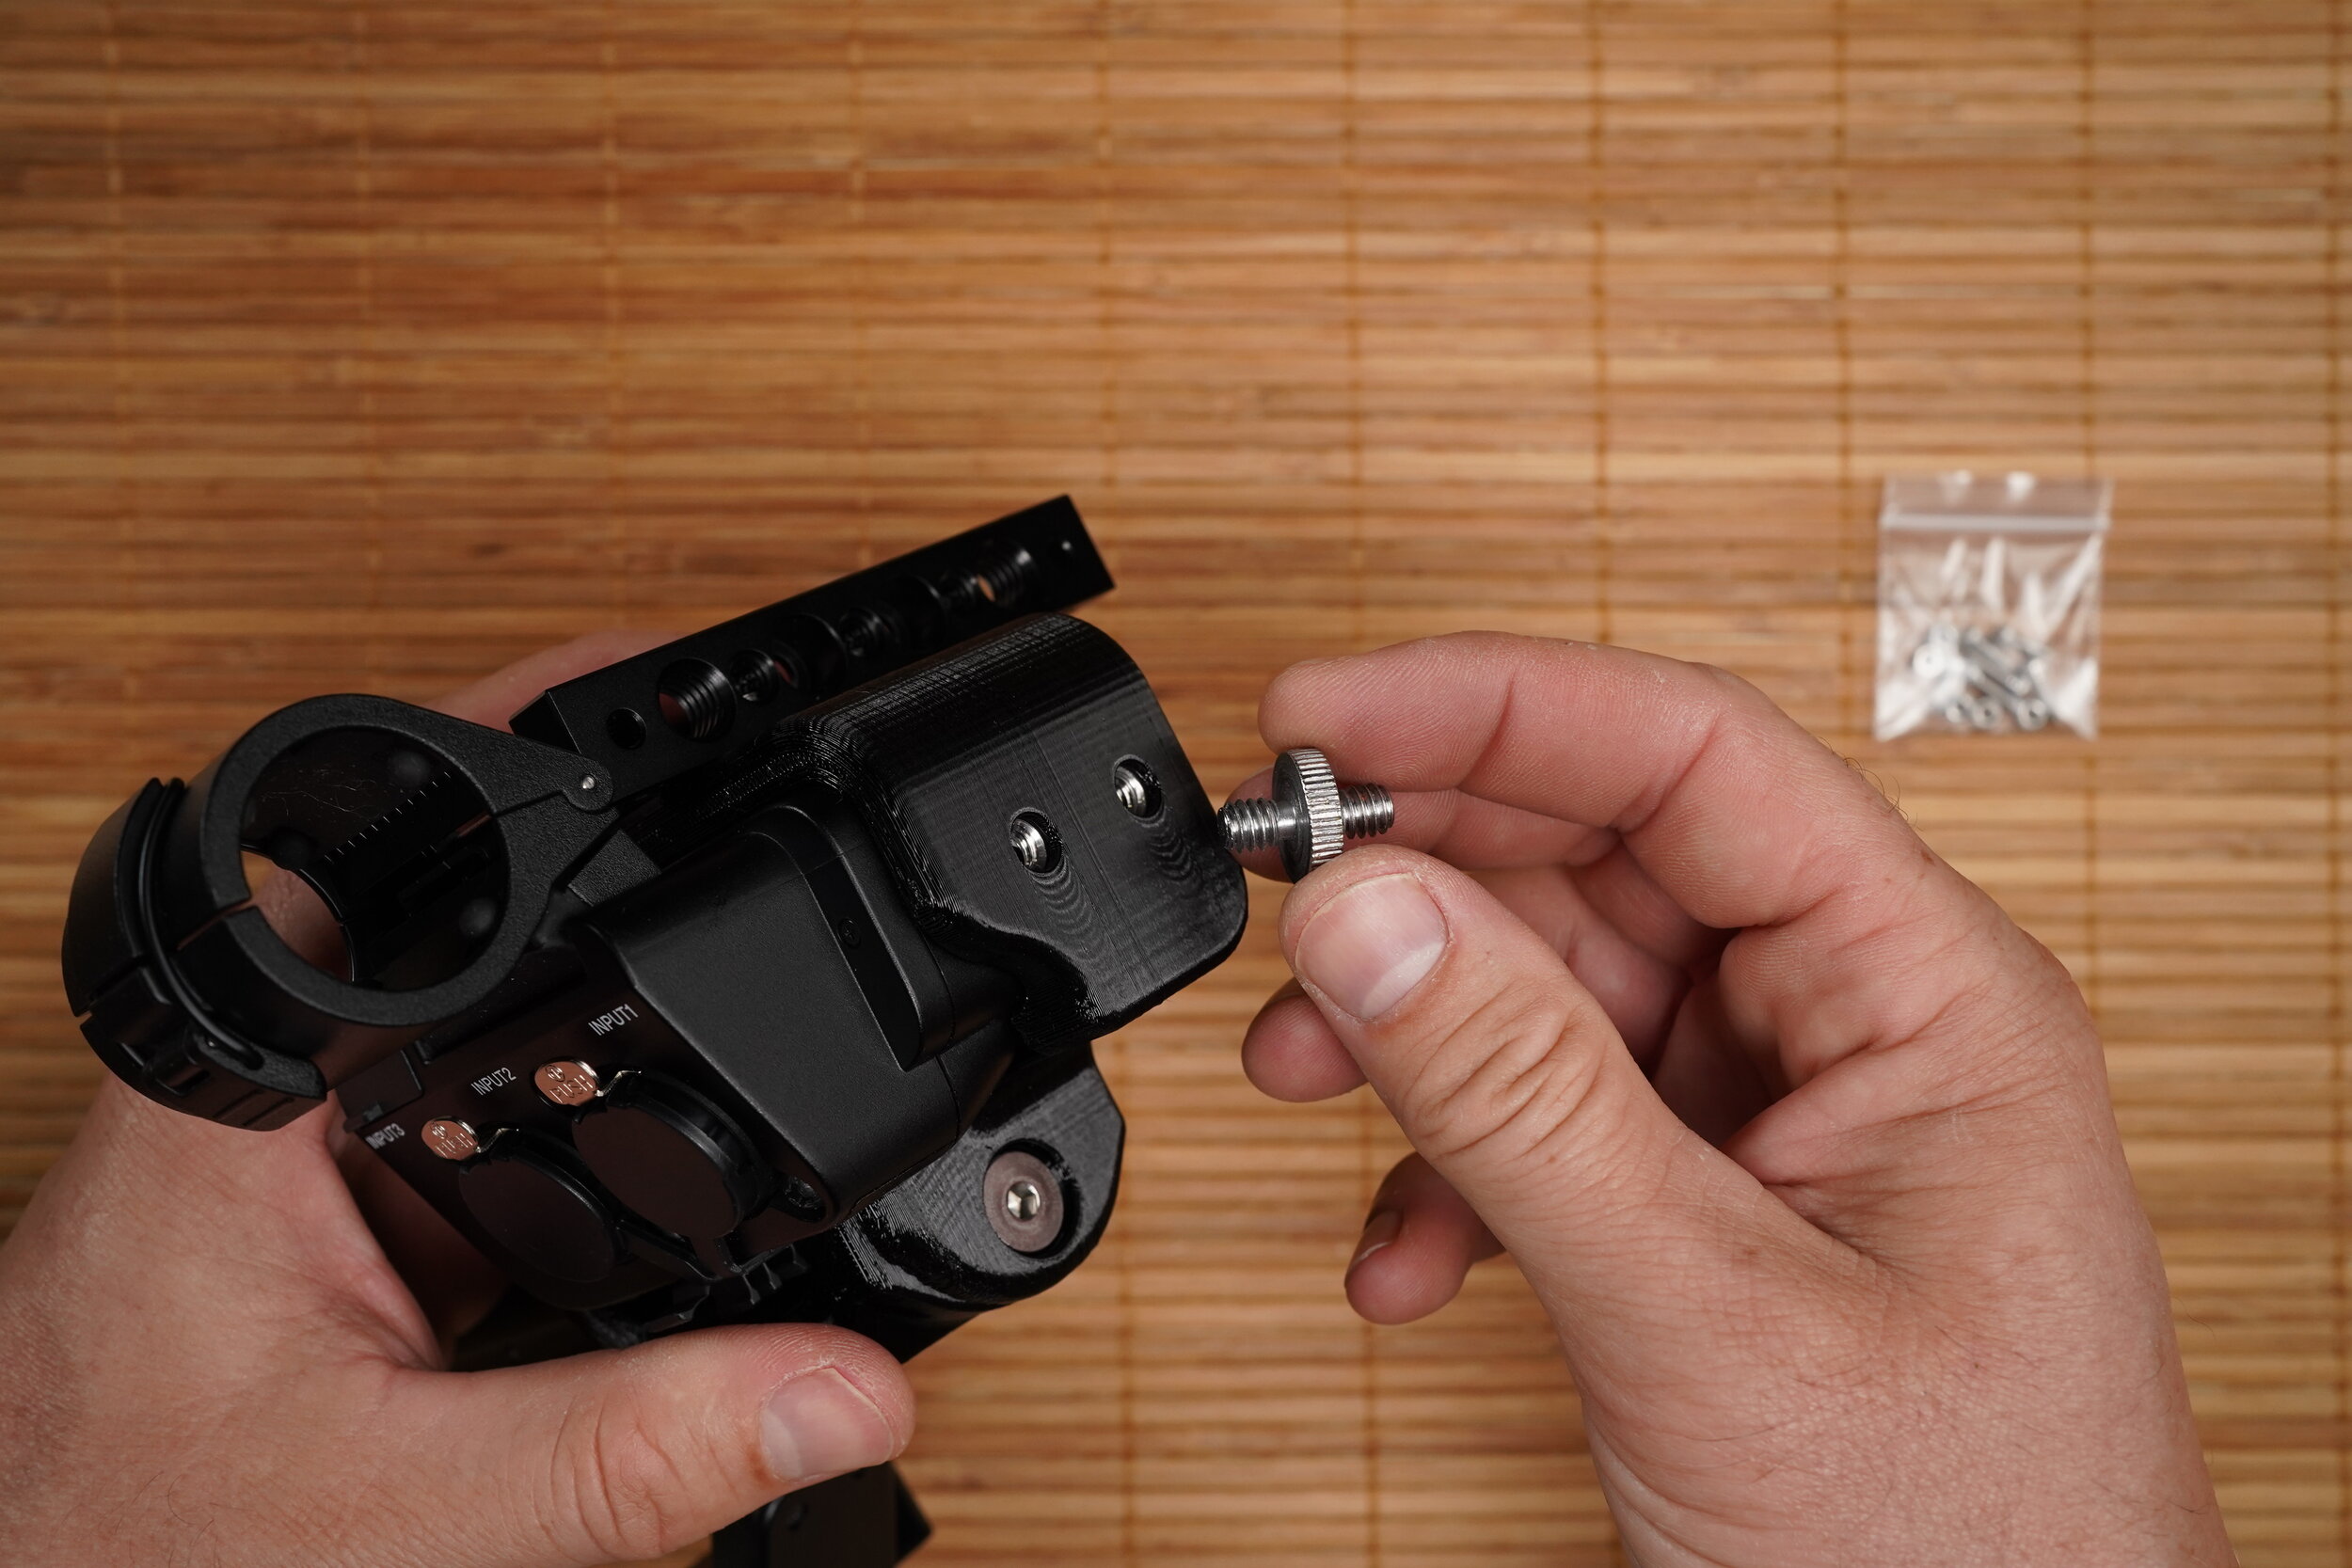
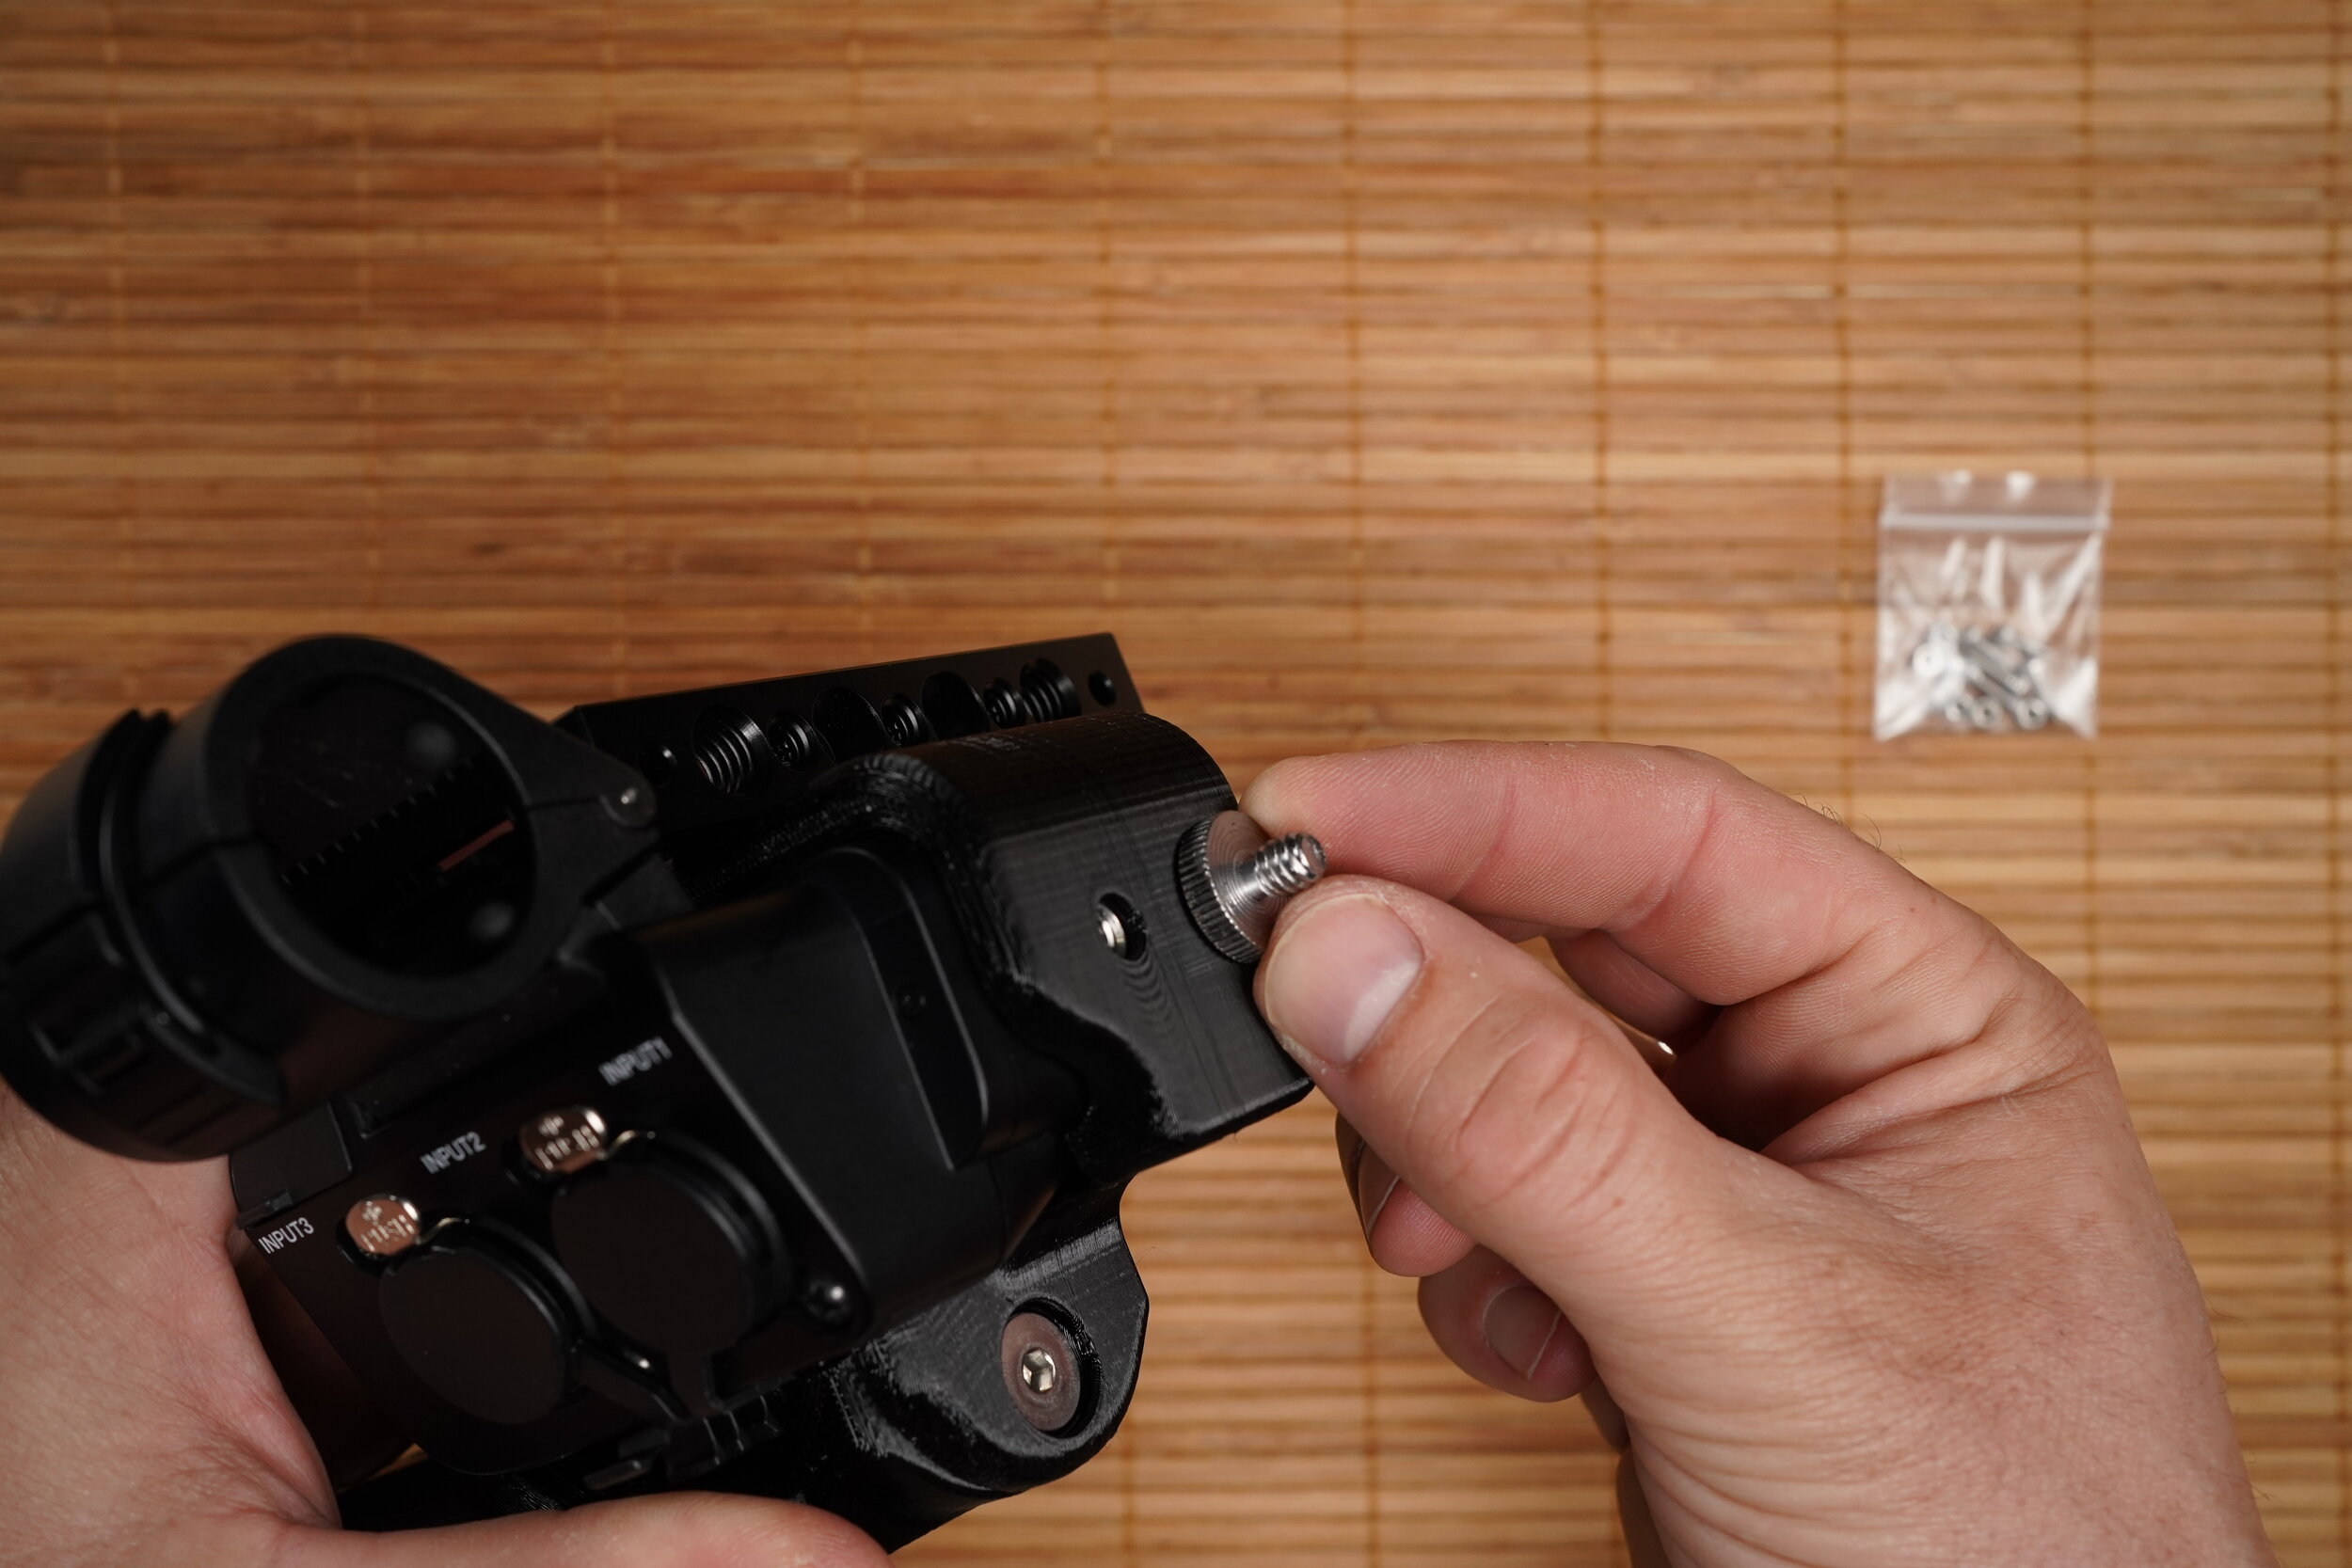
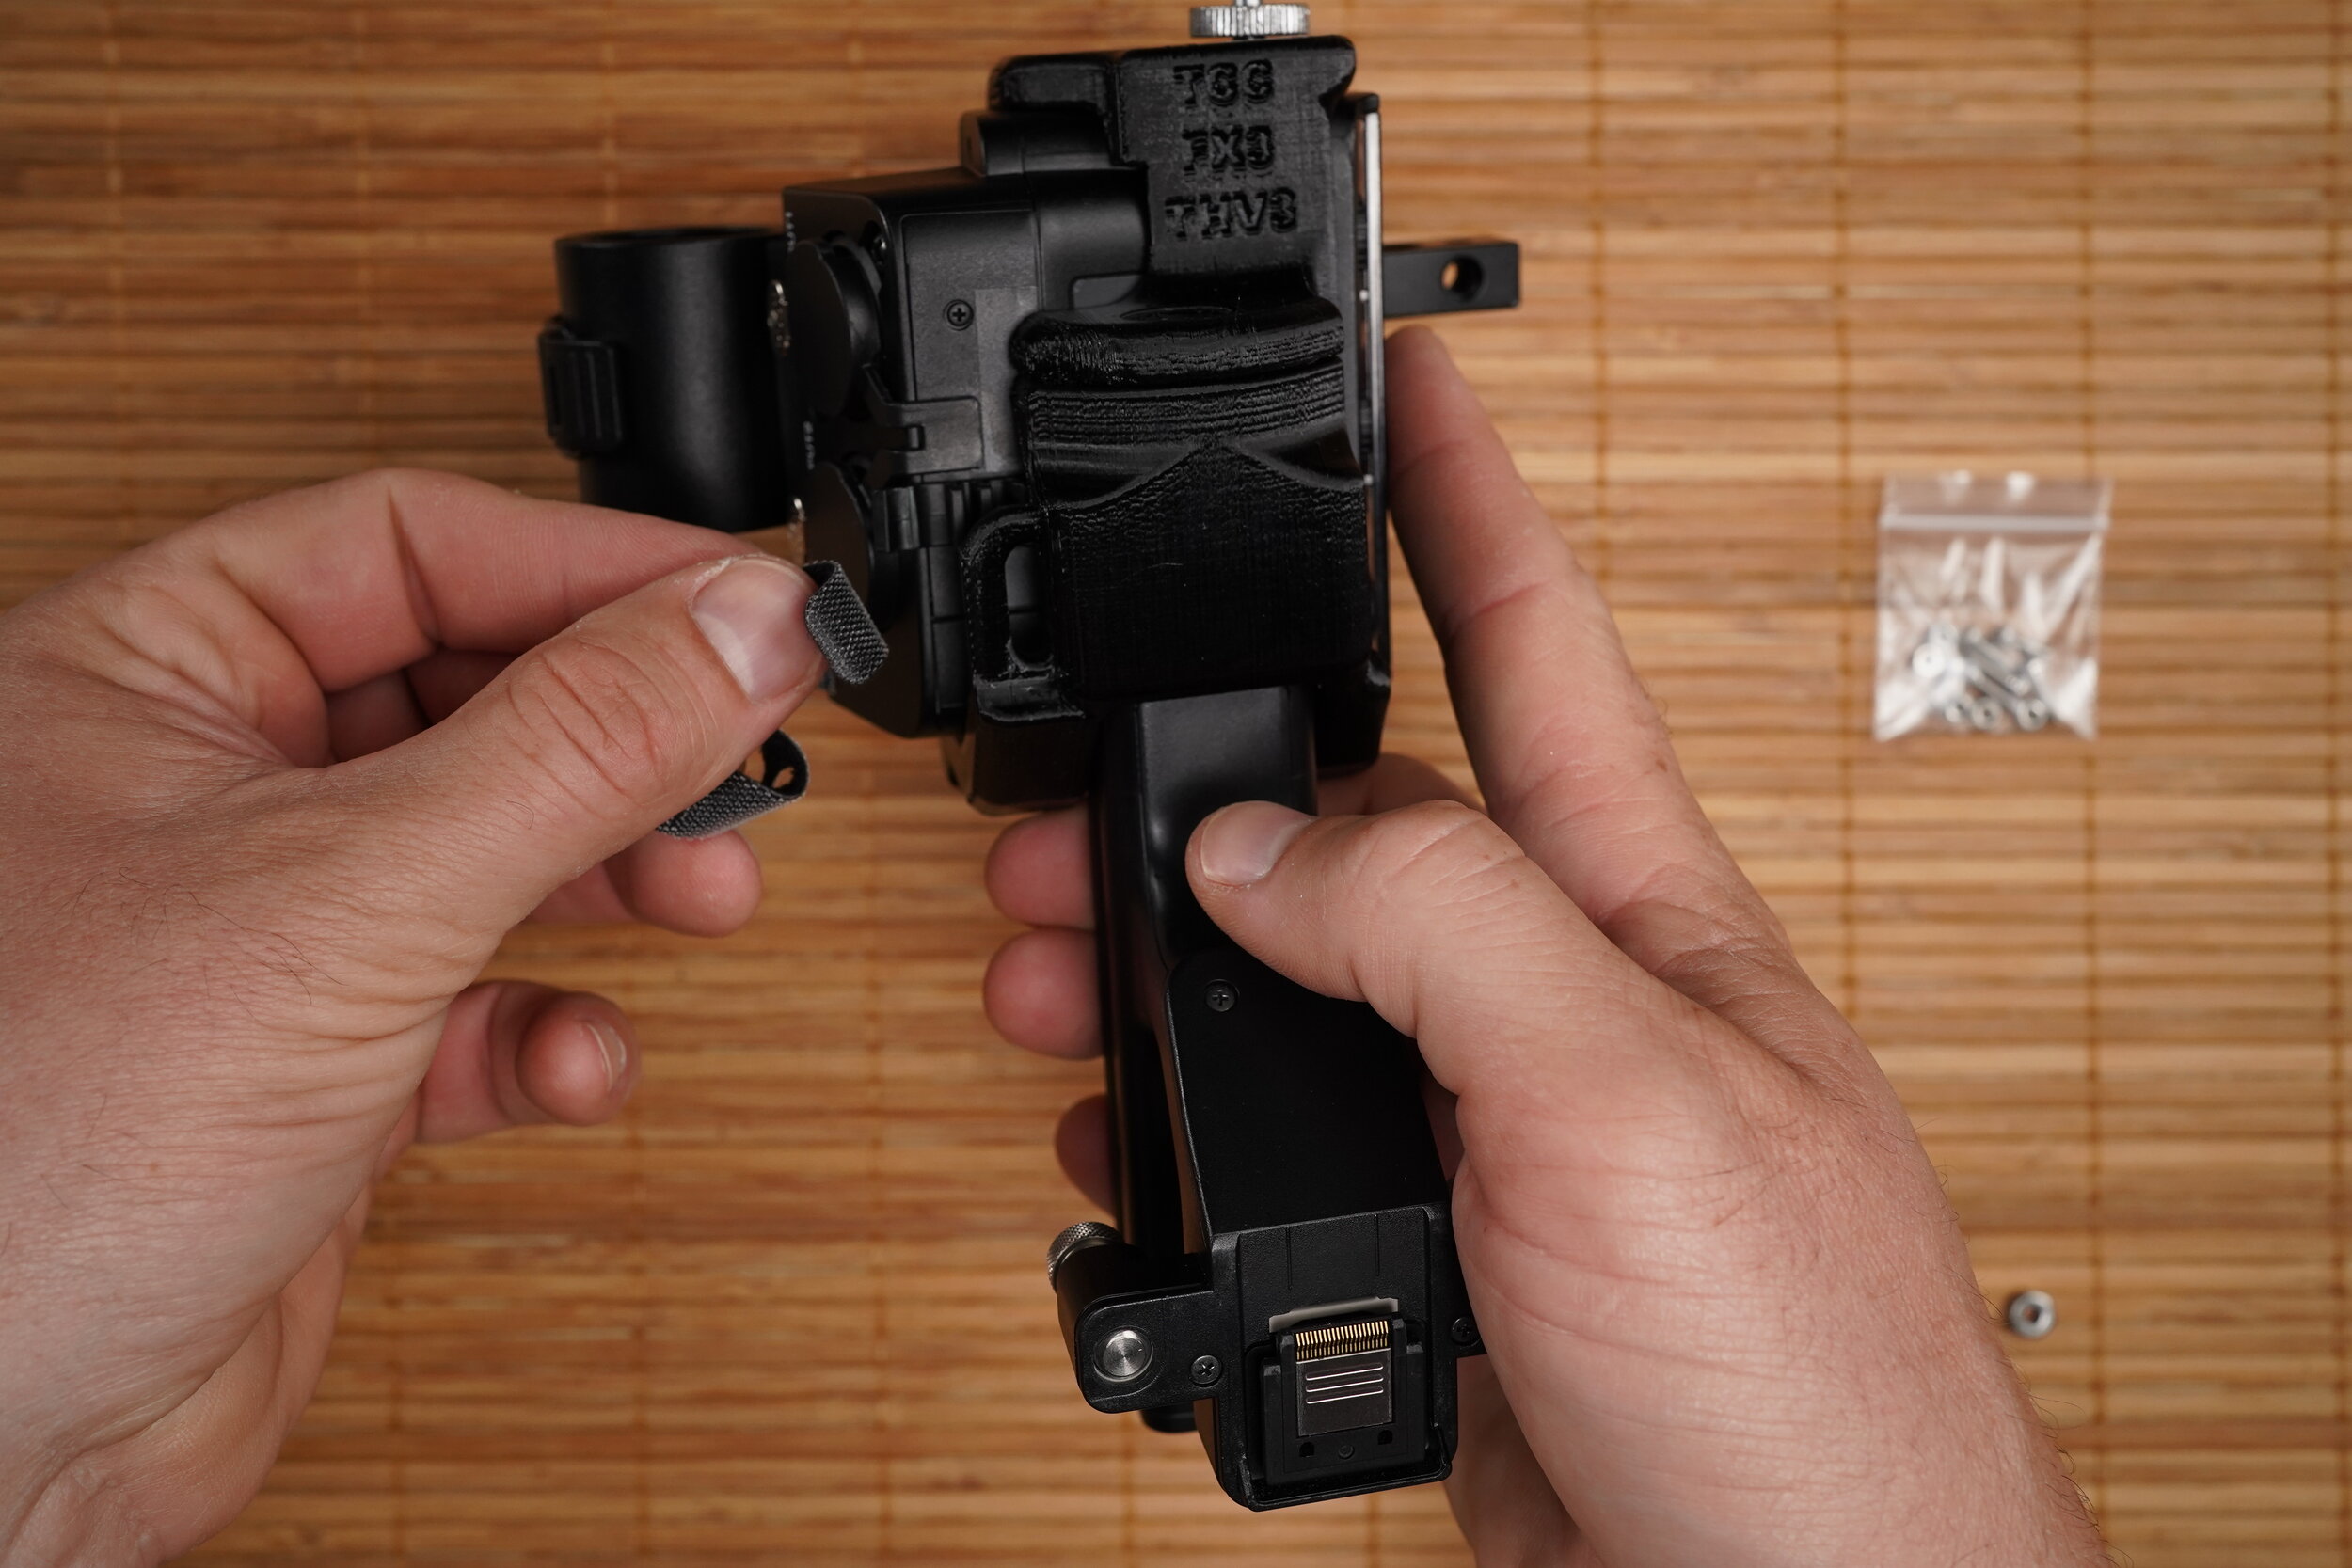
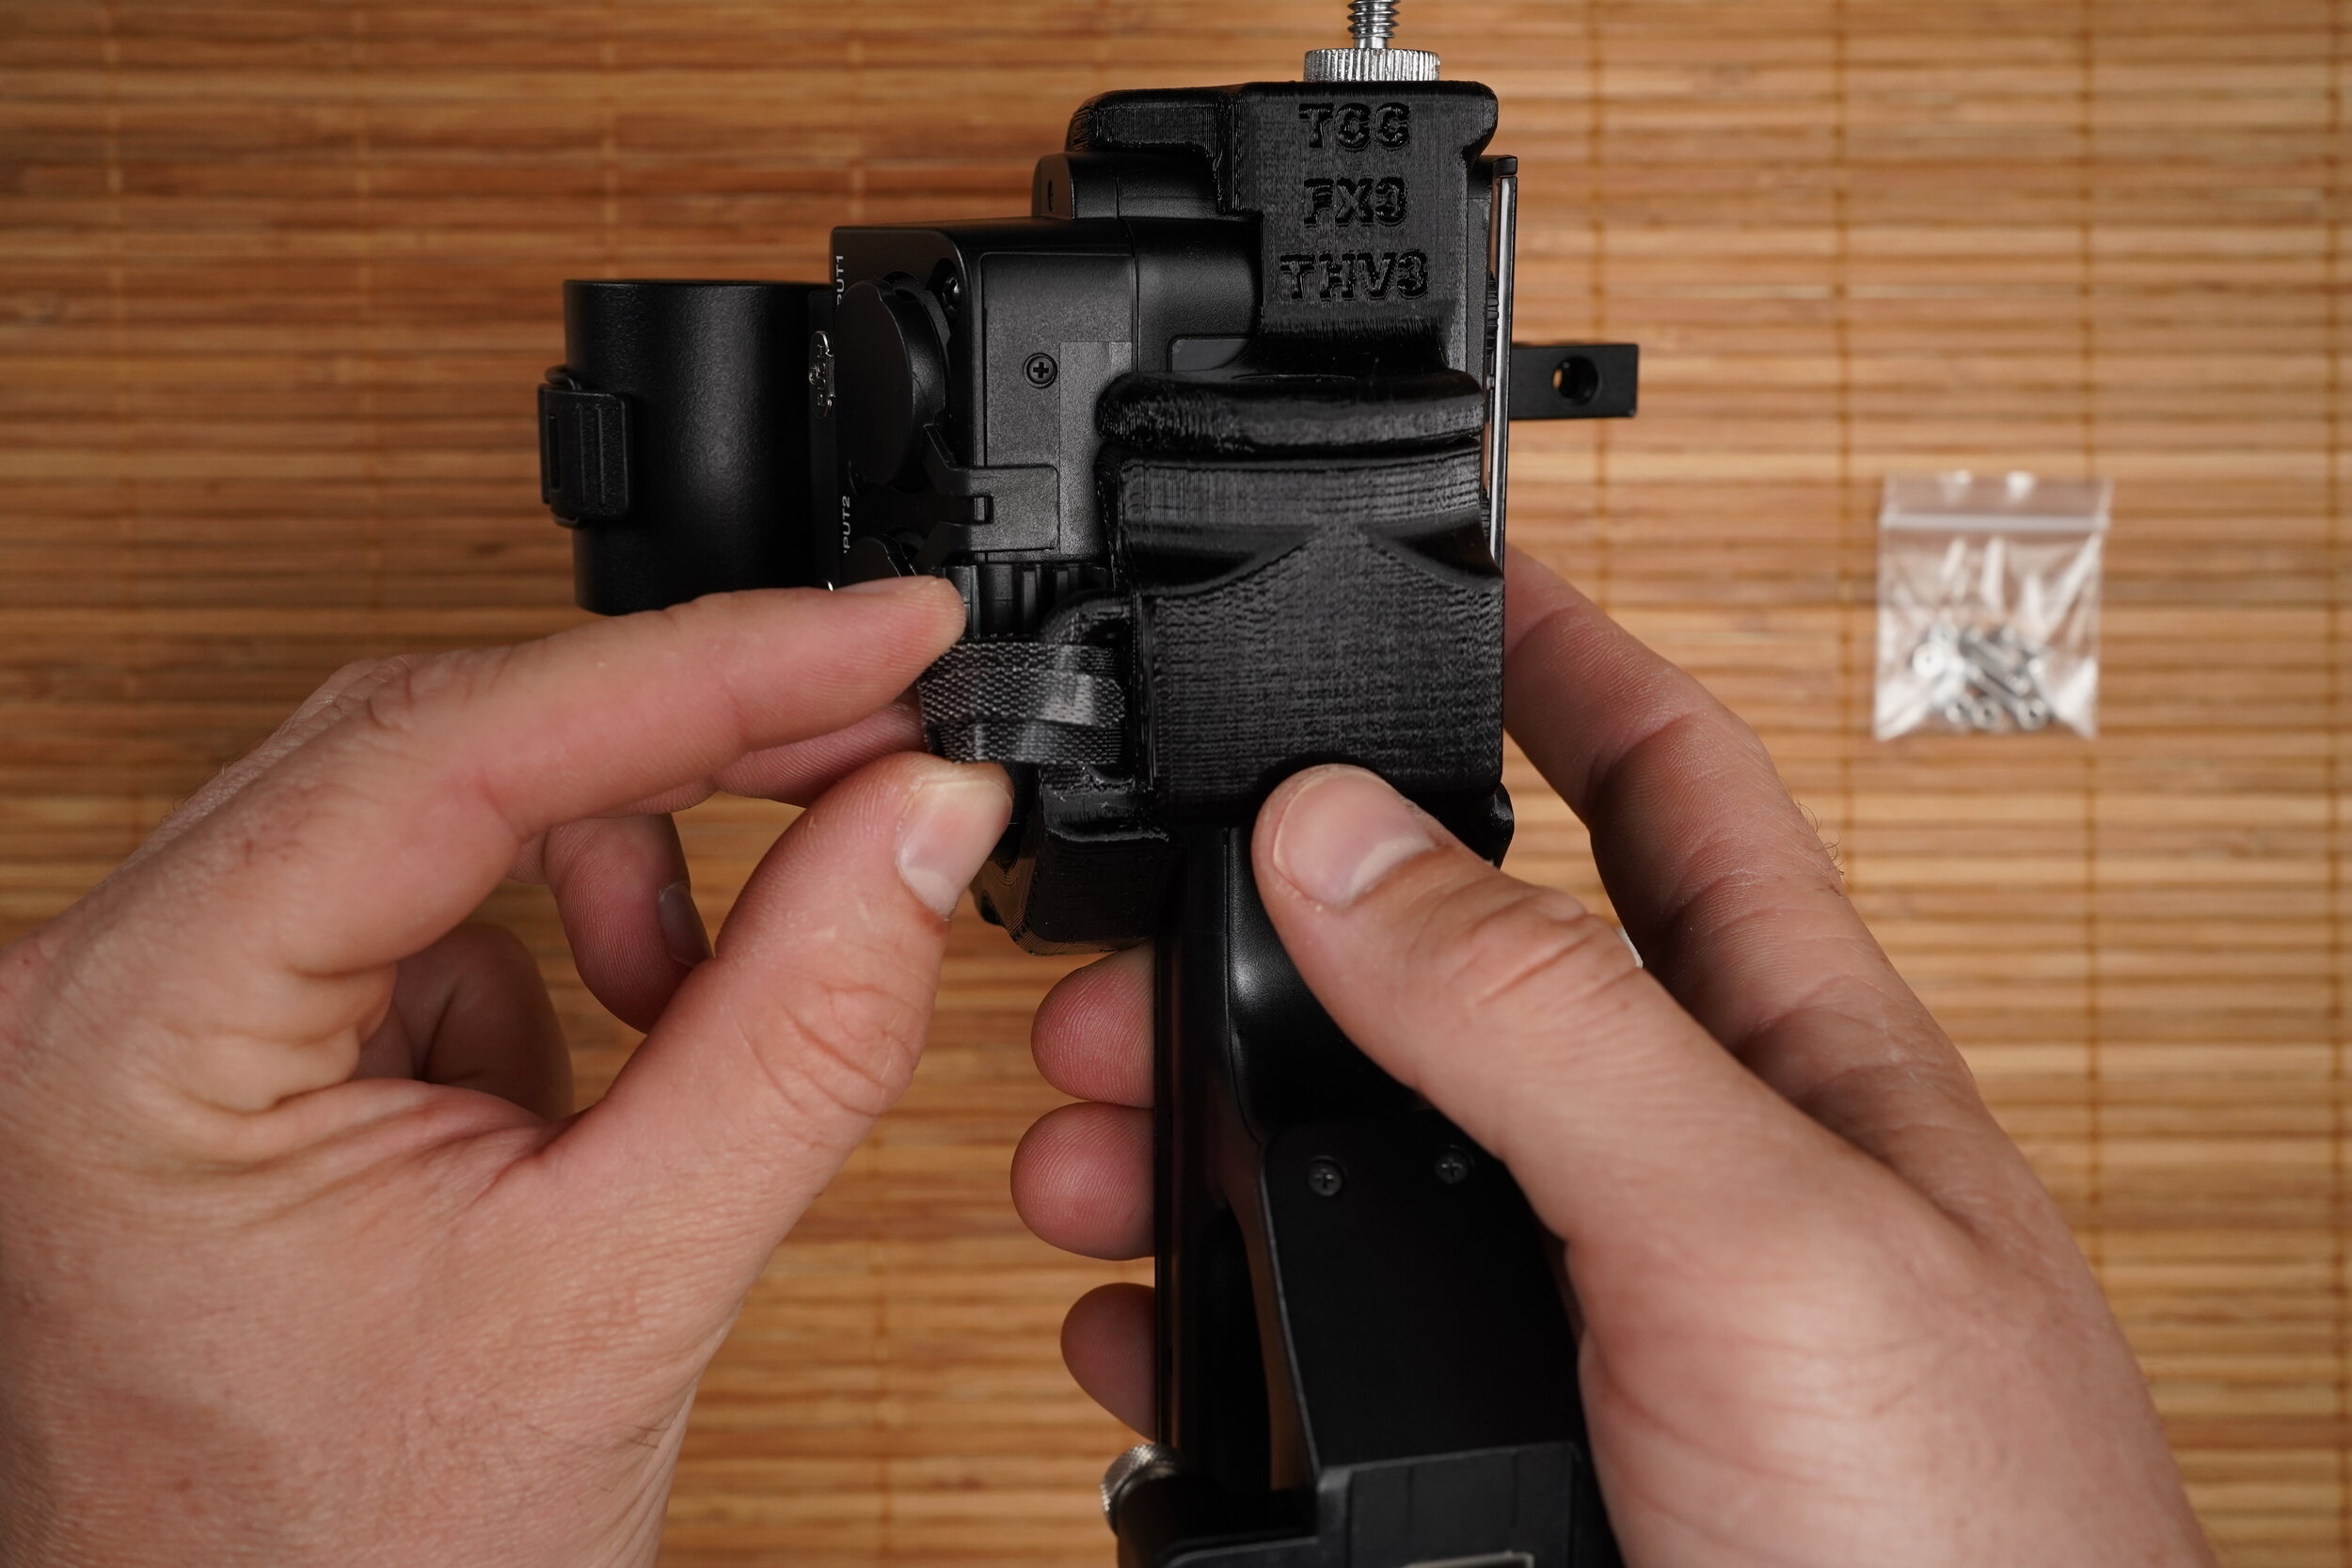
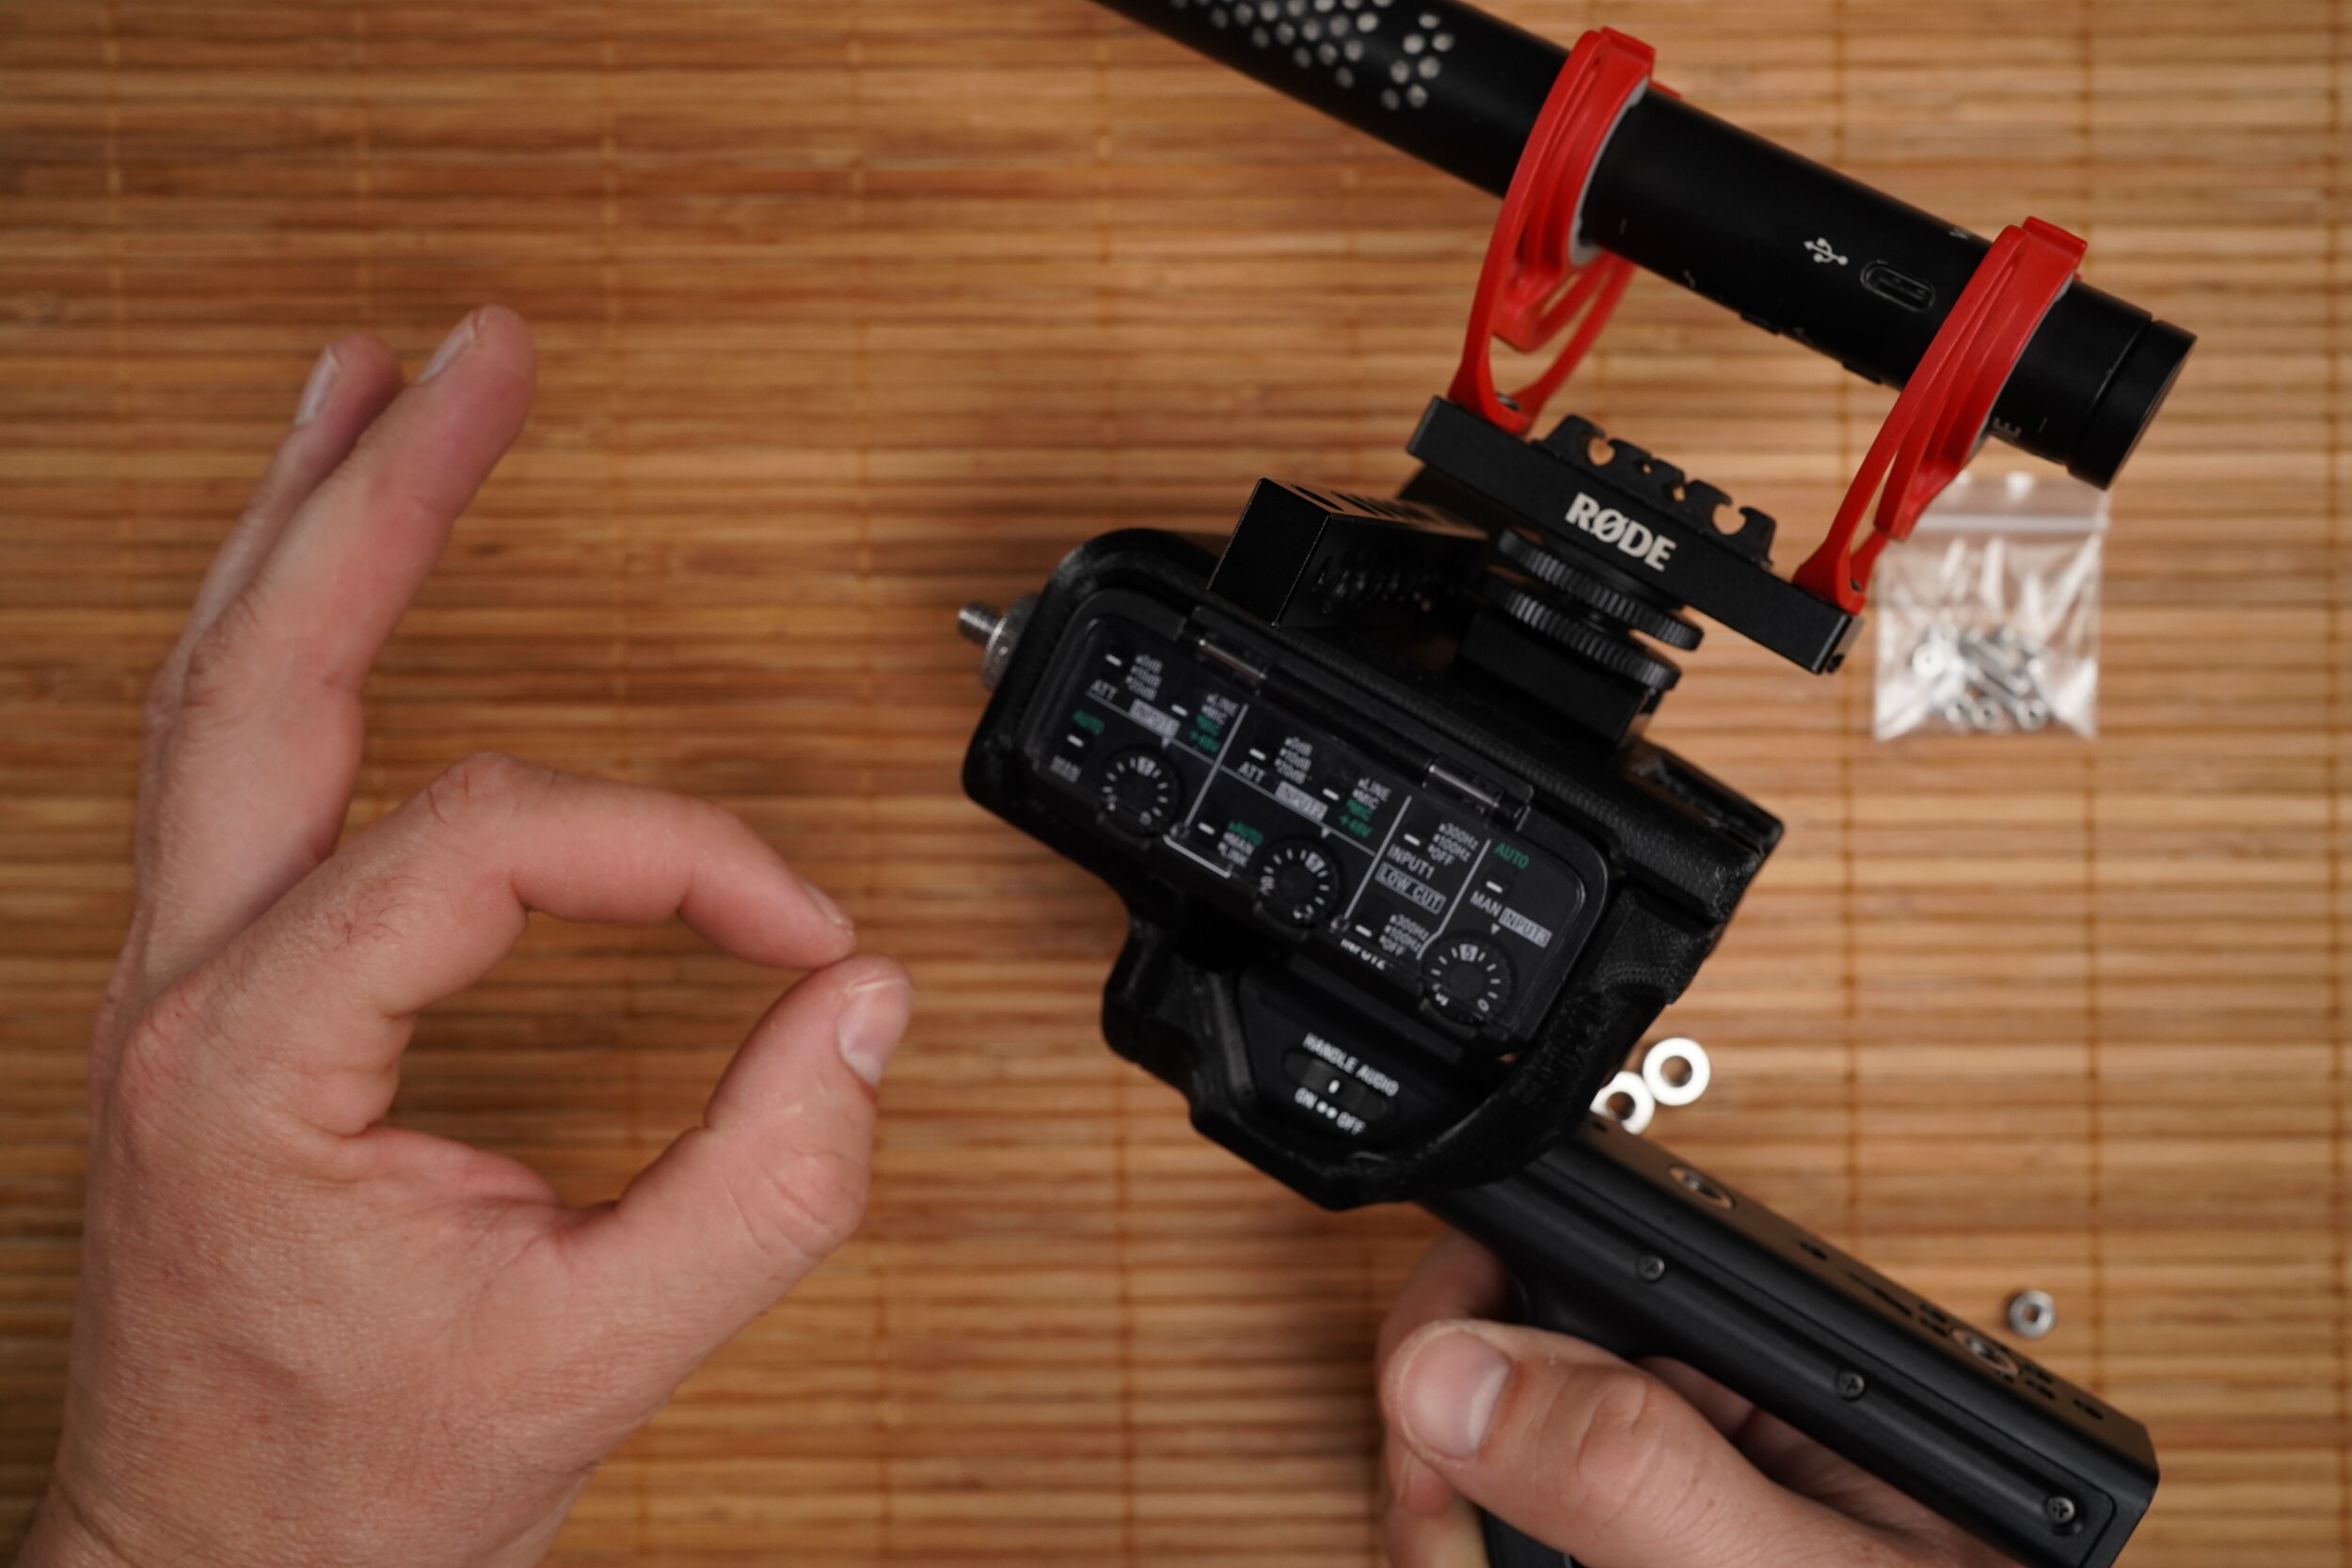
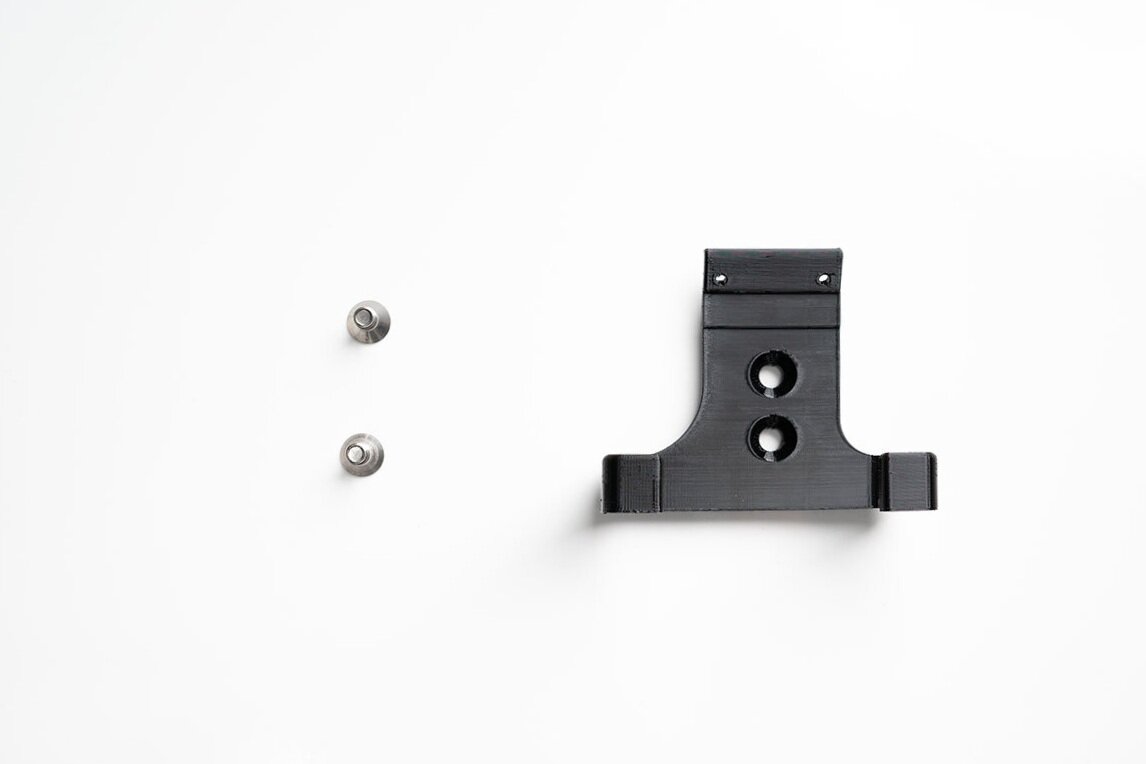
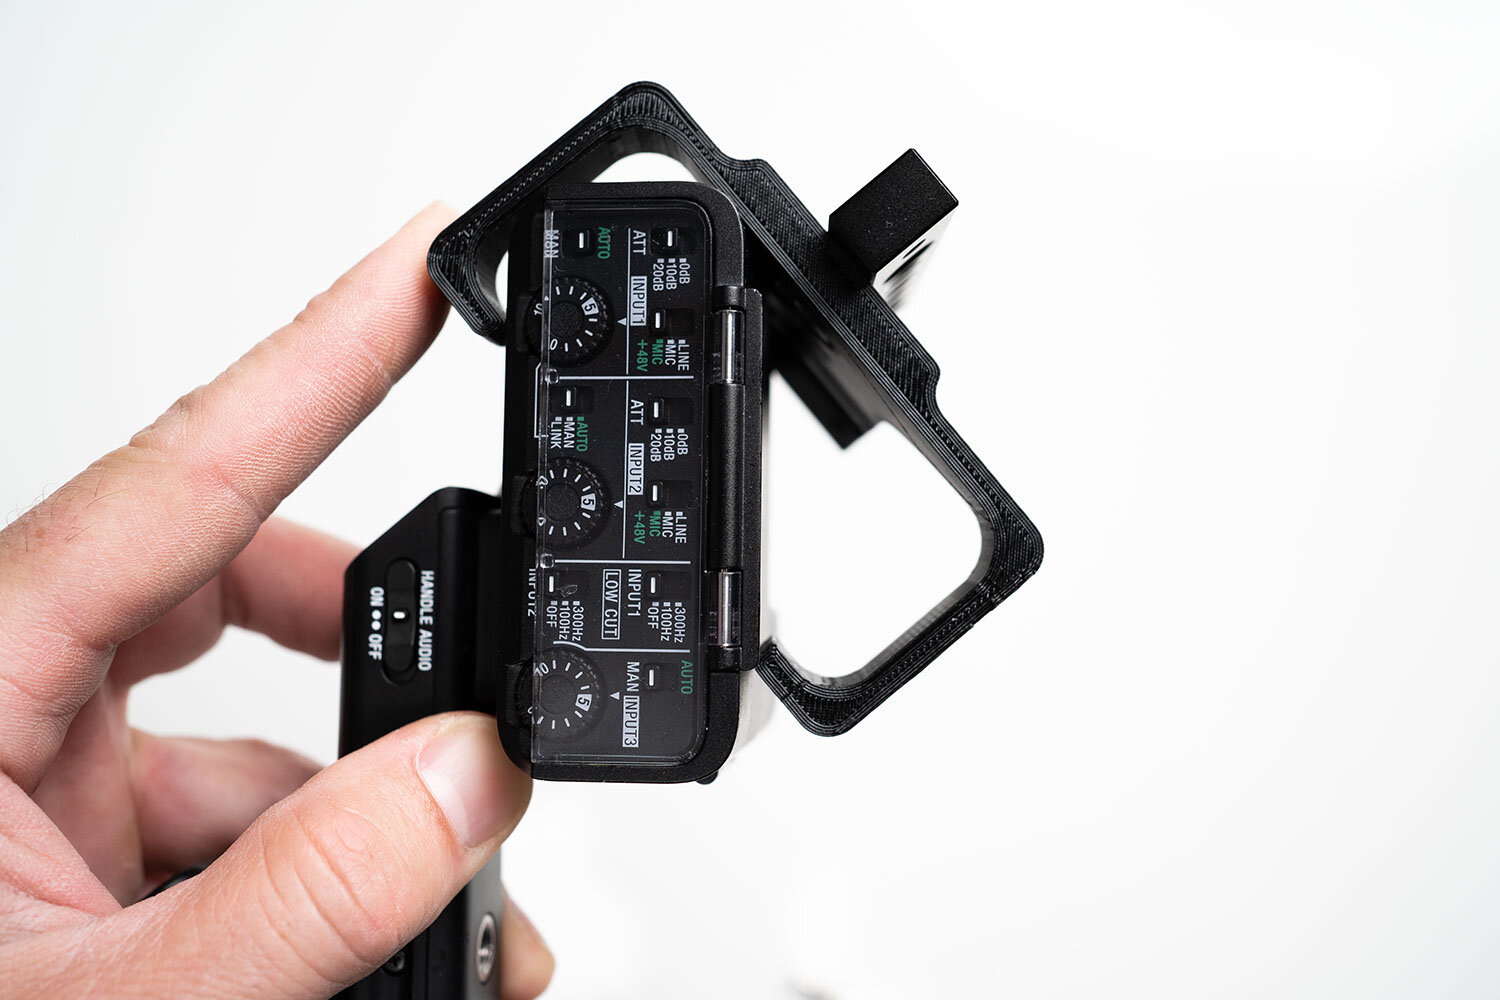
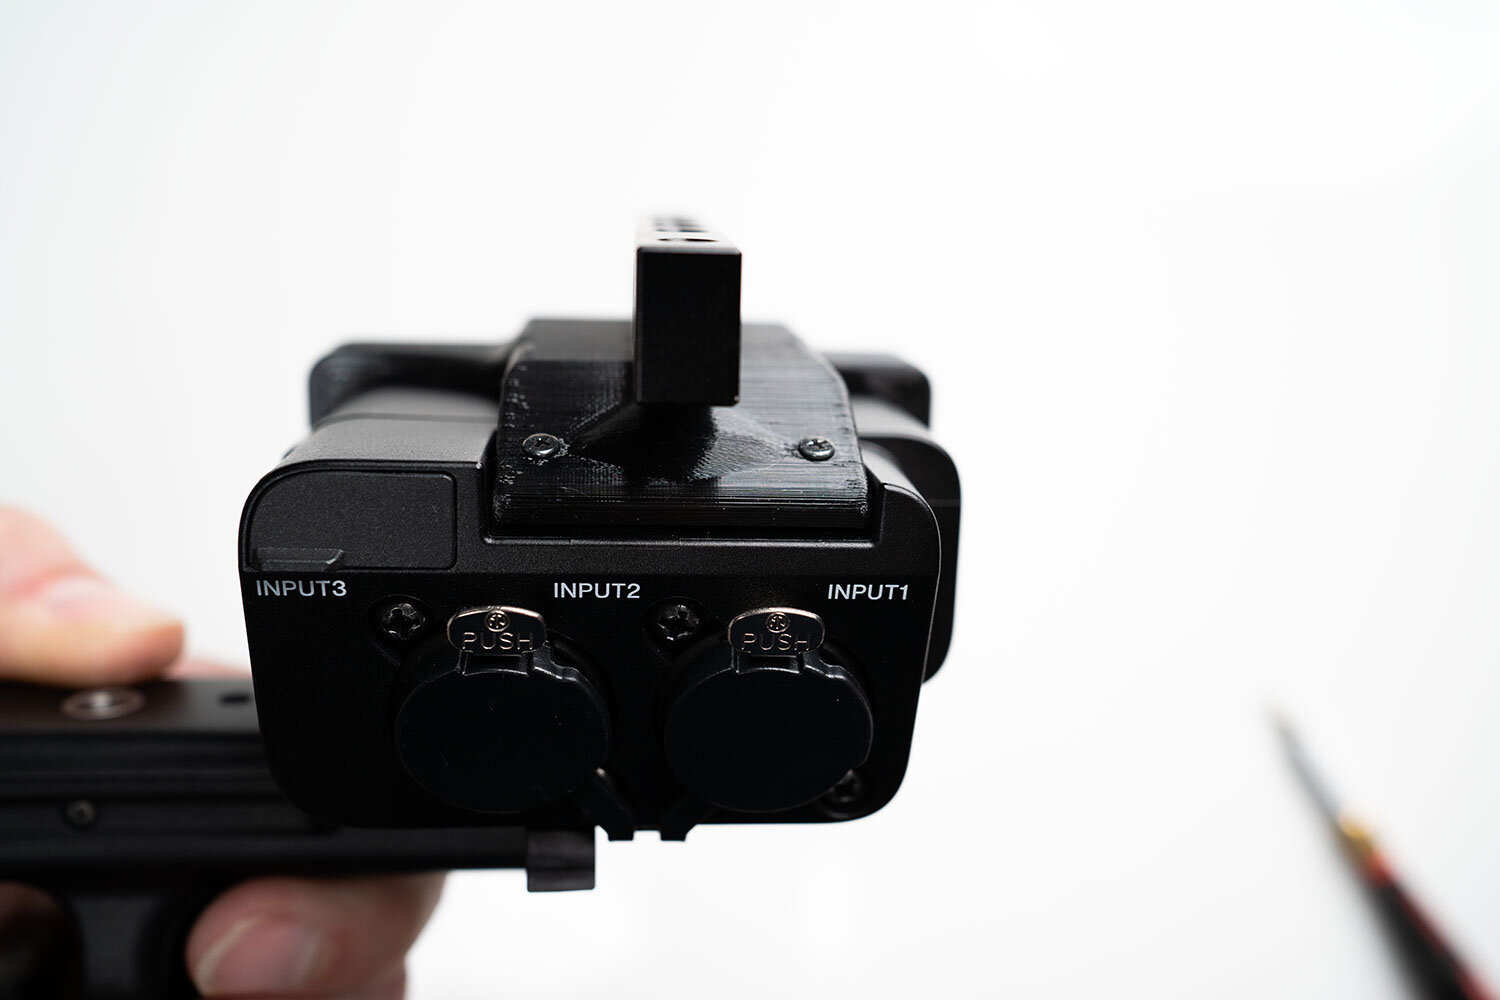
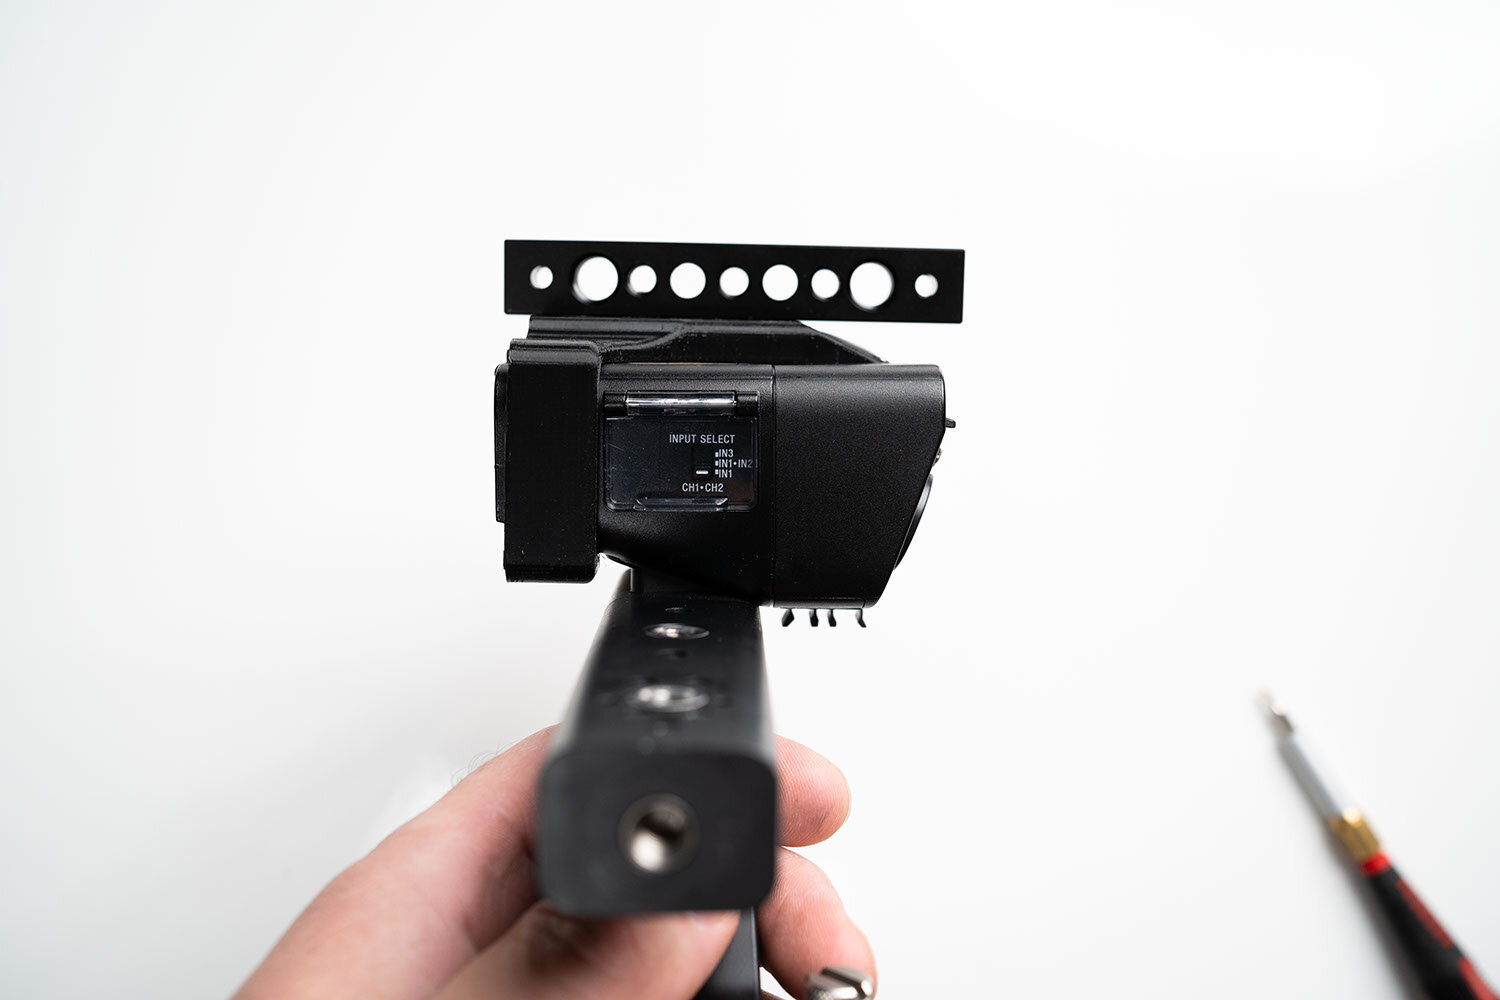
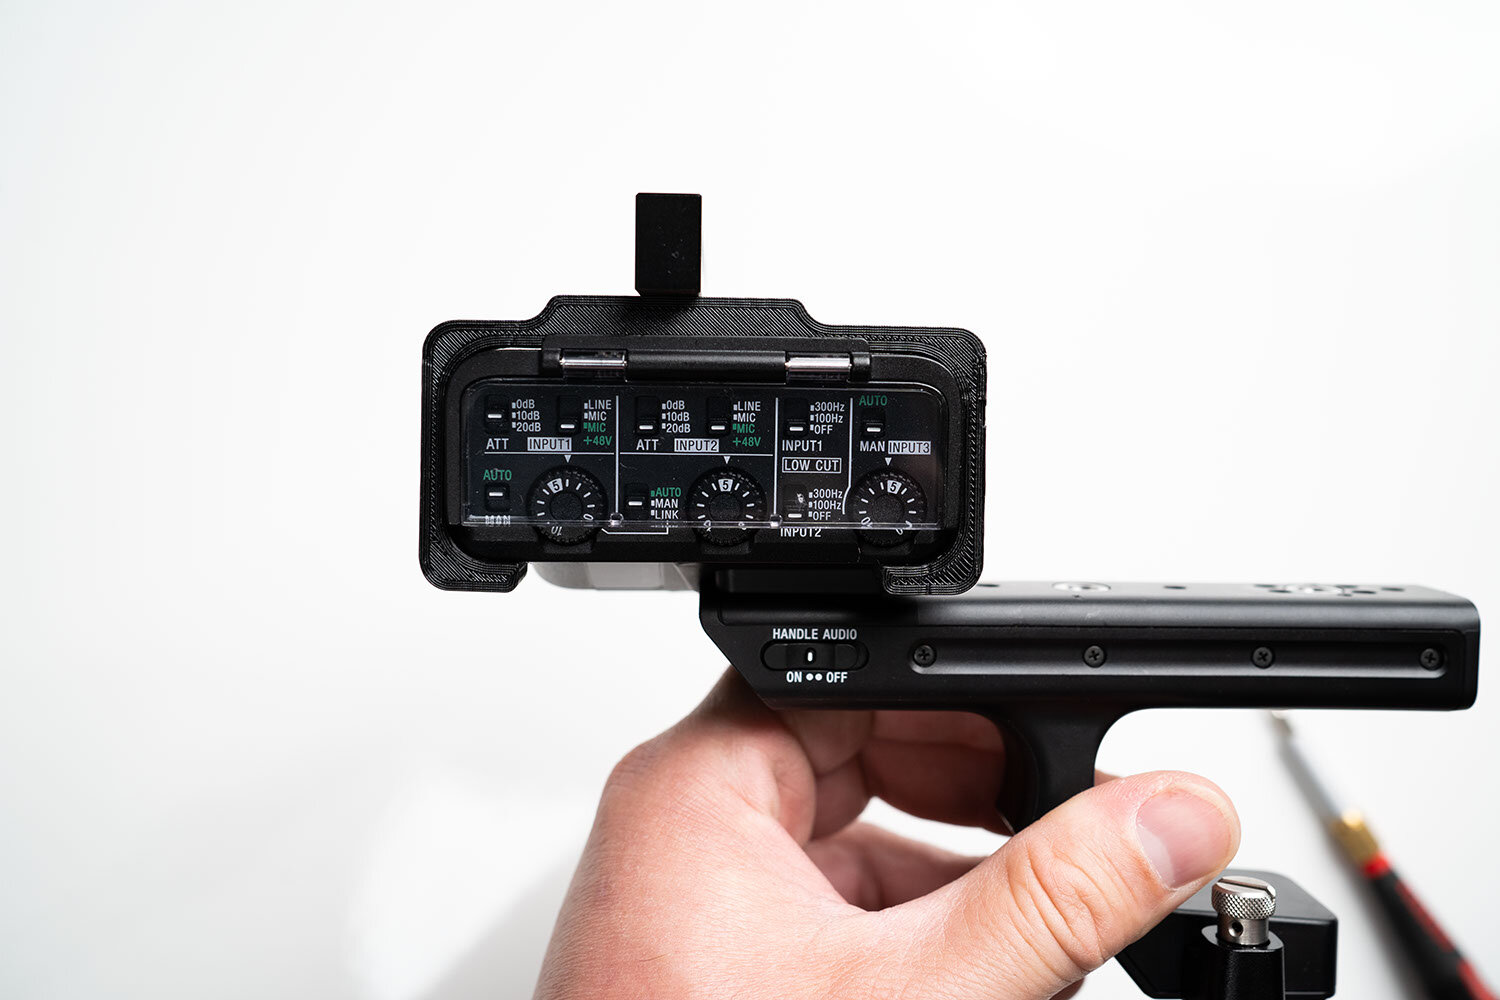
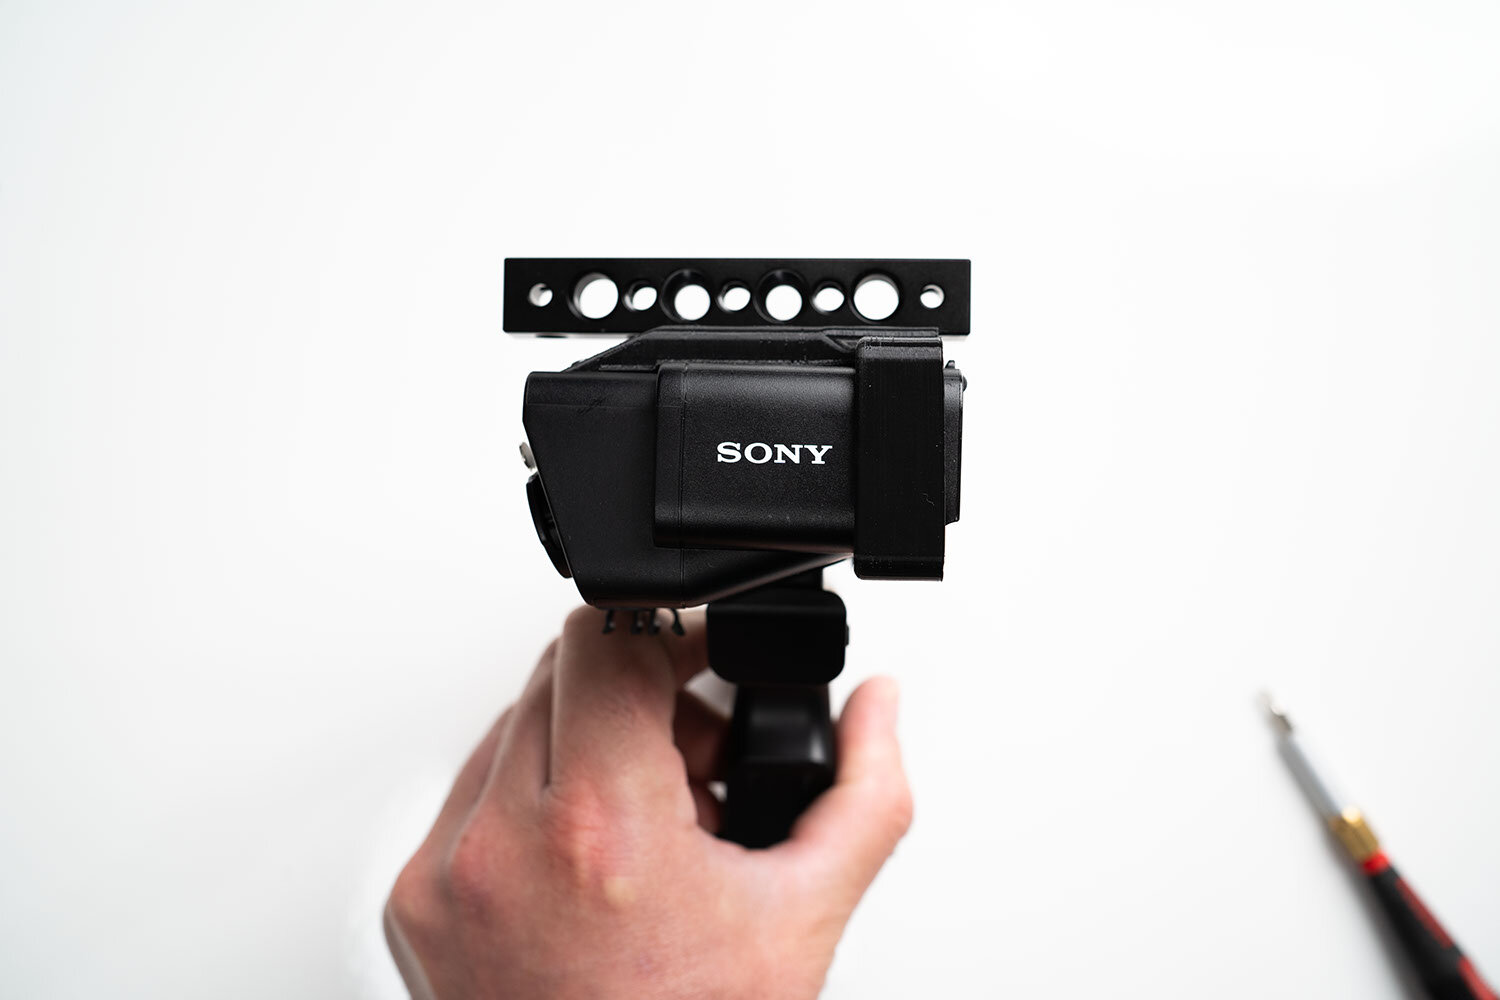
FX3 Audio Cage (V3)

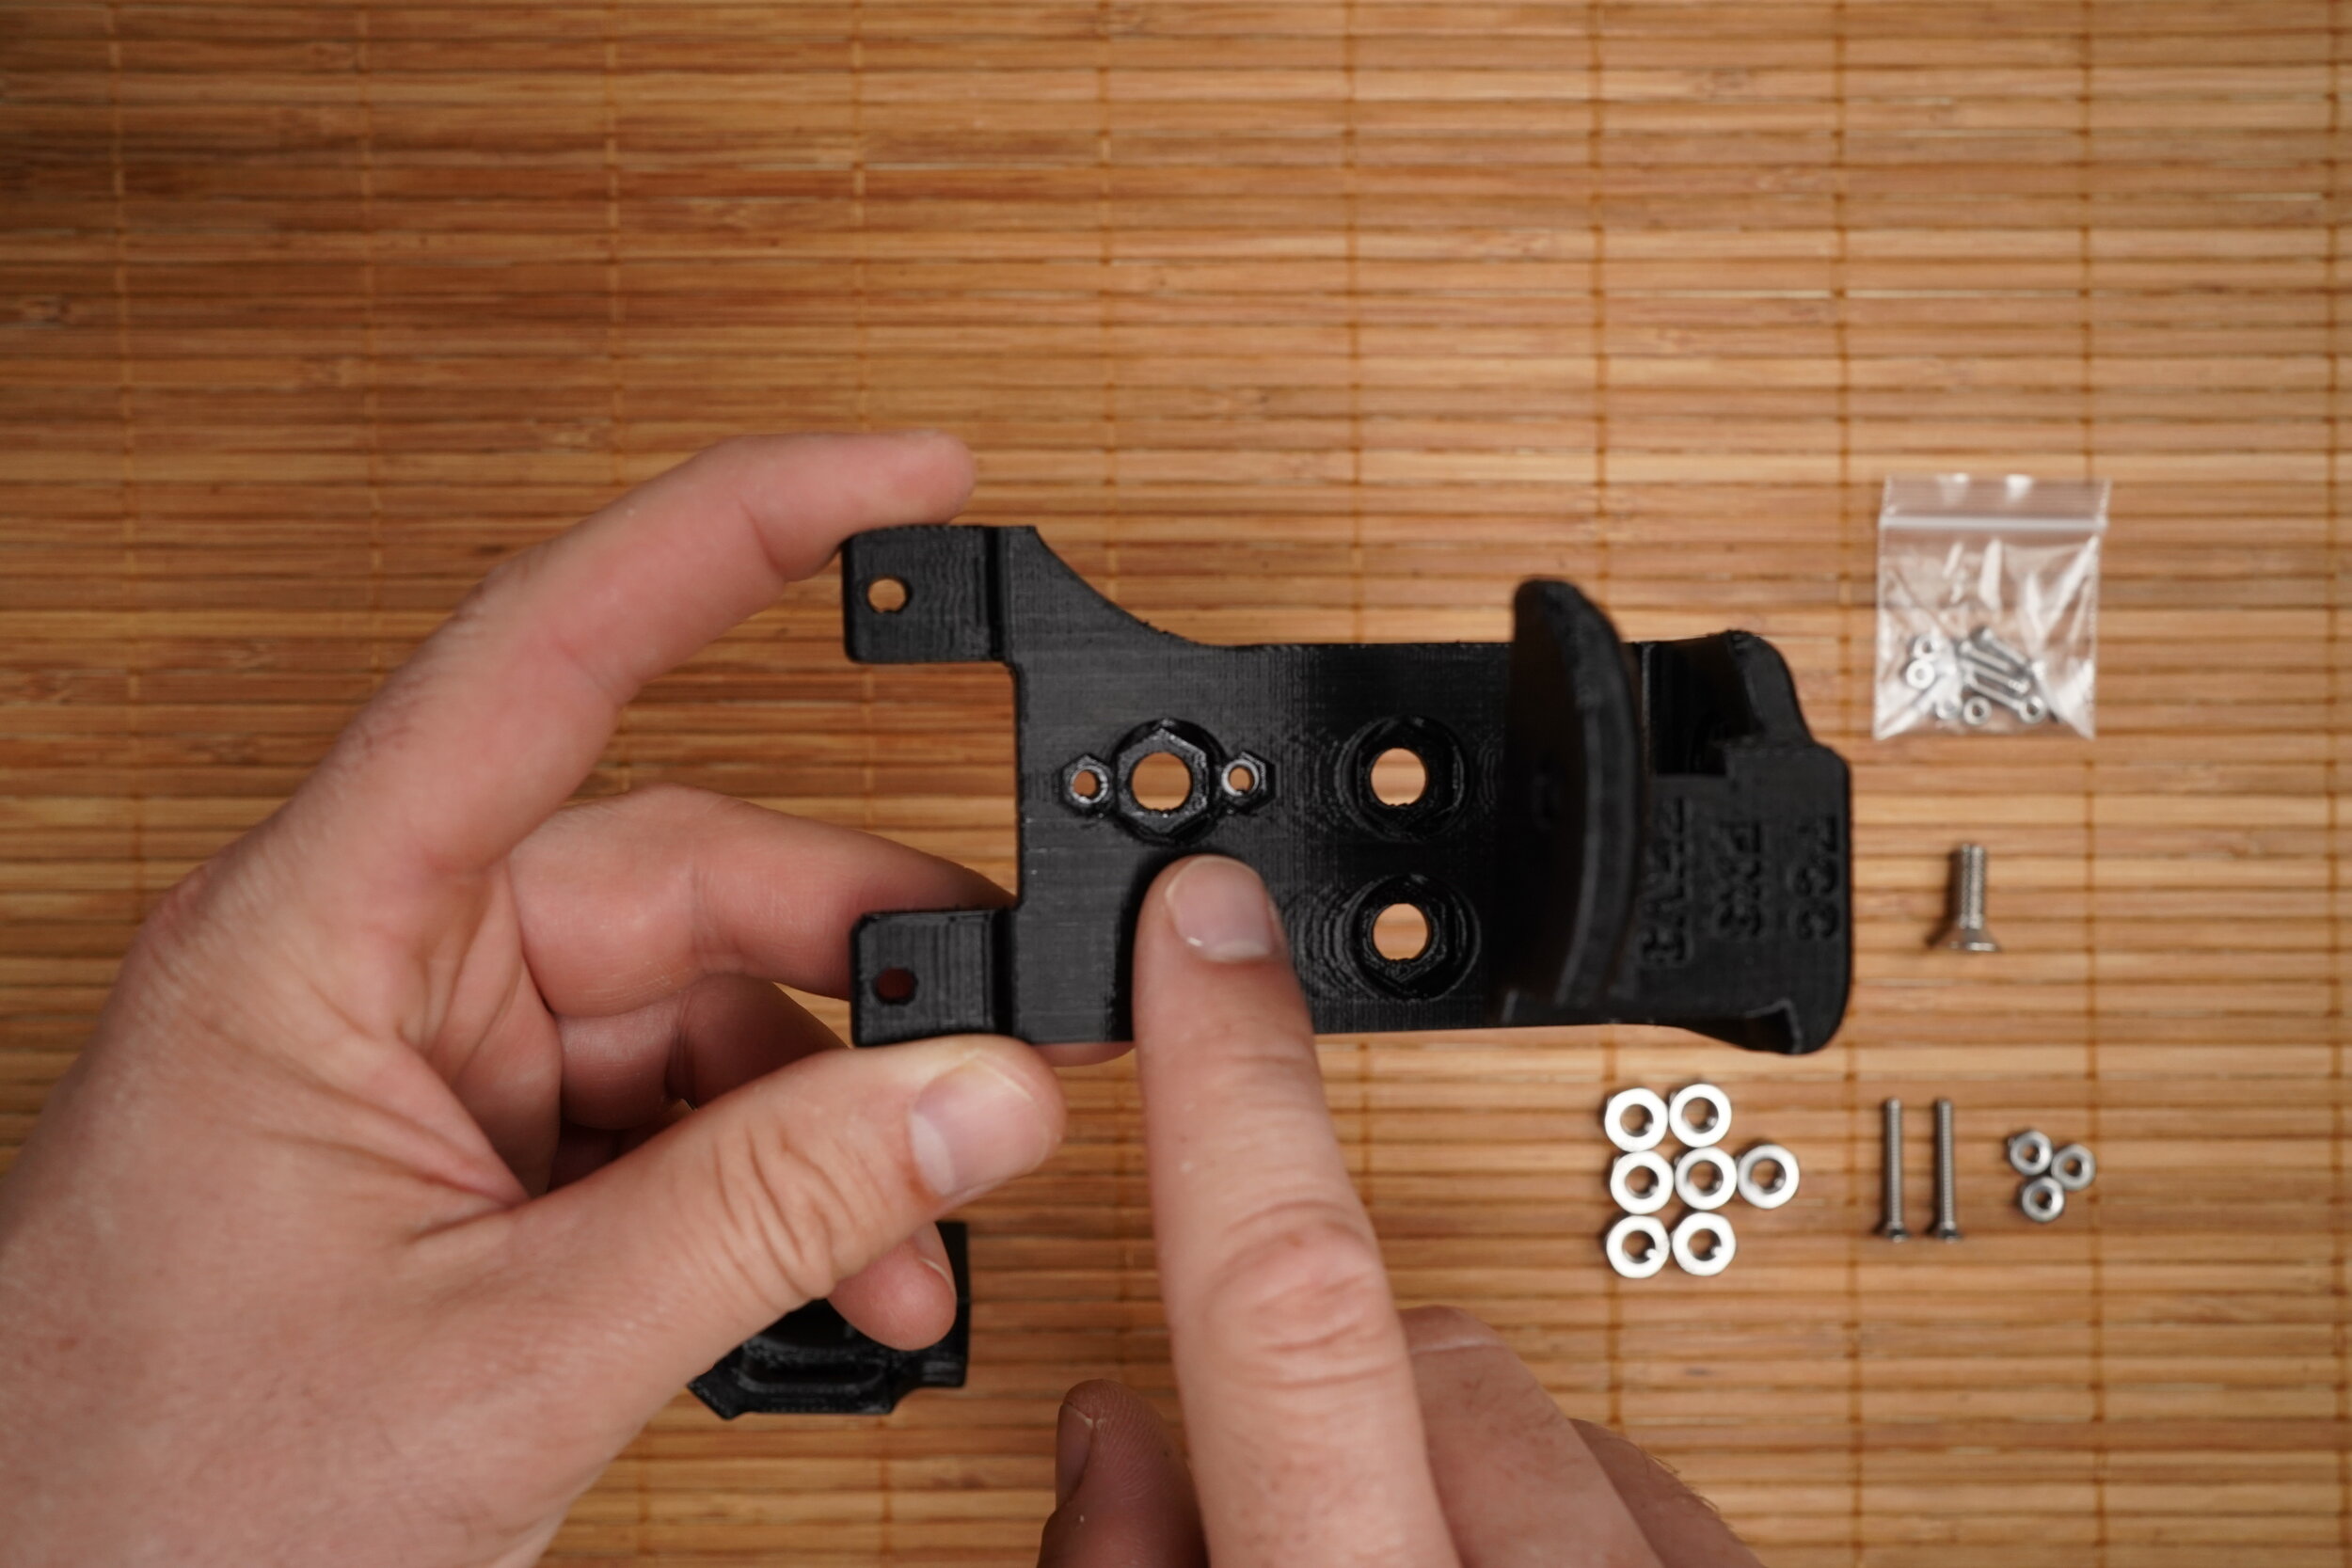
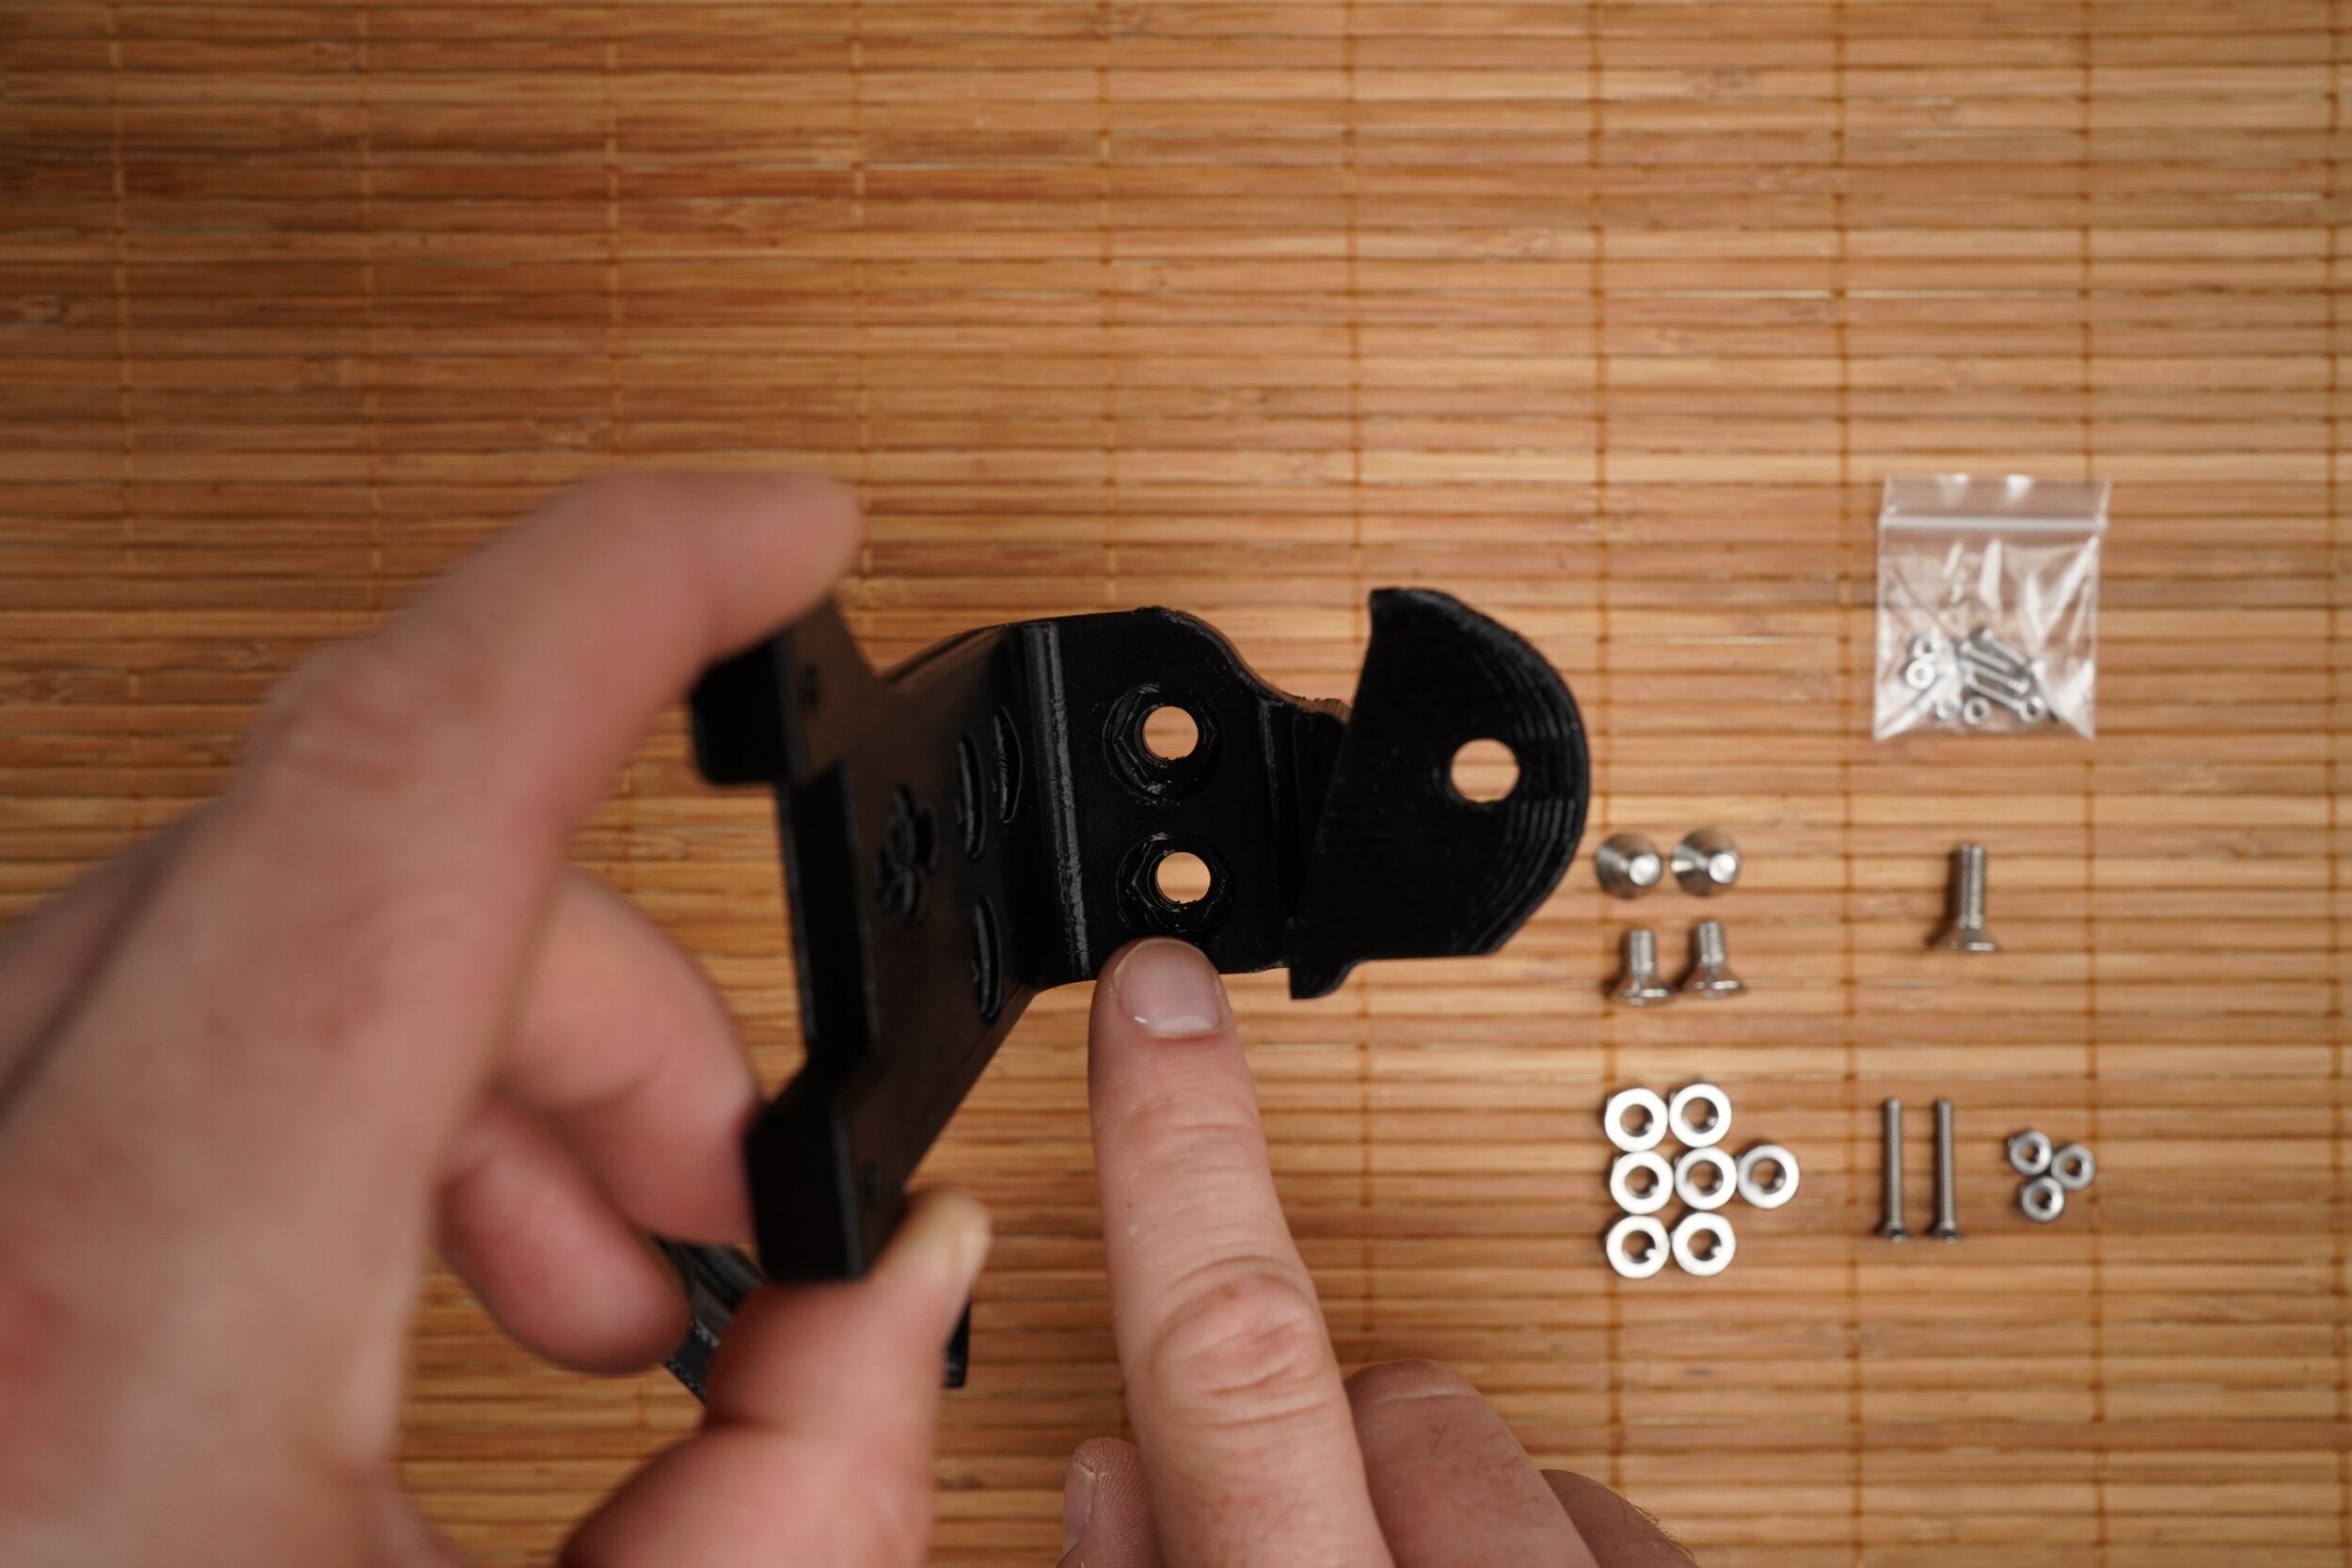
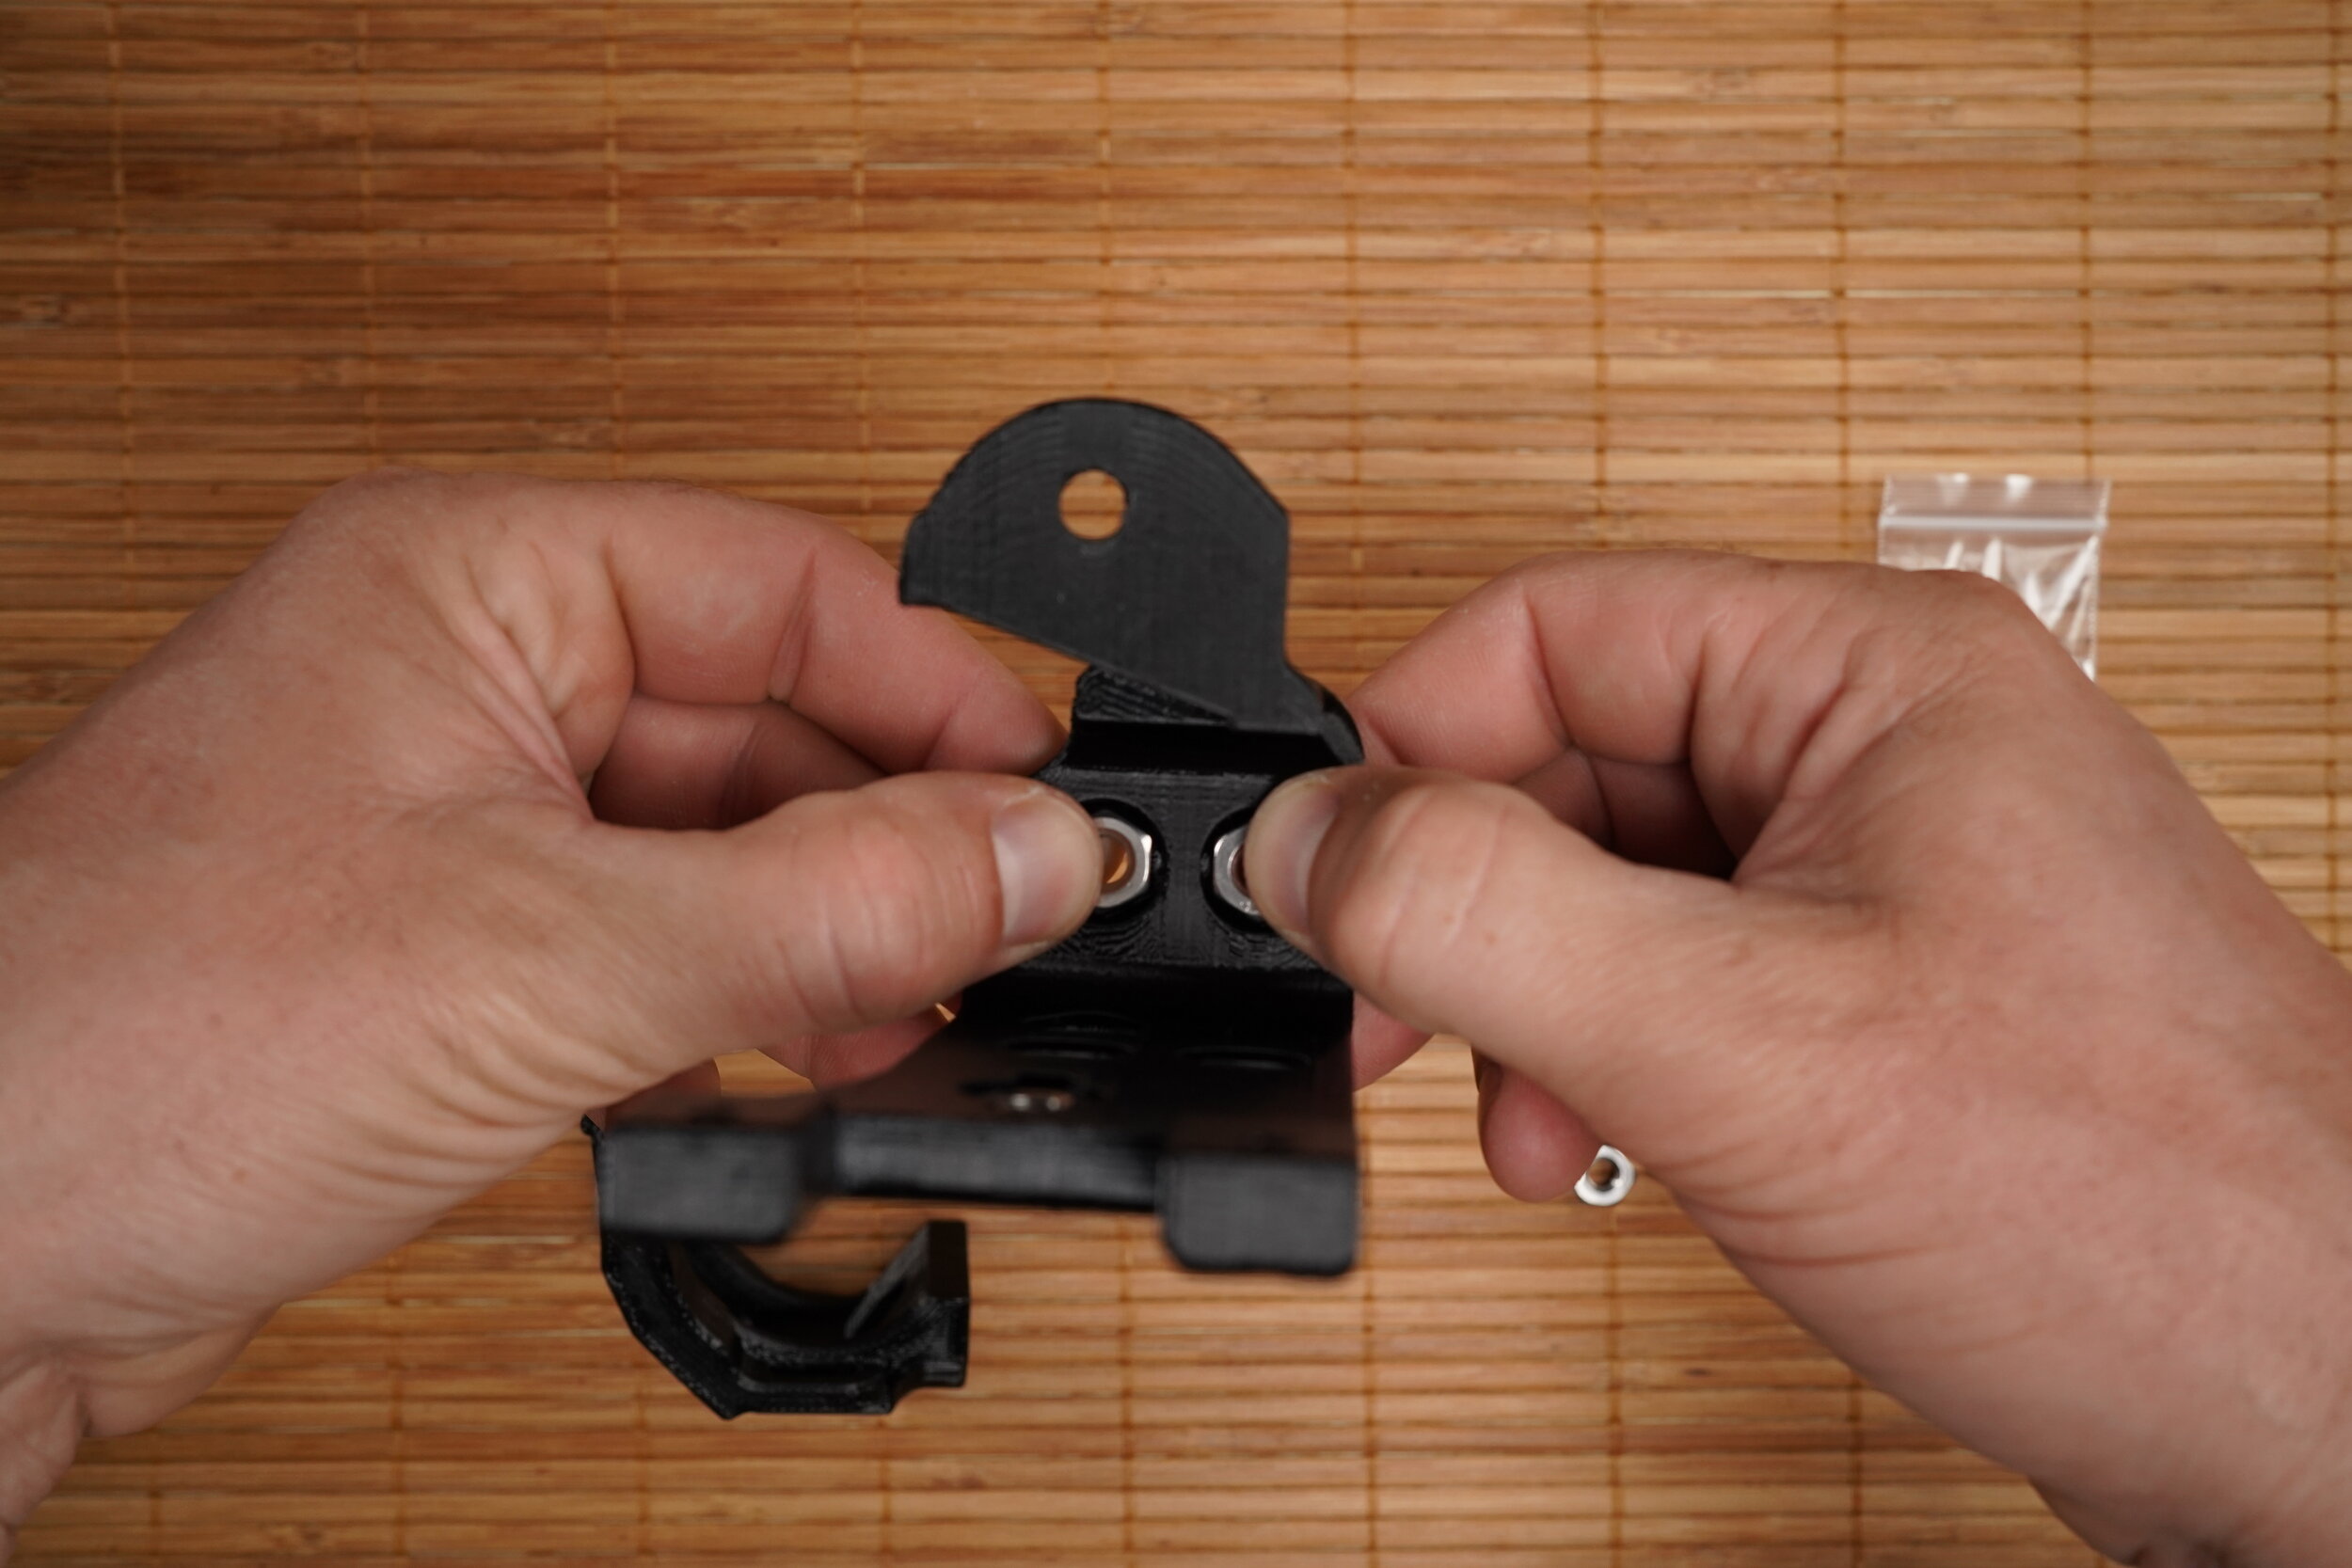
Assembly Instructions

(The cheese plate and cold shoe are not included, but shown as an example)


Watch the Audio Cage V3 assembly guide here:


Watch the release video here:


Top Handle Bracket guide for the Sony FX3

The bracket (and a free print file) can be found on our Store and on Amazon


As seen on our YouTube Channel:


Instructions:

 
DSC02661.jpeg
DSC02662.jpeg

Package contents

The bracket includes 2 1/4 20 tapered screws and the 3D printed bracket. This will replace the existing mic isolator for the Sony FX3.


Isolator removal

Locate and remove the (2) Phillips head (2.5mm) screws. You will need a small jewelry screw driver, size PH00 seems correct.


DSC02671.jpeg
DSC02673.jpeg

Cheese plate attachment (Not included)

Once the handle is prepped attach any cheese plate with 18mm spacing for the 1/4 20 screws. The one we used can be found here: Amazon Cheese Plate


DSC02675.jpeg
DSC02678.jpeg

Slide on top bracket

Carefully slide on the top bracket as shown. Starting hooked around the front (near input 1) and letting the other side bend and clip around the back. DO NOT FORCE THE BEND BEYOND WHAT IS SHOWN.


DSC02679.jpeg
 

Re-insert the (2) 2.5mm Phillips screws

Lightly tighten the two screws as to not strip the factory threads and you are finished!


If you have any issues or questions, reach out to us at info@cliffandkajun.com

**We usually respond within a couple hours in the daytime (EST).